Panasonic CSE10KD3EA User Manual
Page 7
7
ENGLISH
OPTIONAL SETTINGS
OPTIONAL
SETTINGS
DOWN
Press and hold for approximately 10
seconds to show temperature setting in
°C or °F.
RC
Press to restore the remote control’s
default setting.
AC
Not used in normal operations.
Use curtains to screen off sunlight and outdoor heat to
reduce power consumption during cool mode.
OFF / ON
TO TURN ON OR OFF THE UNIT
• Please be aware of the OFF indication on the remote
control display to prevent the unit from starting/stopping
improperly.
• For normal operation, OFF indicator shown on remote
control display when the unit is turn off.
TEMP
TO SET TEMPERATURE
• Selection range: 16°C ~ 30°C.
MODE
TO SELECT OPERATION MODE
AUTO mode - For your convenience
• Unit selects operation mode according to temperature
setting, outdoor and room temperature.
HEAT mode - To enjoy warm air
• Unit takes a while to warm up.
COOL mode - To enjoy cool air
DRY mode - To dehumidify the environment
• Unit operates at low fan speed to give a gentle cooling
operation.
• During soft dry operation, the indoor fan operates at a
low fan speed.
• The louvers movement might not align with the remote
control display.
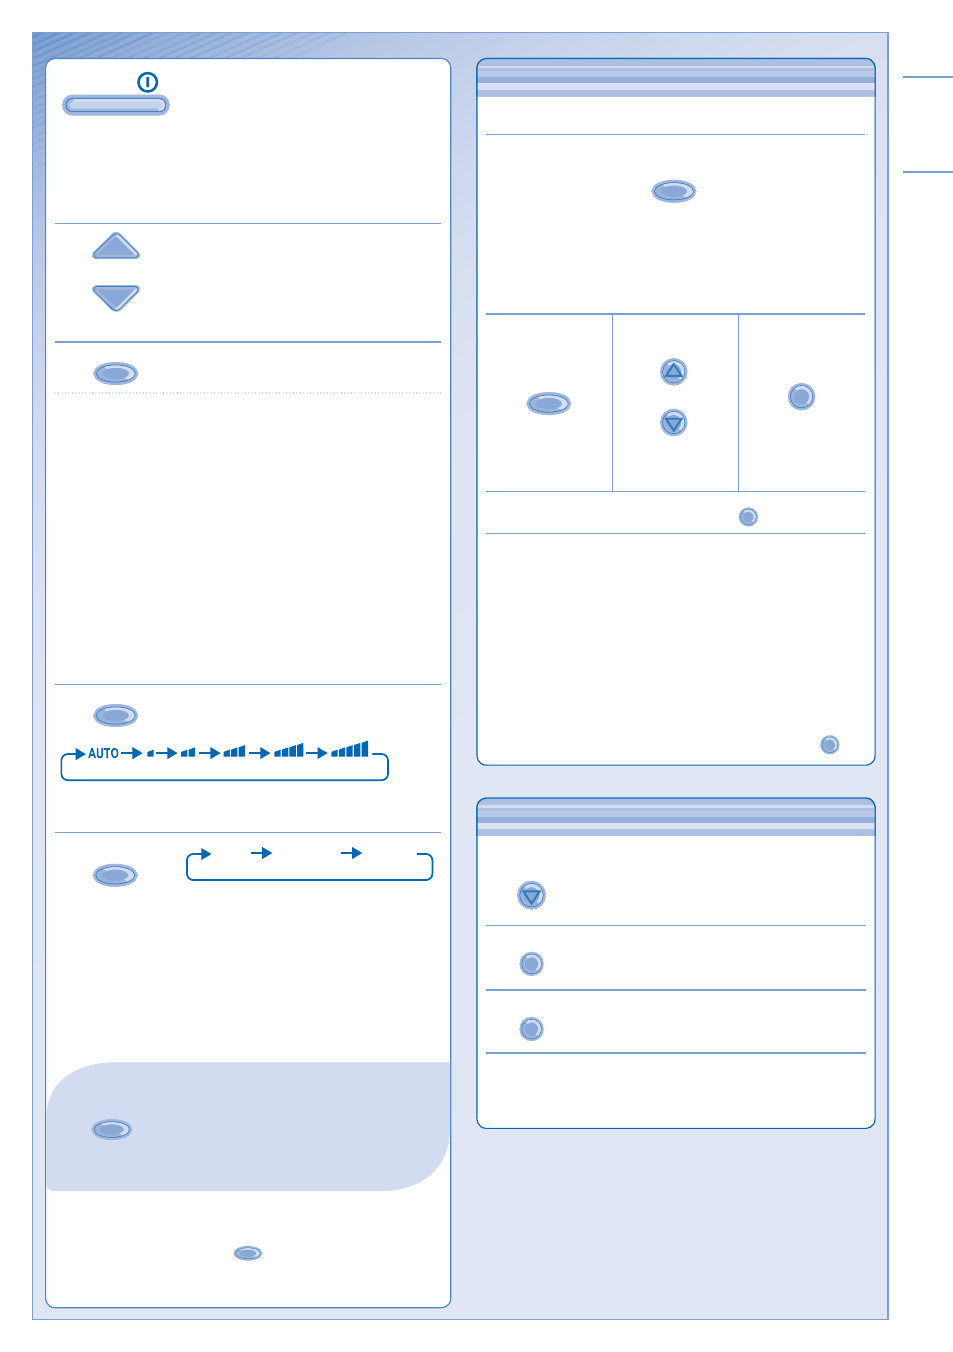
FAN SPEED
TO SELECT FAN SPEED
(5 OPTIONS)
• For AUTO, the indoor fan speed is automatically
adjusted according to the operation mode.
QUIET/
POWERFUL
POWERFUL
NORMAL
QUIET
QUIET - TO ENJOY QUIET ENVIRONMENT
• This operation reduces airfl ow noise.
POWERFUL - TO ACHIEVE TEMPERATURE QUICKLY
• Single Split System: This operation stops automatically
after 20 minutes.
• Multi Split System: Press the button again or turn OFF
the unit to stop this operation.
DAILY TIMER SETTING
DAILY TIMER SETTING
•
QUIET/
POWERFUL
can be activated in all modes and can be
cancelled by pressing the respective button again.
Notes:
• For Hide-Away models,
AIR SWING
buttons are not in use.
• Airfl ow direction can not be adjusted.
• To turn ON or OFF the unit at a preset time.
1
MODE
• Press once to change the display from Clock to
Timer or vice-versa.
• Press for more than 4 seconds to change the
display from Daily Timer to Weekly Timer or vice-
versa.
2
3
4
OFF/ON
UP
DOWN
SET
Select ON or
OFF timer.
Set the time.
Confi rm.
• To cancel ON or OFF timer, press
CANCEL
.
• When ON timer is set, the unit may start early before
the actual set time in order to achieve the desired
temperature on time.
• Timer operation is based on the clock set in the remote
control and repeats daily once set.
• The timer closest to the current time will be activated
fi rst.
• If timer is cancelled manually or due to power failure,
you can restore the previous setting by pressing
SET
.