Dpof: adding a print order mark – Sony MHS-CM1 User Manual
Page 41
41
MHS-CM1/CM3
4-123-312-11(1)
J:\ichihashi\works\cx20600\PDF\4123312111\4123312111MHSCM1\070PLY.fm
master:Right
Us
in
g fu
nc
ti
on
s fo
r v
iew
in
g
Viewing menu
For details on the operation 1 page 36
To cancel protection of all images in the folder
Select [All In This Folder] in step 4 of “To protect images in index mode”, then press z.
Select [Off] with B, then press z.
• Note that formatting the “Memory Stick PRO Duo” media erases all data stored on the recording media,
even if images are protected, and these images cannot be recovered.
• It may take some time to protect an image.
Adds
(Print order) mark to images you want to print. By using the “Memory Stick PRO
Duo” media, images with DPOF marks can be printed at photo shops or with printers which
supports the DPOF standard.
• You cannot mark movies.
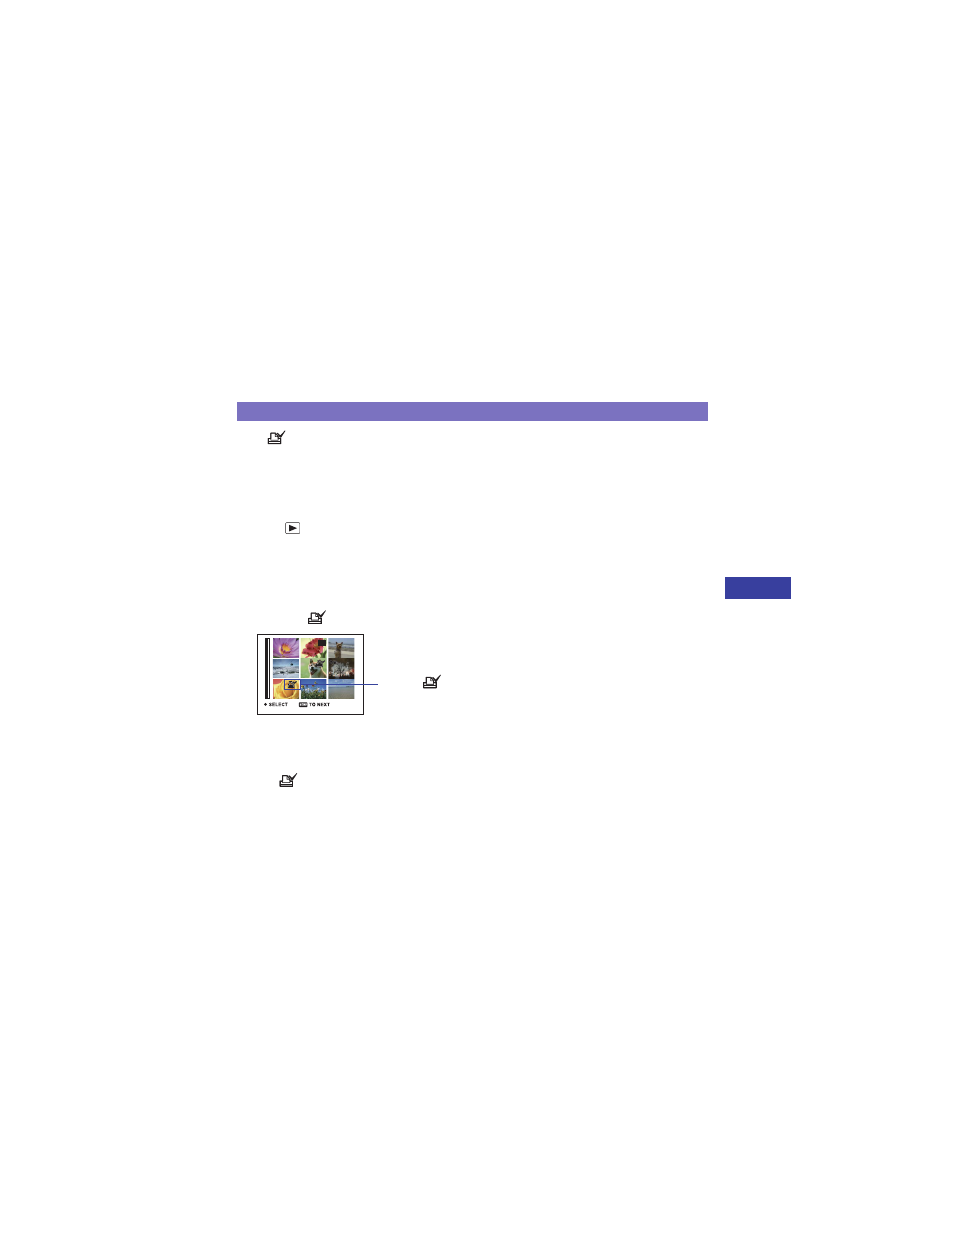
Marking in index mode
1
Press
(Play) button to set the camera to playback mode.
2
Press MENU to display the menu.
3
Select [DPOF] with b/B on the control button, then press z.
4
Select [Select] with v/V, then press z.
5
Select the image you want to mark with v/V/b/B, then press z.
An orange
mark appears on the selected image.
6
Repeat step 5 to mark other images.
7
Press MENU.
8
Select [OK] with B, then press z.
The
mark turns white.
To cancel, select [Cancel] in step 4 or select [Exit] in step 8, then press z.
Marking in single-image mode
1
Display the image you want to print.
2
Press MENU to display the menu.
DPOF: Adding a Print order mark
Orange
mark