Operating “pmb – Sony HDR-CX12 User Manual
Page 29
Enjoying with a computer
US
Select the language for the application to be
installed, then click [Next].
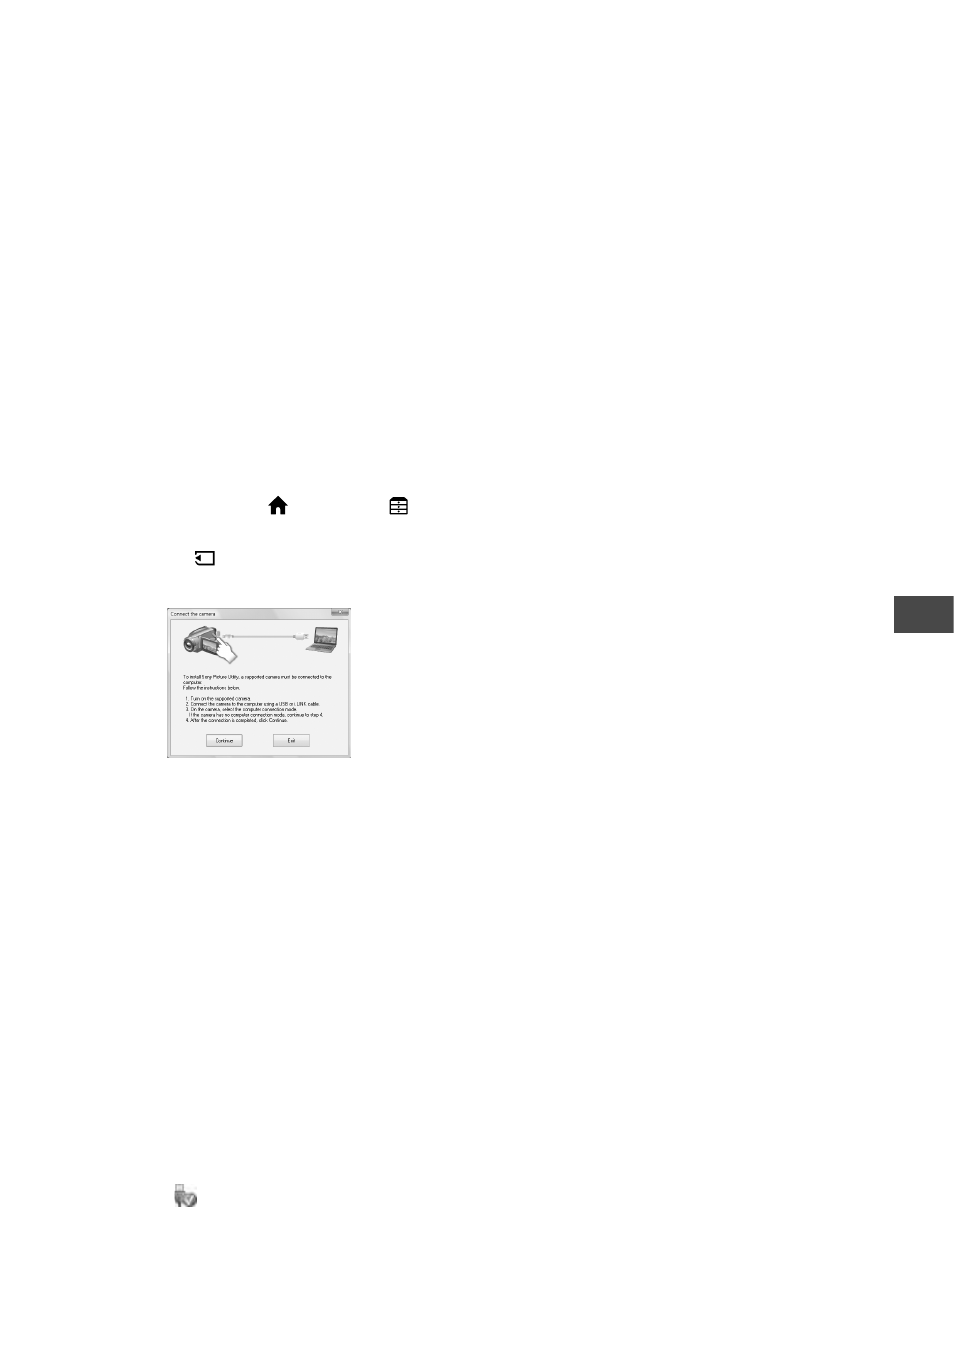
As the screen to confirm the connection
appears, connect your camcorder to the
computer following the steps below.
Connect the AC Adaptor to the
Handycam Station and a wall outlet (wall
socket).
Set your camcorder onto the Handycam
Station, then turn on your camcorder.
Connect the (USB) jack of the
Handycam Station (p. 18) to the
computer using the supplied USB cable.
The [USB SELECT] screen appears on
your camcorder automatically.
If the [USB SELECT] screen does
not appear, touch (HOME)
(OTHERS) [USB CONNECT].
Touch [ USB CONNECT] on the [USB
SELECT] screen of your camcorder.
Click [Continue].
Read [License Agreement], select [I accept
the terms of the license agreement] if you
agree, then click [Next].
Confirm the installation settings, then click
[Install].
Follow the on-screen instructions to install
the software.
Depending on the computer, you may need to
install third party software. If the installation
screen appears, follow the instructions to
install the required software.
Restart the computer if required to complete
the installation.
Remove the CD-ROM from the disc drive of
your computer.
To disconnect the USB cable
Click the icon [Safely remove USB
Mass Storage Device] [OK] (Windows
2000 only) on the task tray on the bottom
right of the desktop of your computer.
Touch [END] [YES] on the screen of your
camcorder.
Disconnect the USB cable.
Operating “PMB”
To start “PMB,” click [Start] [All
Programs] [Sony Picture Utility]
[PMB - Picture Motion Browser].
For the basic operation of “PMB,” see
“PMB Guide.”
To display “PMB Guide,” click [Start]
[All Programs] [Sony Picture Utility]
[Help] [PMB Guide].