Using the built-in projector, Help guide – Sony HDR-CX240 User Manual
Page 147
Digital HD Video Camera Recorder
HDR-CX240/CX240E/PJ240/PJ240E/PJ270/PJ270E/PJ275
Using the built-in projector (models with the projector)
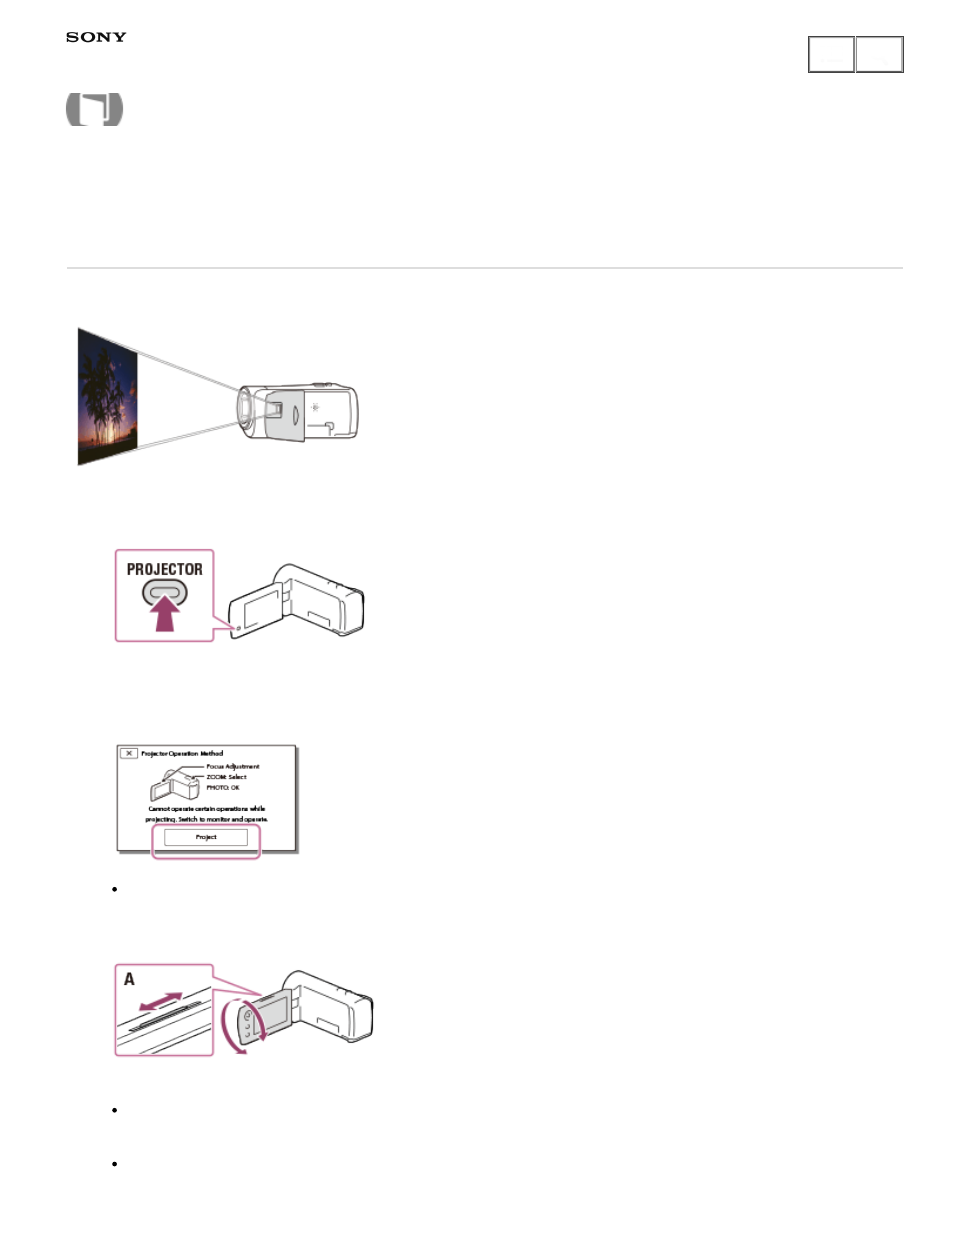
You can use a flat surface such as a wall as a screen to view recorded images using the built-in projector.
1. Face the projector lens towards a surface, such as a wall, and then press PROJECTOR.
2. Select [Image Shot on This Device] on the LCD monitor.
3. Select [Project] on the LCD monitor.
This screen appears the first time you use the built-in projector after this product is turned on.
4. Adjust the focus of the projected image using the PROJECTOR FOCUS lever.
A: PROJECTOR FOCUS lever
The projected image is larger when the distance between this product and the reflecting surface
increase.
It is recommended that you place this product further than 0.5 m (1.6 feet) away (approximate distance)
from the surface that the images are to be projected onto.
How to Use
137