Sony HDR-SR1 User Manual
Page 16
4 Connect the camcorder with a computer using the USB cable.
The [USB SELECT] screen is displayed on the LCD screen of your camcorder.
5 Select [Disc Burn] on the LCD screen of your camcorder.
The disc recognition window is displayed on the screen of the computer. When the disc type is recognized, the disc
creation begins.
To select [One Touch Disc Burn] option from the HDD Handycam Utility of a computer
1 Turn on the computer.
2 Place the recordable disc to be saved in the disc drive of your computer.
3 Connect your camcorder to a power source, and turn on your camcorder.
Use the AC Adaptor as the power source.
For operating the POWER switch, refer to the Operating Guide.
4 Connect the camcorder with a computer using the USB cable.
The [USB SELECT] screen is displayed on the LCD screen of your camcorder.
5 Select [
COMPUTER] on the LCD screen of your camcorder.
The [HDD Handycam Utility] window is displayed on the screen of the computer.
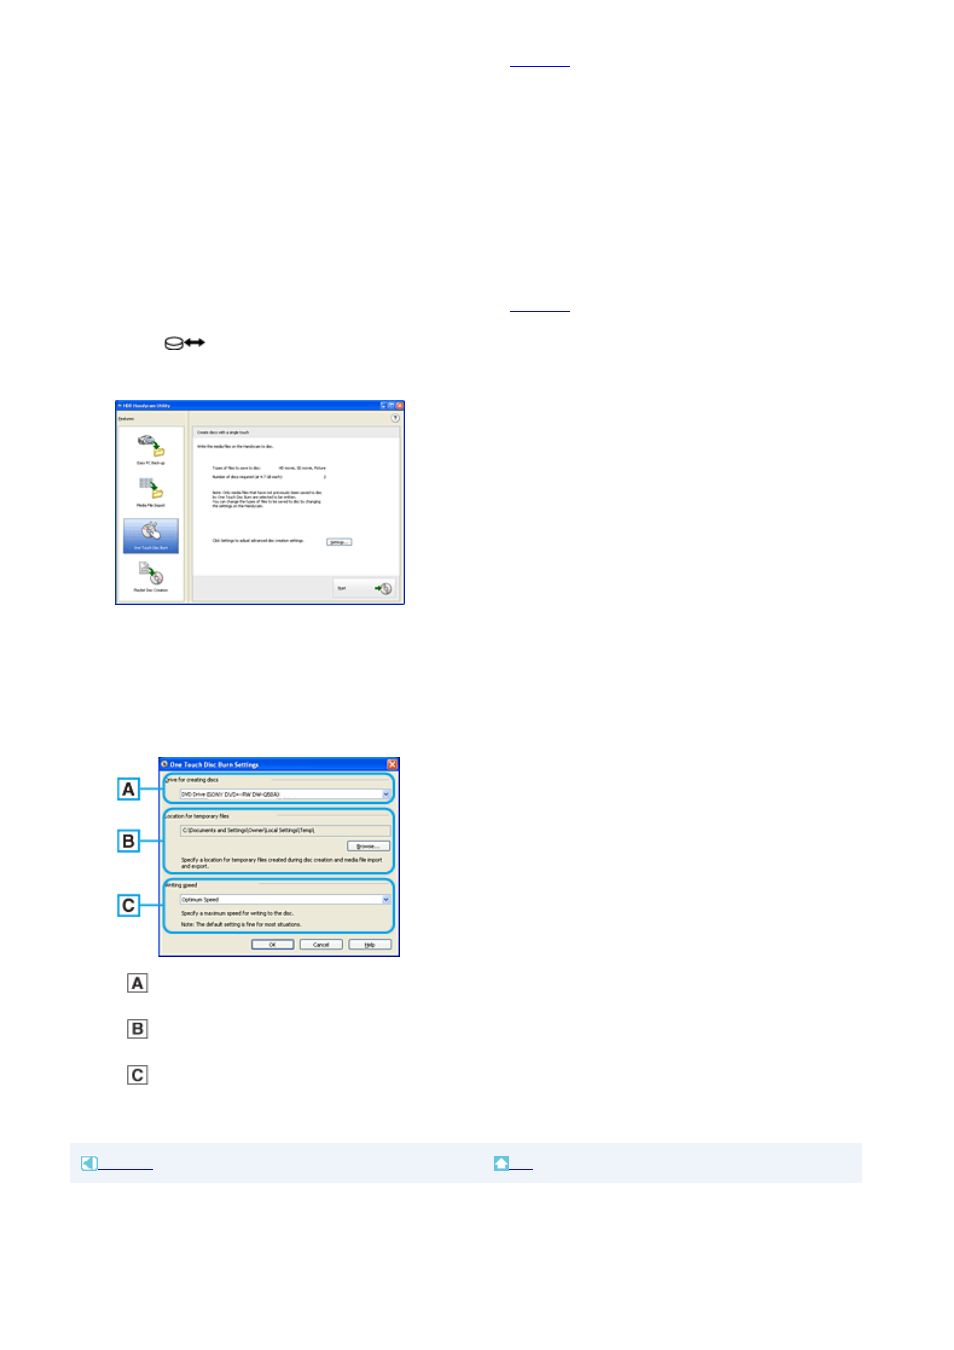
6 Click [One Touch Disc Burn] in the [HDD Handycam Utility] window.
7 Click [Start].
The disc recognition window is displayed on the screen of the computer. When the disc type is recognized, the disc
creation begins.
To customize the settings of the DVD drive used for creating a disc
1 Click [Settings...] in step 6 in “To select [One Touch Disc Burn] option from the HDD Handycam Utility of a computer.”
Drive settings
Select the drive you want to use to create a disc.
Location for temporary files
Specify a folder to be used to save temporary files in the window displayed when [Browse] is clicked.
Writing speed
Select [Optimum Speed] for normal usage. If disc creation failure persists, select lower speed.
2 Click [OK] when the setting is completed.
Previous
Top