ROTHENBERGER R 750 User Manual
Page 24
ENGLISH
16
6.6
Safety gloves
Information brochure on safety gloves according to EC guideline 89/686/EWG.
Appendix II, Section 1.4 for minimal hazards only.
This pair of gloves is exempted under Chapter II, Article 8, Paragraph 3 of the prototype test and
is assigned to Category 1. From this it is assumed that their effectiveness against minor hazard-
free risks has been perceived.
The protection class is determined by the requirements, which may be of a mechanical, chemical
or thermal nature or due to similar influences that do not call for a Category 2 protection class.
A risk analysis must be carried out through a wearer trial if the required size is to be specified
so that the glove fits. When using accessory parts, such as undergloves, it should be noted that
function may be negatively affected.
The gloves must be properly stored, i.e. in boxes in dry spaces. Influences such as humidity, tem-
perature, light and natural changes in materials over time may lead to changes in the characte-
ristics. A shelf life cannot be specified, because that will depend on the the degree of wear, and
the amount and location of use.
Care with commercially available cleaning utensils (e.g. brushes, polishing cloths, etc.) is recom-
mended. Washing or chemical cleaning requires prior consultation with an authorized technical
workshop.
The manufacturer can accept no liability for changes in the characteristics. Before each time the
gloves are used, check to make sure they are intact.
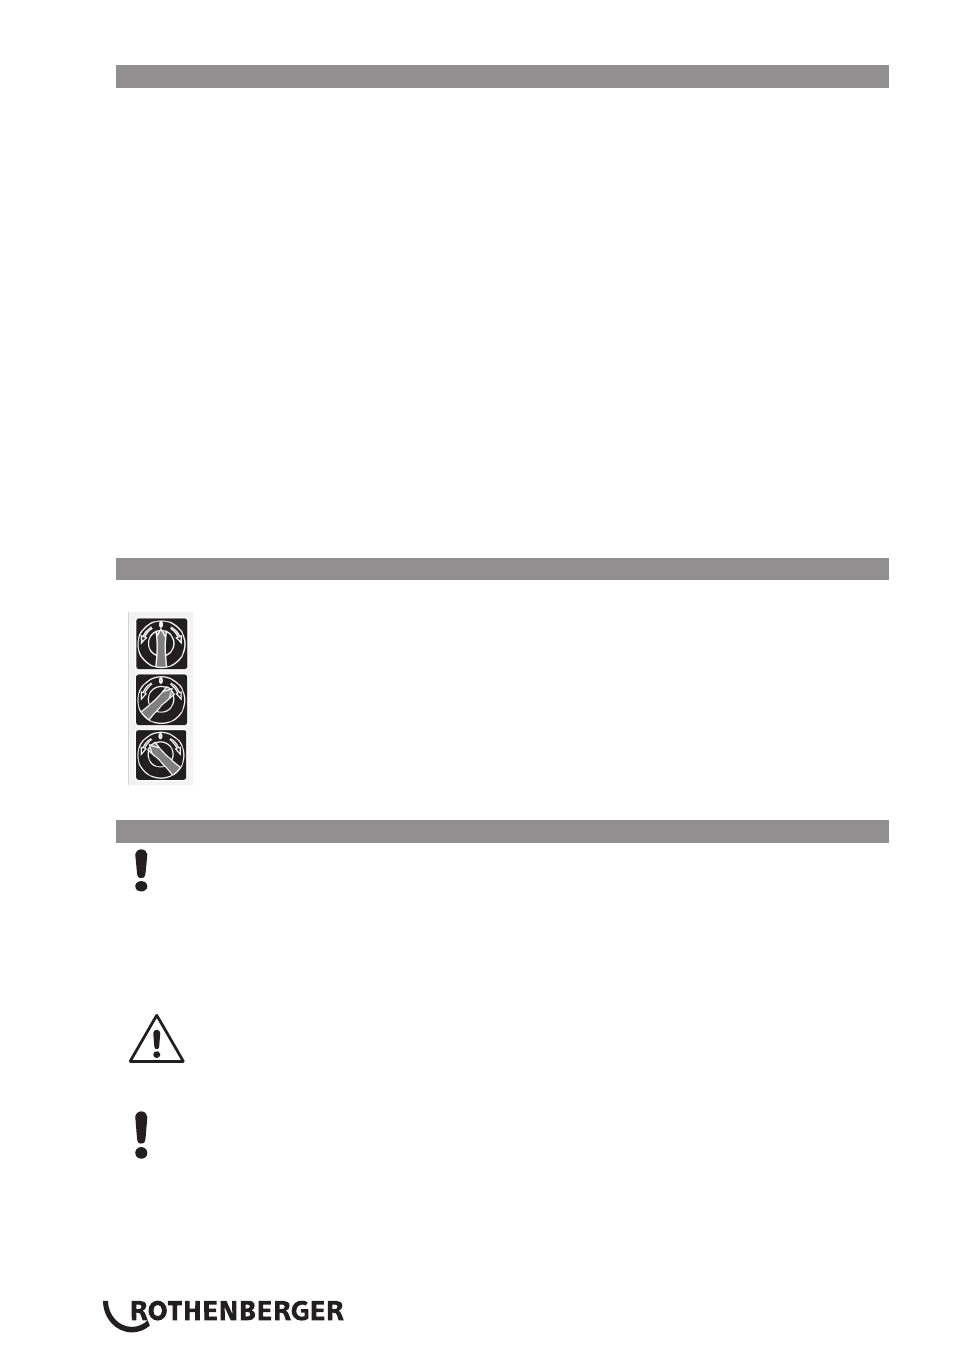
6.7
Start / Stop
F
Switch the motor on and off at the switch:
Motor off.
Turn clockwise; remove blockages.
Turn anti-clockwise, return jammed spirals.
Start the spirals turning by pressing the handle.
6.8
Operation
G
Please ensure that the protective hose is attached to the machine.
Insert a suitable spiral, secure the protective hose and secure a suitable tool.
1 Position the machine max. 50 cm in front of the opening of the pipe you wish to clean.
Set the machine to turn clockwise at the On/Off switch.
2 Insert the spiral approx. 50 cm into the pipe. Press the handle. The spiral will start to turn.
Guide the spiral only with the supplied special safety glove.
Release the handle and push the spiral further into the pipe.
Repeat this process until you feel resistance; this means you have reached the blockage.
3 Pull the spiral out of the machine until the spiral is prestressed into a bend (working bend).
Do not create an operating arc which is too big – a risk of injury!
Press the handle and press the spiral against the blockage using the working bend.
When the spiral has moved into the pipe so far that the working bend is relieved, pull the
spiral out of the machine and form a new working bend.
4 Repeat the process by pulling forward and backwards until the blockage has been removed,
then release the handle and pull out the spiral.