How to install the temperature/humidity sensor – APC NETBOTZ NBRK0200 User Manual
Page 13
9
NetBotz Rack Monitor 200 Installation and Quick Configuration Manual
How to Install the Temperature/Humidity Sensor
1. Choose a location and install the temperature/humidity sensor. Avoid locations in direct sunlight
or other locations that may affect the sensor reading, such as near windows, room entrances, air
ducts, or other heat sources.
Note: When securing the sensor, tighten the tie wrap over the recessed channel of the
sensor casing.
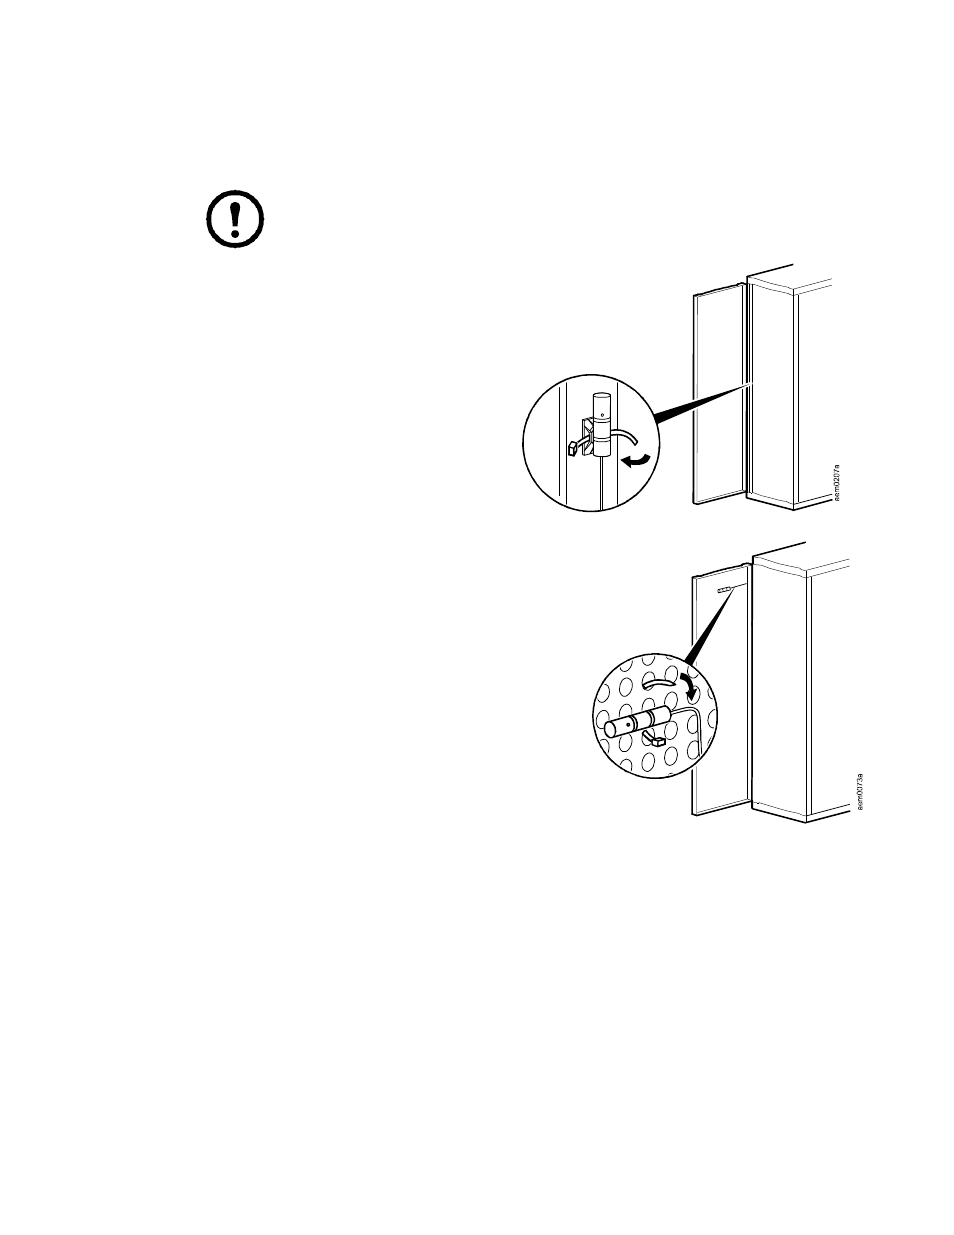
Vertical rail installation. Firmly
install the sensor mount (25 x 25-mm
[1 x 1-in] cable tie mount) at the
location you selected. Then secure the
sensor with a tie wrap.
Door-mount installation. For racks
with a perforated door, use a tie wrap to
secure the sensor.
Wall-mount installation. For a rough
wall or porous surface, install the wall
anchor at the location you selected.
Then, secure the sensor mount to the wall anchor using the screw provided. For a smooth wall
or other smooth surface, firmly install the sensor mount (25 x 25-mm [1 x 1-in] cable tie
mount). Secure the sensor to the sensor mount using a tie wrap.
2. Route the sensor cord to the Rack Monitor 200.
– If you mounted the sensor on the door, be sure the door is fully open when you route the sensor
cord.
– The 4-m (13-ft) sensor cord can be extended to a maximum of 15 m (50 ft), using RJ-45
female-to-female couplings and standard CAT-5 cables.
3. Connect the sensor to the Rack Monitor 200 (see “How to Connect Sensors to Universal Sensor