Setup – Samsung SPA400BX-XAA User Manual
Page 29
2) On
|
Input
|
Picture
|
Setup
|
Option
|
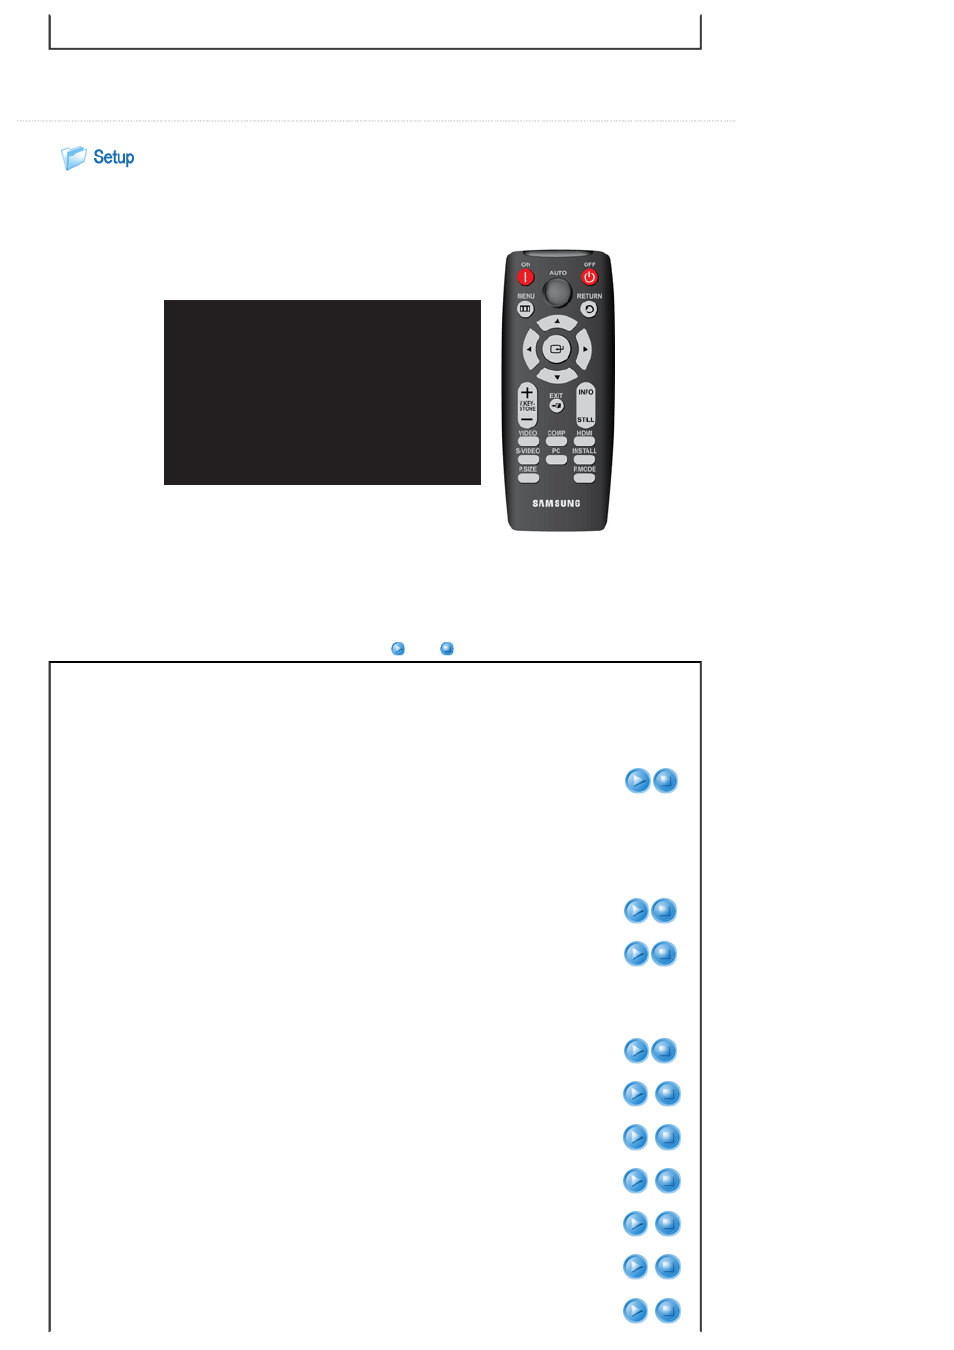
* Click the Play(
)/Stop(
) button in the table below to view the video file.
Screen
Adjustment
Description
Play/Stop
Install
To tailor the picture to the installation location, you can invert the projected images
vertically/horizontally.
1) Front-Floor : Normal Image
2) Front-Ceiling : Horizontal/Vertical Reversed Image
3) Rear-Floor : Vertically Reversed Image
4) Rear-Ceiling : Vertically Reversed Image
Light Setting
Used to set the image brightness by adjusting the amount of light generated by the
lamp.
1) Theater : Using this function, you can adjust the light level of the lamp so that you
can comfortably watch pictures on the screen even when watching under dark
conditions. It also lowers power consumption and extends the life of the lamp.
2) Bright : Used to enhance the brightness in relatively bright ambient light. Since
this mode increases the light level of the lamp, you may experience more noise
which is produced when the projector is cooled down.
Theater
Bright
V-Keystone
If video scences are distorted or tilted, you can compensate for this using the vertical
Keystone function.
Test Pattern
Generated by the projector itself. Utilized as standard to optimize the installation of the
projector.
1) Crosshatch : You can check whether the picture is distorted or not.
2) Screen Size : You can refer to picture format sizes such as 1.33:1 or 1.78:1.
3) Red : Red Screen, only for color adjustment.
4) Green : Green Screen, only for color adjustment.
5) Blue : Blue Screen, only for color adjustment.
6) White : White Screen, only for color adjustment.
7) 6500K_White : White Screen, brings out the white tones for a more real white.
▶ The Red/Green/Blue colors of the test patterns are only for the color adjustment
Crosshatch
Screen Size
Red
Green
Blue