6 rain gage, Rain gage, 18. remove rubber band from tipping mechanism – Campbell Scientific T.Weather T107 Toro Weather Station User Manual
Page 34
T107 Weather Station
4. Center the Gill WindSonic over the three threaded screw holes on the
mounting shaft and screw it in place using the three Phillips screws taken
off the shaft in step 1.
5. Slide the shaft and sensor back through the U-bolt. Align the sensor with
north by pointing the small colored dot on outer edge of the bottom of the
sensor so it faces true north. Space the sensor about 25.4 cm (10 in) above
the crossarm and tighten down the U-bolt.
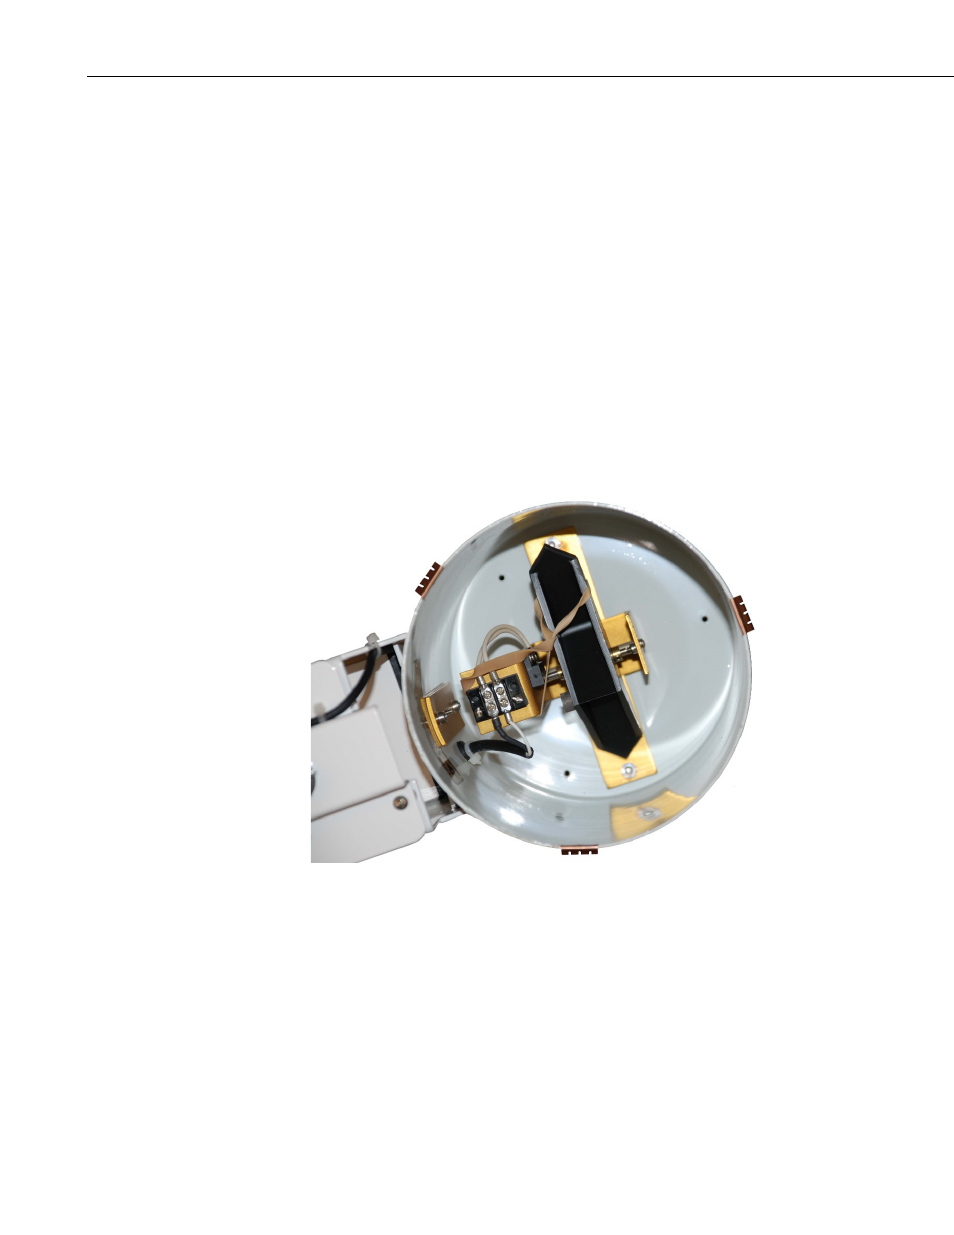
2.4.6 Rain Gage
For accurate measurements, the rain gage needs to be installed so it is
horizontally level. A bubble level is situated on the bottom of the inside of the
rain gage. To see the bubble level, pull the gold funnel up and off of the top of
the rain gage. Remove the rubber band holding the tipping mechanism in
place. The rain gage bubble level mounted on the tipping mechanism shows
how vertical the pole was installed. Adjust the bolts at the bottom of the pole
as needed to get the bubble level centered. Put the gold funnel back on the top
of the rain gage after leveling has been completed.
FIGURE 2-18. Remove Rubber Band from Tipping Mechanism
26