Installation – Martin Sprocket & Gear Drag Conveyor Safety User Manual
Page 7
Installation
3
For shop assembled conveyors, units are match marked and shipped in longest sections practical for
shipment. Field assembly can be accomplished by connecting marked joints and in accordance with packing
list and or drawing if applicable. In field erection, the mounting surfaces for supporting the conveyor must
be level and true so there is no distortion in the conveyor. Shims or Grout should be used when required.
Check for straightness as assembly is made.the mounting surfaces for supporting the conveyor must be
level and
For conveyor assemblies purchased as parts or merchandise, assemble as follows: Place conveyor troughs
in proper sequence with tail, bypass inlet and head in proper location. Connect the trough flanges loosely. Do
not tighten bolts. Align the trough bottom centerlines perfectly using piano wire (or equivalent) then tighten
flange bolts. Tighten all anchor bolts.
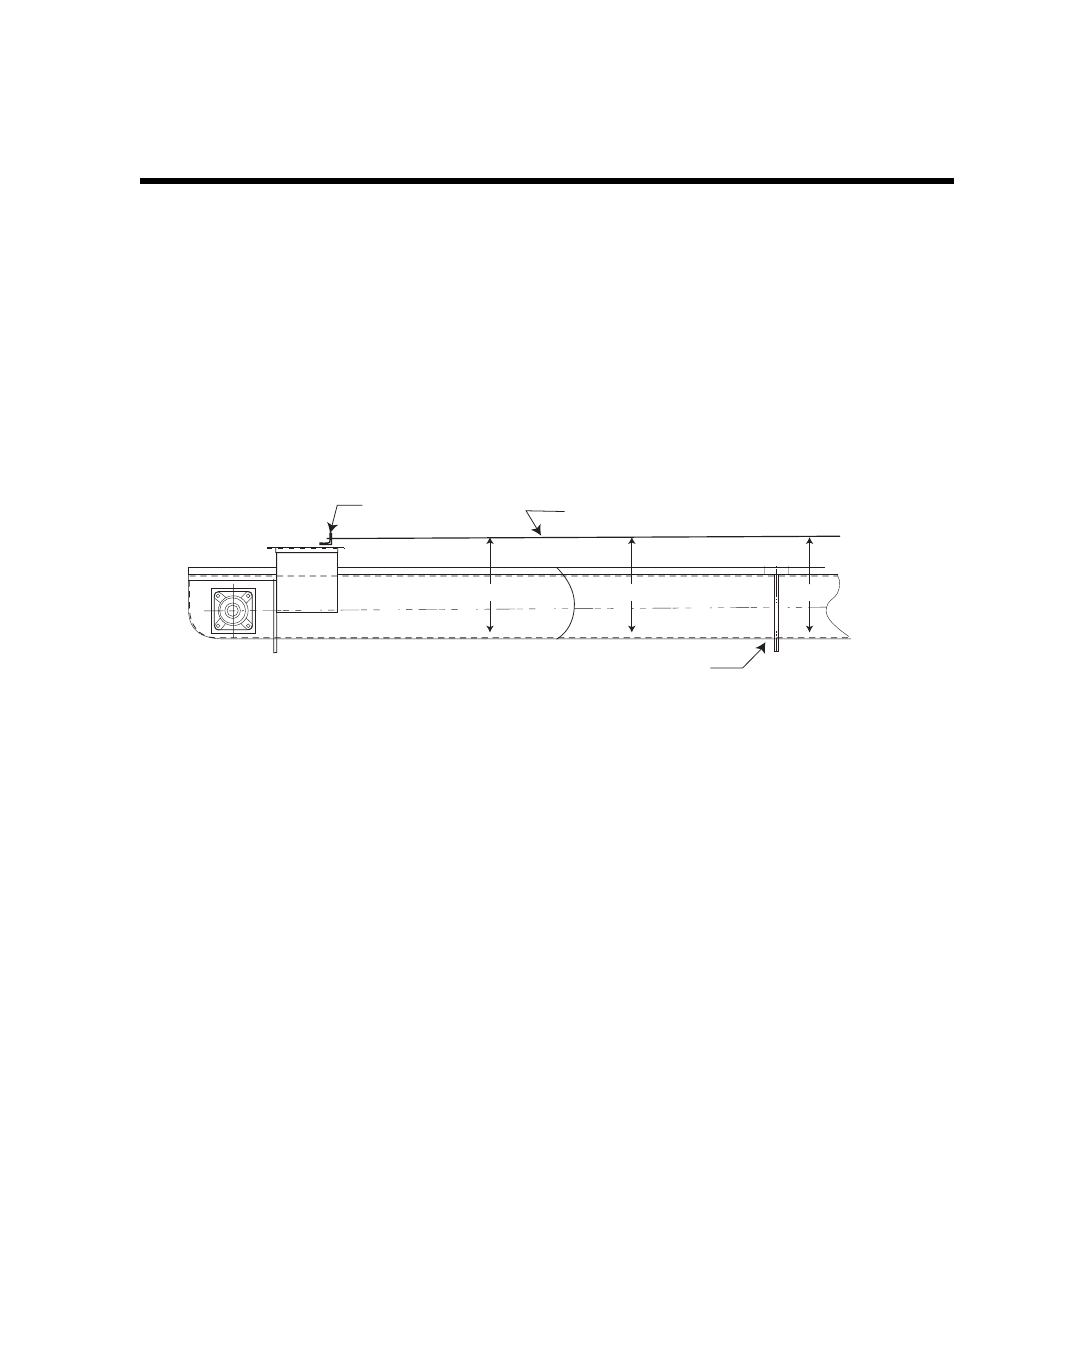
“A” dimension should be equal for full length of trough, bottom to be smooth through joints.
Before connecting the top section of chain, loosen take-up as much as possible. Check sprocket alignment,
set screws, and bearing mounting bolts for tightness.
1.)
Connect top section of the chain (on long conveyors, a come-a-long may be necessary)
2.)
Adjust take-up to remove excess slack from chain, being sure that adjustment screws have
been tightened equally to prevent any misalignment.
3.)
Install trough covers in proper sequence. Handle covers with reasonable care to avoid warping
or bending. Covers should be securely fastened.
4.)
Install drive at proper location and in accordance with separate instructions provided.
5.)
Rotate conveyor by hand to insure that no binding occurs.
6.)
Check for proper direction of chain and flight travel after electrical connections have been
made, before attempting to handle material. If necessary after
LOCK OUT/TAG OUT ALL POWER
then
reconnect electrical leads to reverse direction of material flow. Material should be pushed by
the flight and attachment.
ANGLE CLIP
TROUGH JOINT
PIANO WIRE STRETCH TIGHT
"A"
"A"
"A"