Kenwood NX-320E3 User Manual
Page 14
5
2 While holding the cap in place, push it
towards the bottom of the transceiver until
the tabs on the cap click into place.
•
To remove the cap, hold the top of the cap in
place with your finger while inserting a
3 mm or smaller flat blade screwdriver under
the bottom of the cap. Slowly slide the
screwdriver in until its tip touches the tab
inside the cap, then gently pry the cap up
(handle of screwdriver moving away from the
transceiver) to remove the cap.
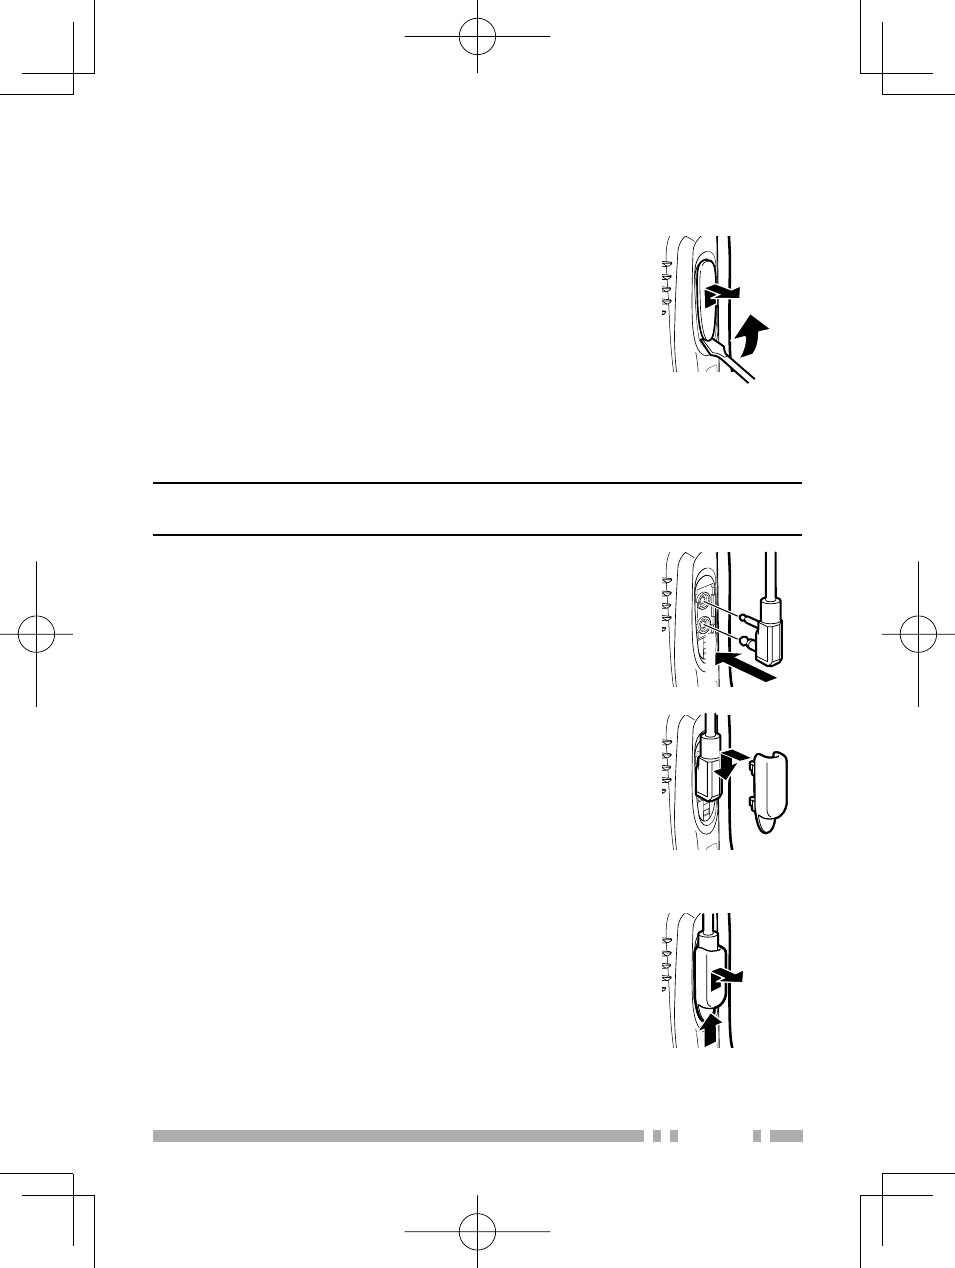
INSTALLING THE (OPTIONAL) SPEAKER/ MICROPHONE
Note: The transceiver is not fully water resistant when using a
speaker/ microphone or headset.
1 Insert the speaker/ microphone plugs
into the speaker/ microphone jacks of the
transceiver.
2 Place the locking bracket over the speaker/
microphone plugs so that the locking tabs
insert into the transceiver grooves.
3 While holding the locking bracket in
place, push it towards the bottom of the
transceiver until the tabs on the bracket
click into place.
•
To remove the locking bracket, push the
bracket up from the base.