HighPoint RocketRAID 2760A User Manual
Page 38
38
Foreground:
The RAID initialization process will be set as high priority. The array cannot be utilized
this procedure is complete, but the build process will take considerably less time, as the host adapter
will dedicate its resources to completing this task. This is most secure option.
Background:
This option lowers the priority of RAID initialization. This option will start to build
parity like the Foreground option, but at a lesser rate of speed. This option allows the array to be
accessed immediately. However, as a result, protection against data loss is much lower compared to
the Foreground option.
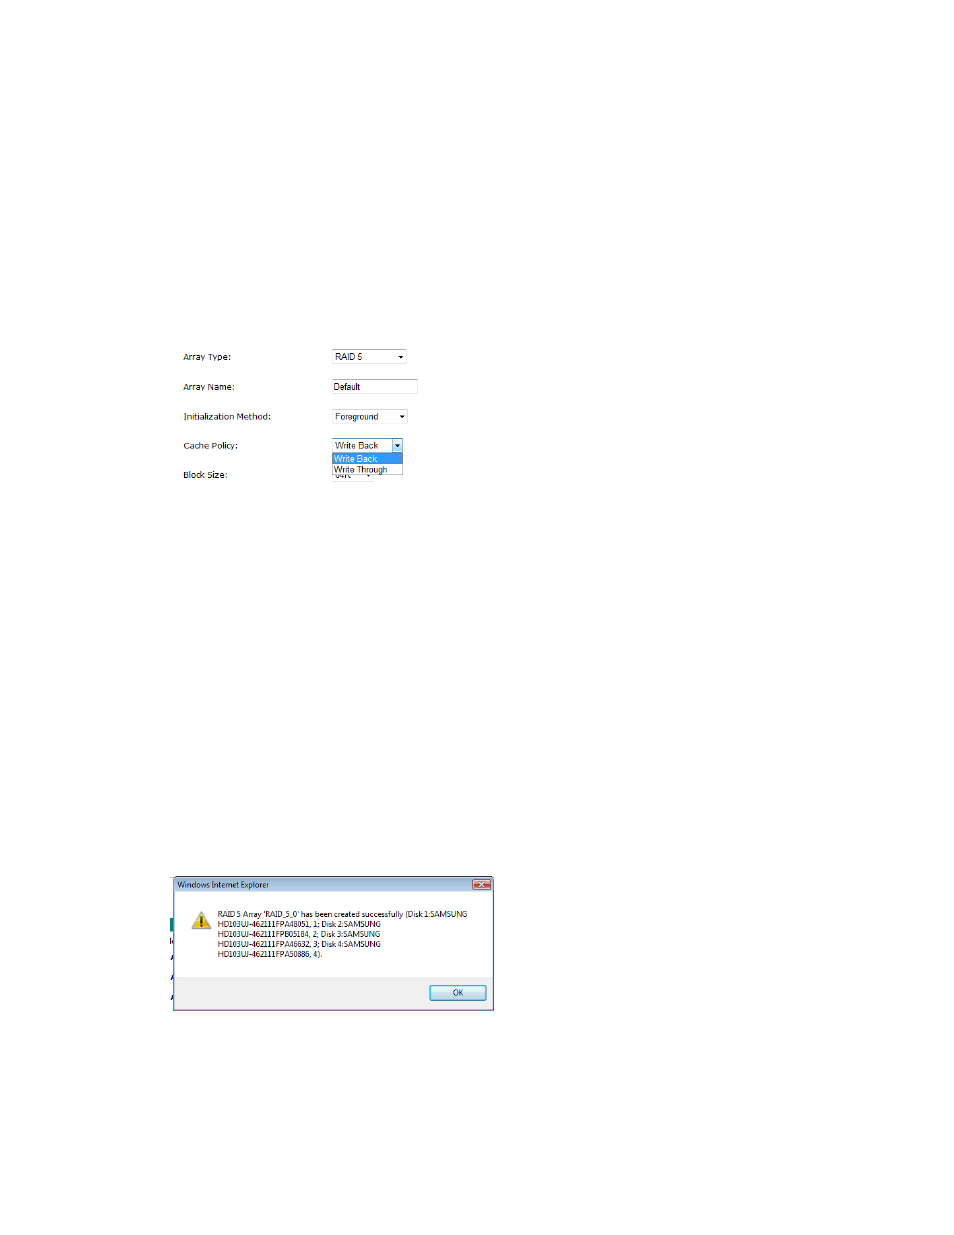
4) If you are creating a Redundant Array (RAID 1, 5, 10, 50), specify the array’s Cache Policy. If you
are creating a JBOD or RAID 0 array, skip to step 6. Select Write-Back or Write-Through from the
drop down menu:
Write Back
– this setting is best for optimal transfer rates, and fully utilizes the available memory to
enhance read and write performance. However, this option raises the risk of data loss in the event of
hardware failure.
Write Through
– this option raises the level of data security. Data is written directly to disk when this
Cache Policy is enabled.
However, this lowers the overall performance of the array, when compared to Write Back.
5) Assign hard disks to the array. To add a hard disk to the array, check the box displayed before
each disk’s entry. You can also use the “Select All” button to quickly select all disks attached to
the host adapter.
6) Specify the capacity. Manually enter the desired RAID capacity (in MB). If you wish to use all
available hard disk capacity, leave the “Maximum” entry in place, and proceed to the next space.
If you choose to specify the capacity, make a note that the remaining capacity (unused space) can
be used to configure additional arrays, or set to act as a “spare” disk.
7) Once all of the RAID parameters have been specified click the “Create” button to create the array.
The utility will display a brief summary after successfully creating the array: