Dee Zee DZ500765 User Manual
Page 3
GRILLE GUARD
03-06, 07 "CLASSIC" 1500 SILVERADO
03-06 AVALANCHE W/O CLADDING
Page 2 of 3
1/20/10 Rev 1(DP)
side Top Bracket through the opening in the bumper and bolt it to the crossmember with the
factory hardware. Leave loose at this time.
6. Repeat Step 4 for passenger side Top Bracket installation.
7. With assistance, place the Grille Guard up to the inside of the Frame Mounting Brackets.
Secure the Grille Guard to the Brackets with (6) 12mm x 30mm Hex Bolts, (12) 12mm Flat
Washers and (6) 12mm Nylon Lock Nuts. Do not tighten hardware at this time.
8. Next, move to the driver side Top Bracket installed in Step 4. Line up the Top Bracket with the
hole in the Grille Guard upright. Insert (1) 10mm Button Head Bolt with (1) 10mm Flat Washer
through the upright and Top Bracket. Secure with (1) 10mm Flat Washer and (1) 10mm Nylon
Lock Nut. Repeat this step on the passenger side Top Bracket. Do not tighten at this time.
9. With the hood open, align, center and adjust the Grille Guard properly and tighten all Mounting
Bracket and Support Bracket hardware. Carefully close the hood and check for clearance.
Adjust the Brackets for fit as necessary.
10. Do periodic inspections to the installation to make sure that all hardware is secure and tight.
To protect your investment, wax this product after installing. Regular waxing is recommended to
add a protective layer over the finish. Do not use any type of polish or wax that may contain abrasives
that could damage the finish.
For stainless steel: Aluminum polish may be used to polish small scratches and scuffs on the finish.
Mild soap may be used also to clean the Grille Guard.
For gloss black finishes: Mild soap may be used to clean the Grille Guard.
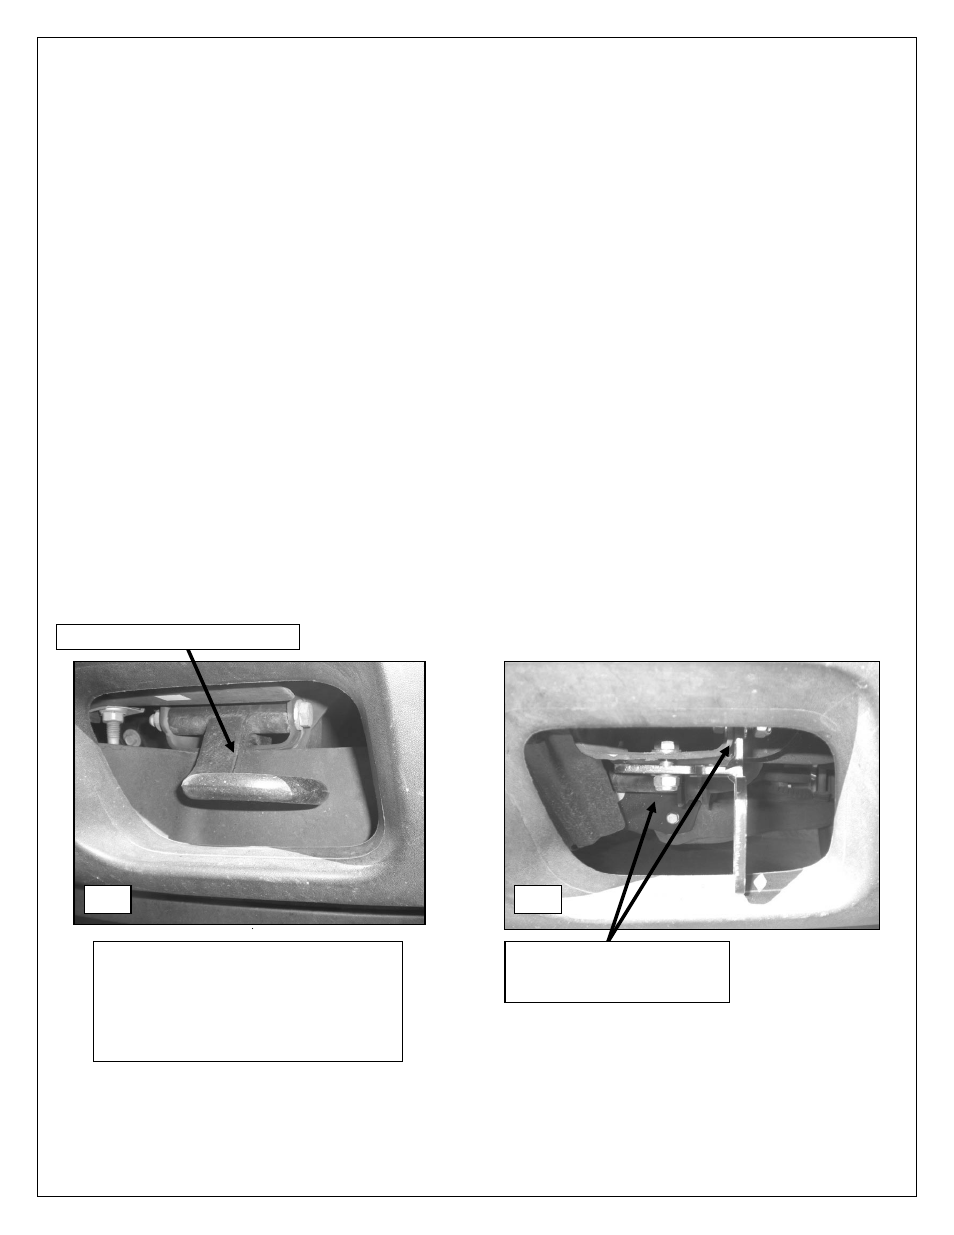
Driver Side Installation Pictured
Fig 2
Fig 1
Remove tow hooks if equipped
NOTE: On vehicles without tow hooks,
the area above may be covered by an
indented plastic panel. Cut or remove
the fill panel as required to gain access
to the front of the frame rail to allow
bottom brackets to pass through.
(2) 12mm x 30mm Hex Bolts
(4) 12mm Flat Washers
(2) 12mm Nylon Lock Nuts