Monoprice 7469 MED-026 User Manual
Page 4
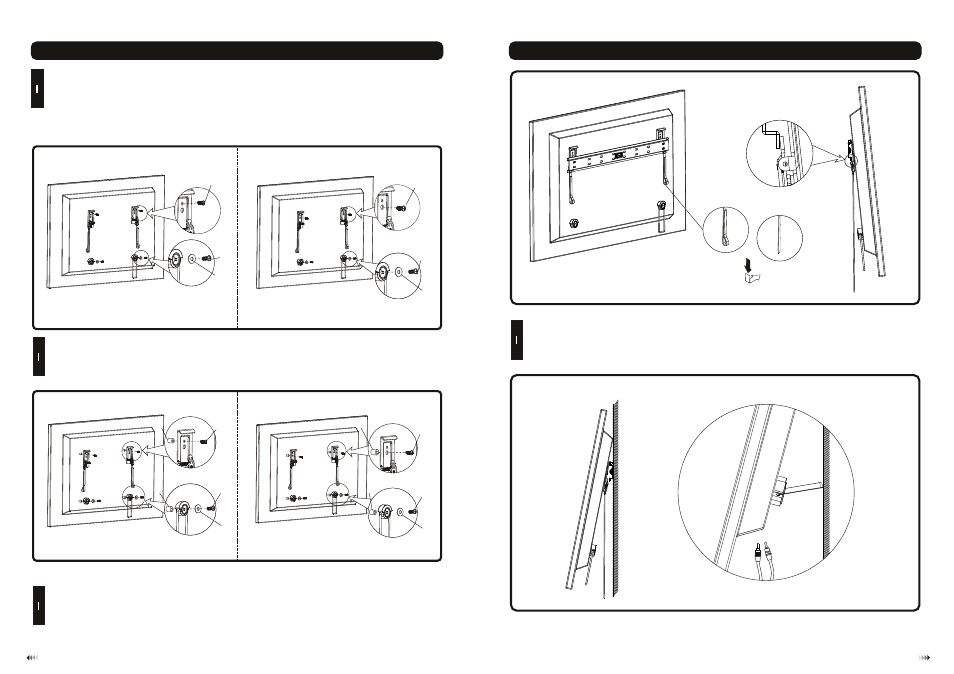
fig. 3.1
6
5
3
2
Cable Management
• Slowly pull bottom of display away from wall until kickstand of the supporting spacer(D) fully reaches its
down position.
•Attach or adjust cables as necessary on back of display.
•To disengage kickstand, slightly pull display away from wall. Slowly allow display to return to the wall.
fig. 3.2
Begin with the shortest length screw, hand thread through washer and adapter bracket into screen as shown
below.
Screw must make at least three full turns into mounting hole and fit snug into place. Do not over tighten.
If screw cannot make three full turns into screen, select a longer length screw from the baffled fastener pack.
Repeat for remaining mounting holes, level brackets and tighten screws.
NOTE: Spacer may not be used, depending upon the type of screen.
For Flat Back Screen
•
•
•
2
1
3
1
Warning: A minimum of two qualified people are required for this operation.
After the wall mount has been safely secured to the wall, with 2 people carefully lift your TV and hook the
top hooks over the top of the wall plate rail. , see Fig. 3.1.
•
Hang the brackets mounted TV onto the wall plate
fig. 2.2
fig. 2.3
fig. 2.4
fig. 2.5
M-A
M-C
M-A
M-C
M-I
M-E
M-G
M-J
M-K
M-B
M-D
M-I
M-B
M-D
M-K
M-L
M-L
M-F
M-H
M-F
M-H
M-J
For Bump-out or Recessed Back Screen
Begin with longer length screw, hand thread through washer,
into screen as
shown below. Screw must make at least three full turns into mounting hole and fit snug into place. Do not over
tighten. If screw cannot make three full turns into screen, select a longer length screw from the baffled fastener
pack. Repeat for remaining mounting holes and tighten screws.
the supporting spacers and sliders
2
2
M-E
M-G