Tuff Country 56901 - Toyota Tacoma 05-14 performance 6 lift kit User Manual
Page 13
47. Locate the stock lower strut mounting hardware. Secure
the new coil over to the stock lower control arm using the
stock hardware. Make sure to use thread locker or loctite
and torque to 68 ft lbs. Special note: Make sure to install
the lower bolt just as it came out, with the nut towards
the front of the vehicle.
Special note: The new coil overs are not pre set. After
the installation of the front and rear, adjustment may be
needed to the front coil overs to level the vehicle.
48. Locate the new steerng knuckles. Also, locate the stock
lower mounting hardware, castle nuts and cotter pins.
Working on the driver side, install the new knuckle on the
vehicle using the stock lower bolts and the stock castle
nut/cotter pin on the upper ball joint. Carefully slide the stock
CV axle into the hub assembly takeing special care not to
damage the threads on the stock CV axle. Repeat on the
passenger side. Special note: Do not tighten at this time.
Once the knuckles have been installed move back to the
stock upper control arm mounting bolts on the driver and
passenger side and torque to to 76 ft lbs.
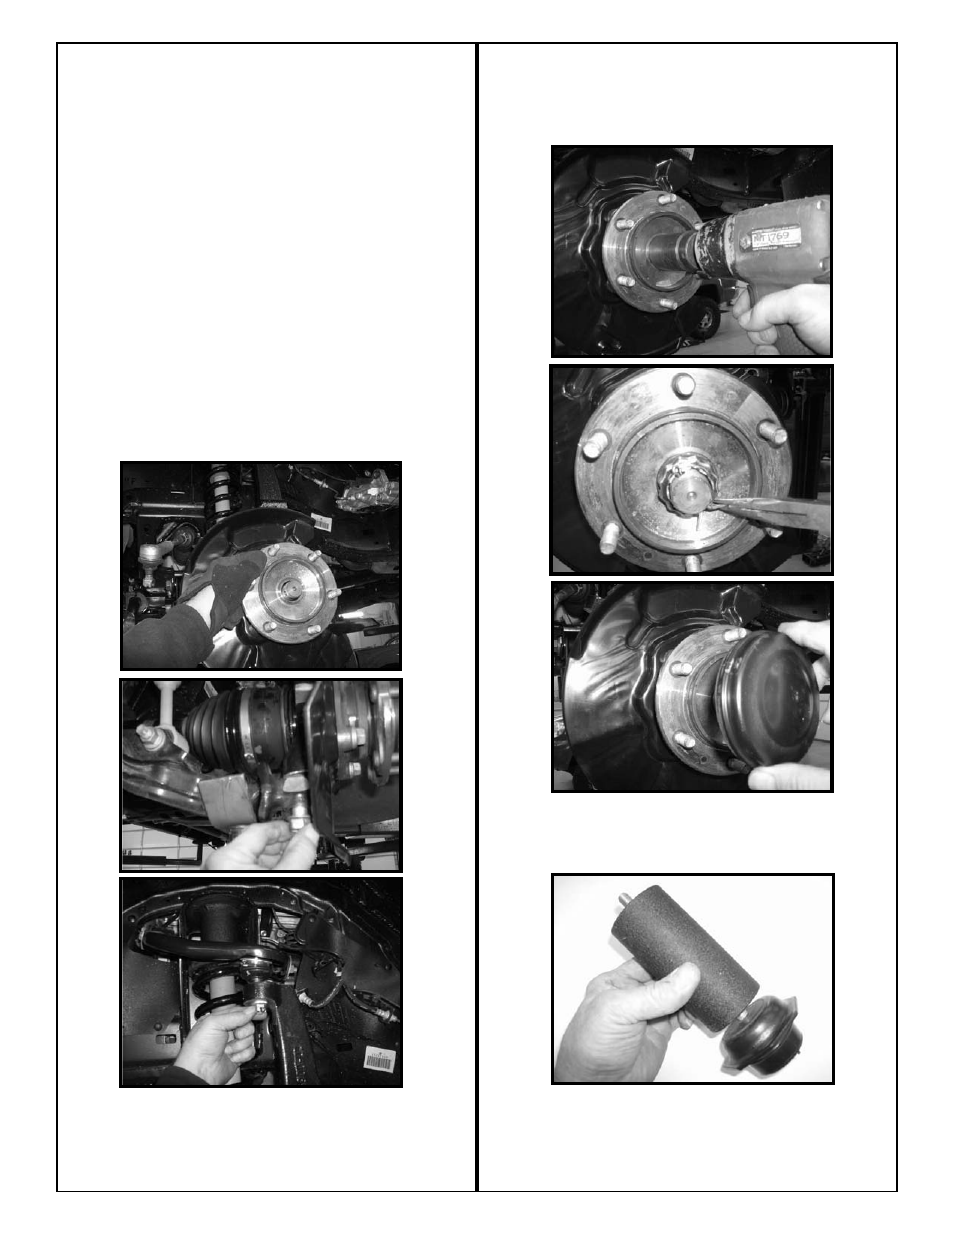
49. Locate the stock CV axle nut, retaining nut, cotter pin and
dust cap. Working on the driver side, install the stock CV
axle nut. Add some thread locker or loctite and torque to 185
ft lbs. Install the retaining nut and cotter pin, then install the
dust cap. Repeat procedure on the passenger side.
50. Locate the stock bump stops. Also, locate the (2) new
bump stop spacers. Thread the stock rubber bump stops into
the new spacer. Make sure to use thread locker or loctite.