Operation, Setting, Video – ATN Thermal Vision Monocular OTIS-14 User Manual
Page 4: Output
3
operation
Insert the two Lithium batteries (123A type) into the unit accord-
ing to the polarity indications on the battery compartment. Press
the ON/OFF button to turn the monocular on. Remove the lens
cap.
Adjust the proper eyepiece diopter and objective lens focusing.
The rotation of the Focusing Ring changes the position of the
objective lens in respect of the receiver focal plane array. In this
way the operator can adjust the unit in order to see the targets at
various ranges with the same good contrast.
Cover protects the objective assembly from mechanical damage.
The operator can adjust the eyepiece diopter of the monocular for his/her own eyesight by rotating
Eyepiece Diopter Adjustment Ring.
Eyecup provides for the comfortable eye position and for the prevention of flash reflections onto the
operator’s face which is critical in the field and tactical activities.
Select the desired operation mode by pressing the switchboard
buttons.
With the «ZOOM» button you can activate a gradual adjustment
of the digital zoom preset in the monocular adjustments.
The «POLARITY» button switches the direct display mode into
the reverse one, i.e. from hot-white/cold-black into hot-black/
cold-white mode.
Each short push of the buttons «BRIGHTNESS +» or «BRIGHT-
NESS –» raises or lowers the display brightness, correspond-
ingly, in stepwise way.
To turn the monocular off press the ON/OFF button.
setting
The working settings of this thermal monocular may be custom-
ized by means of a PC.
Install the software into the PC from the CD/DVD supplied in the
package of each OTIS-14 unit. Connect the monocular to the PC
through the included USB cable. The USB Cable is an interface
link between the thermal monocular and the external PC, and it
accepts the external power supply at the same time.
ImpoRTAnT: when the unit is to be powered with external
sources, first make sure the batteries have been taken out.
The thermal monocular OTIS-14 can be powered either from the
included batteries or from any external source. Switch the mo-
nocular on, start the auxiliary software and introduce all the needed or desirable settings into it.
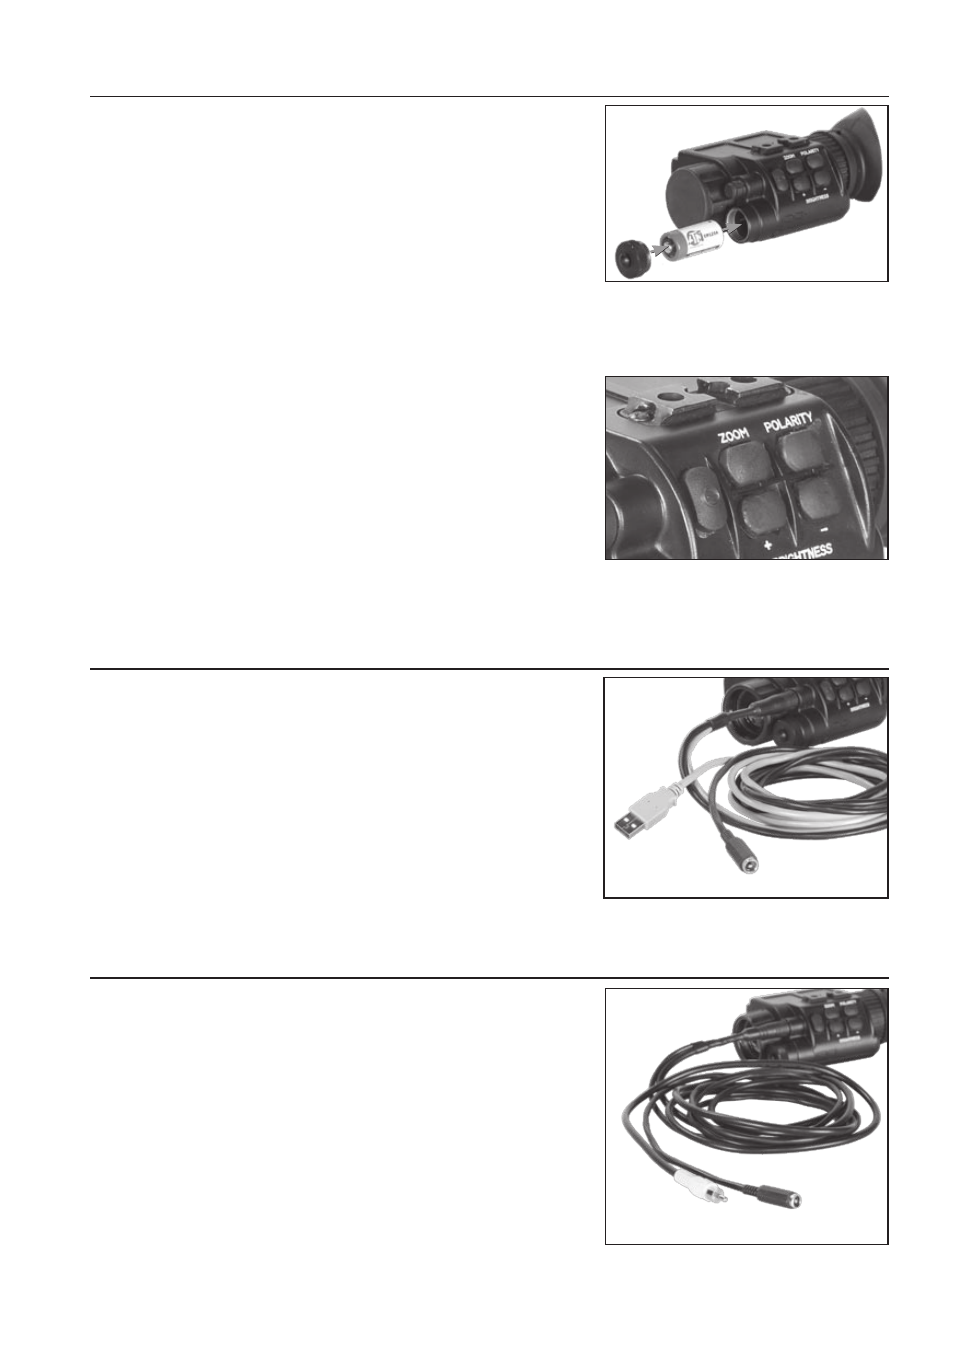
video
output
The monocular incorporates a sealed Connector used for video
transmission and to connect external power sources. The pack-
age of the thermal monocular OTIS-14 includes external con-
nection Video Cable. Video Cable attaches the monocular to the
video facilities for video recording or video transmission to the
external display, though at the same time it accepts the external
power supply.
ImpoRTAnT: when the unit is to be powered with external
sources, first make sure the batteries have been taken out.
External Power
Supply Connector
External Power
Supply Connector
USB Connector
Video Connector