As prg-1000, Autostart tech tool – Autostart AS-PRG-1000 User Manual
Page 6
AS PRG-1000
AUTOSTART
TECH TOOL
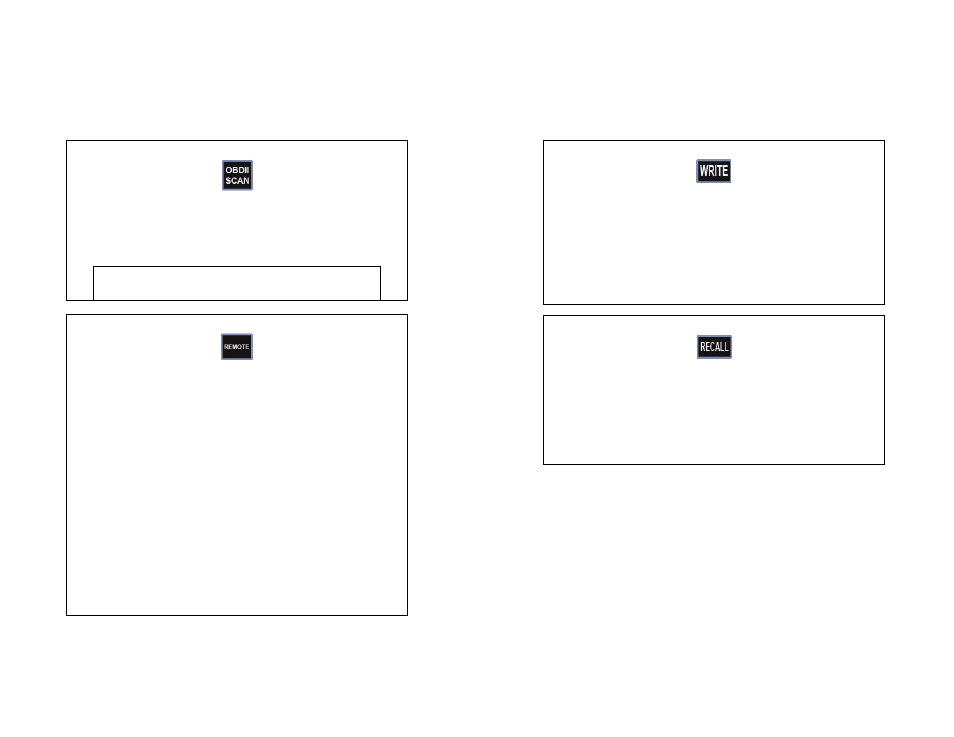
5. OBDII SCAN BUTTON
Once the PRG-1000 is connected to the vehicle, the user can erase most generic OBDII
DTCs.
Press the “OBDII SCAN” button and follow the instructions displayed.
Do not use the OBDII cable with any apparatus other than the Autostart’s PRG-1000.
Please use the proper cable (see Fig. 3).
Warning:
When erasing OBD II codes, some vehicles delete the memory bank used for fuel
economy and anti pollution. We recommend that the user gets from the manufacturer all the
required information before erasing OBD II codes.
6. REMOTE BUTTON
The “REMOTE” button provides 5 options:
Please use the proper cable (see Fig. 2).
1. “LEARN NEW REMOTE” makes it possible for the user to learn a new
transmitter without having to go through the regular programming mode. Follow
the instructions displayed to learn a new transmitter.
2. “USE REMOTE” allows the use of an already learned transmitter to test and
operate the remote starter without having to unplug the antenna from the PRG-
1000. To use this function, follow the instructions displayed. (Note: A 2-way
remote will not receive confirmation in this option.)
3. “ERASE ALL REMOTES” erases, at once, all existing transmitter codes from
the unit. Follow the instructions displayed to delete all transmitters from the
remote starter’s memory.
4. “# REMOTE LEARNED” identifies the number of transmitters that are coded
in the remote starter or alarm. Follow the instructions displayed to view how
many transmitters are programmed into the unit.
5. “TEST REMOTE BUTTON” allows the user to test the transmitter’s
operations. Establish which generation of remote (1
ST
generation -- 4 buttons or 5
buttons with a STOP button, or 2
nd
generation -- with advanced options such as
AUX and / or SHIFT button(s)) is being tested and follow the instructions
displayed in order to test the transmitter. Note that the transmitter does not have
to be coded into the remote starter. The PRG-1000 displays which button is
pressed when this function is used
.
AS PRG-1000
AUTOSTART
TECH TOOL
10. WRITE BUTTON
The “WRITE” button is used to save the programming changes to the unit’s processor.
In order to avoid the unit’s EEPROM corruption, do not disconnect the PRG-1000
during its writing process.
Please use the proper cable (see Fig. 2).
• Press “ENTER” followed by “WRITE” to store the unit’s new settings. The
PRG-1000 will display “OPTIONS WRITTEN SUCCESSFULLY” if the
programming was done properly. A “COMMUNICATION ERROR” message
will appear if the programming was unsuccessful.
11. RECALL BUTTON
The “RECALL” button allows the installer to recall customized settings of specific
models for future units programming. Installers can recall and save up to 10 customized
settings.
Please use proper the cable (see Fig. 2)
1. Press “RECALL”.
2. Select the file containing the customized settings you wish to review or apply.
3. Review the settings or press “WRITE” to program them into the unit’s processor.