Amerex 16672 User Manual
Page 9
9
TROUBLE SHOOTING GUIDE
WARNING: DETERMINE THE SOURCE OF A LEAK BEFORE THE EXTINGUISHER IS DEPRES-
SURIZED. THE EXTINGUISHER MUST BE COMPLETELY DEPRESSURIZED BEFORE ANY AT-
TEMPT IS MADE TO REMOVE THE VALVE ASSEMBLY AND CORRECT THE LEAKAGE PROB-
LEM. SEE INSTRUCTIONS PACKAGE WITH THE AMEREX HALOTRON l RECHARGE KIT P/N
14538 FOR THE PROPER METHOD OF DEPRESSURIZING THE EXTINGUISHER TO AVOID UN-
NECESSARY DISCHARGE AND MINIMUM AGENT LOSS.
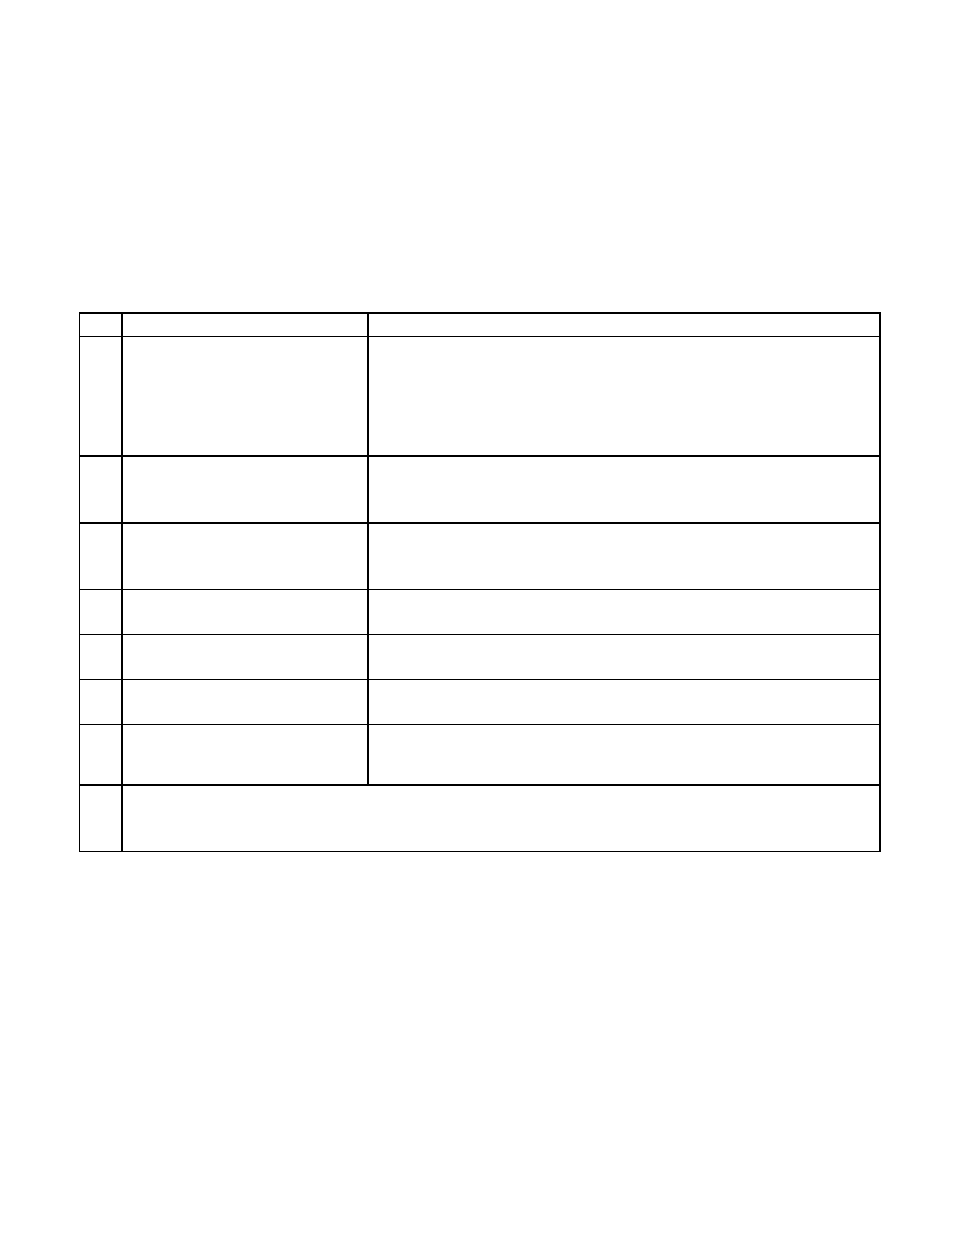
PROBLEM
CORRECTIVE ACTION
1.
Pressure gauge reads high or
low
Pressure variances in the gauge reading may be found if the ex-
tinguisher has been subjected to extremes of heat or cold. High
temperatures can cause high gauge readings and low tempera-
tures, low readings. When in doubt, condition the extinguisher to
70ºF (21ºC) for several hours to obtain more accurate pressure
gauge readings.
2.
Leak through valve
Remove valve assembly, downtube, spring and valve stem as-
sembly. Install new valve stem (GREEN SEAL) assembly.
Check valve seat for scratches or foreign matter.
3.
Leak at collar o-ring
Remove valve assembly, clean collar o-ring seating surface thor-
oughly and lubricate lightly with Bluestar-V-711. Install new col-
lar o-ring (GREEN) after lubricating with Bluestar V-711.
4.
Leak around gauge threads
Remove gauge* and reinstall using Teflon tape on the gauge
threads.
5.
Defective gauge
Remove defective gauge* and install a new gauge using Teflon
tape on the gauge threads.
6.
Leak in cylinder
Contact Amerex if under warranty, otherwise mark “REJECTED”
and return to owner.
7.
Visible deterioration of dis-
charge hose
Replace hose assembly. Extinguishing agent has been stored in
hose for a prolonged time. See Caution in Shut-Down proce-
dures.
*
Pressure gauge threads are coated with a special epoxy at the factory. For easy removal soak
the valve assembly in hot water (180° F/82°C) for two to four minutes. Remove gauge with a
7/16” open end wrench.