Assembly and adjustments (continued) – WEN 6510 oscillating spindle sander User Manual
Page 10
Assembly and adjustments (continued)
This spindle sander requires some assembly. For your safety, completely assemble the spindle
sander prior to plugging it in.
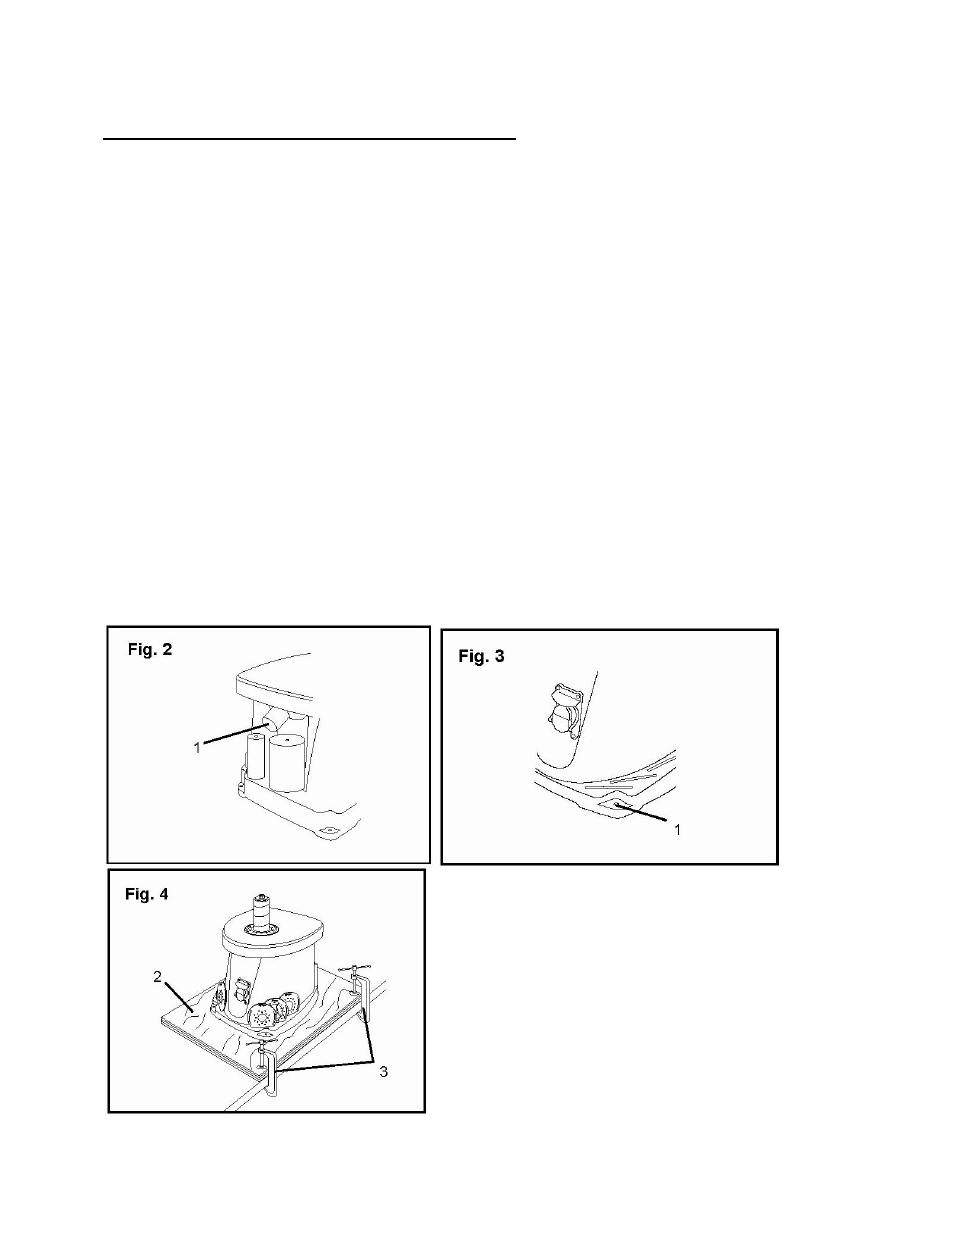
Dust collection
(Fig. 2)
A 2-1/2" dust port is located at the back of the spindle sander. This port can be connected to a dust-
collection system (not provided).
Mount the spindle sander
(Fig. 3 and 4)
To mount the spindle sander in a permanent location, secure the base to a solid benchtop. If the
sander is to be used for portable applications, permanently secure the sander to a mounting board
(2). Use clamps (3) to hold the mounting board to a work bench or other supporting surface.
1. Use the four holes (1) in the base of the sander as a template.
2. Secure the sander to a mounting board, or directly to a workbench, using the appropriate
hardware (not provided).
• If using machine bolts, make sure they are long enough to go through the base and the
benchtop.
• If using lag bolts, make sure they are long enough to go through the base and far enough
into the benchtop to hold securely.
10