Ask Proxima C440/C450 User Manual
Page 5
3
Table of Contents
Introduction 5
Positioning the projector
First-time projector use with Windows 98
LED Behavior
46
If you are experienced in setting up presentation systems, use the included
Quick Set Up card. For complete details on connecting and operating the
projector, refer to this User’s Guide. Electronic versions of this User’s Guide
in multiple languages are available on the included CD and on our website.
The website also has technical specifications (an interactive image size cal-
culator, laptop activation commands, connector pin outs, a glossary, the
product data sheet), a web store to buy accessories, and a page for online
registration. See the inside of the back cover for a list of all contact numbers
and relevant web addresses.
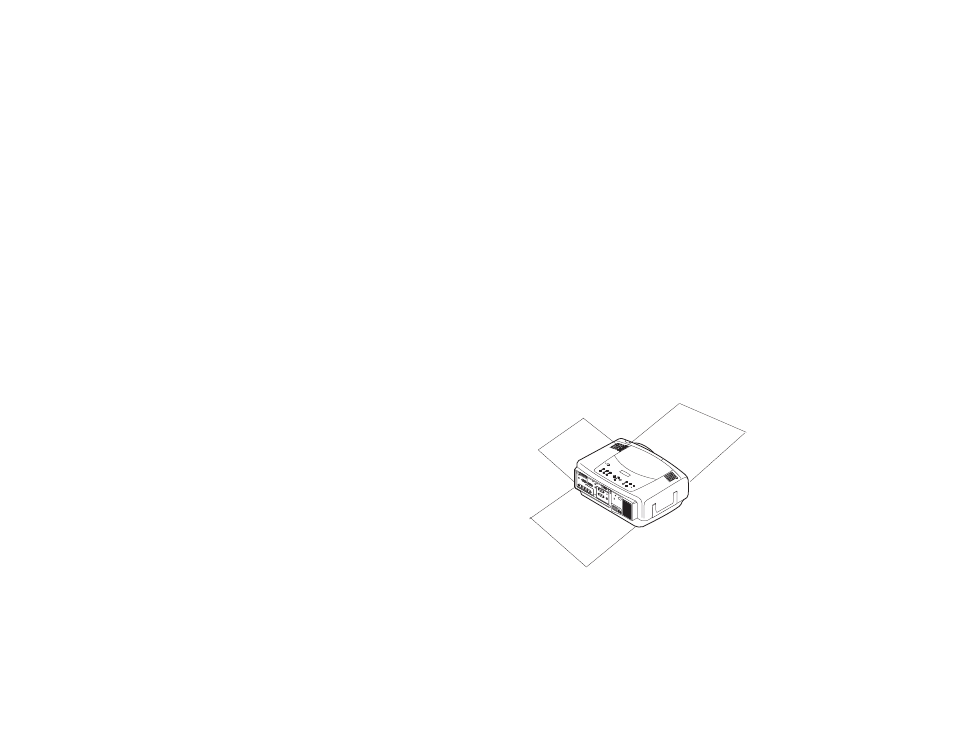
Important Operating Considerations
Do not place the projector on a tablecloth or other soft covering that may
block the vents. Vents are placed along the back, left and front sides of the
projector.
Do not use a non-approved ceiling mount. In the unlikely event of
the lamp rupturing, discard any edible items placed in the surrounding area
and thoroughly clean the area along the sides and in the front of the projec-
tor.
2 ft (.6m)
2 ft (.6m)
2 ft (.6m)
Do not place objects in the areas along the left, back and front sides of the projector