Upgrading your system cpu – Elitegroup 536 User Manual
Page 66
4. The drive is attached to a special bracket that secures it to the
notebook computer. There are 4 screws hold the bracket. Remove
the screws and set them in a safe place.
5. Push the HDD slightly in the direction of the arrow as shown in the
illustration to release it from the pins of the drive.
6. Gently hold the grip of the HDD, lift it up to release from its
compartment.
7. To install the new HDD, you will need to align the tabs on the drive
bracket with the slots on the bay. Press down gently on the drive
bracket until it engages with the system. Do not force the drive into
place this can bend the pins on the hard drive.
8. Slide the compartment cover into place and be sure the screw holes
on the cover align completely with the screw holes in the case.
9. Secure the cover with the three screws.
Upgrading your System CPU
Refer to the following instructions and illustration for information on
upgrading your notebook's CPU
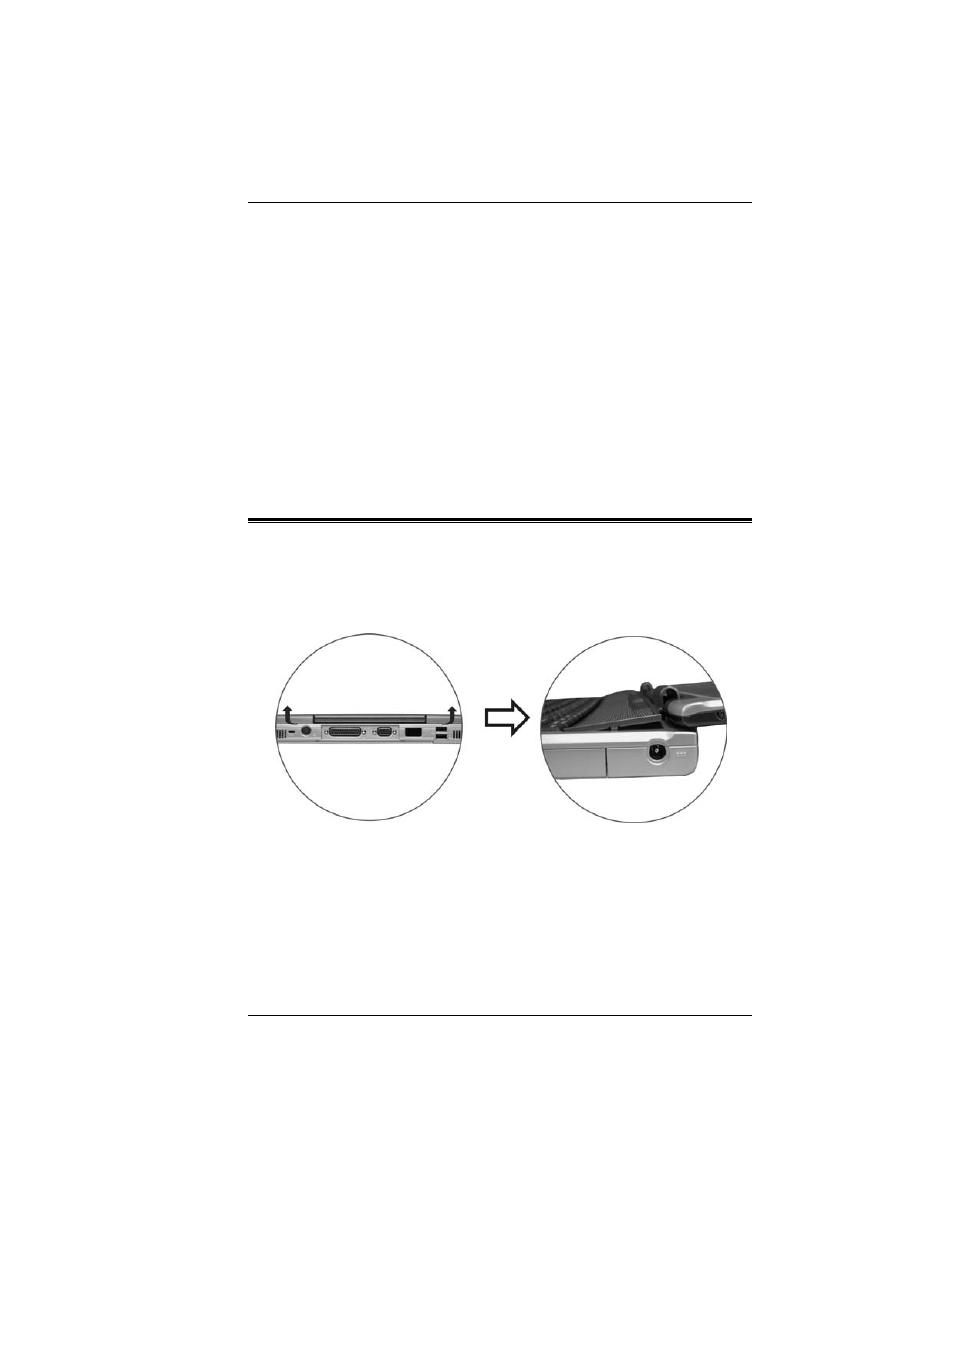
1. Turn off the computer and disconnect the AC adapter and all
peripherals. From the rear side of your notebook, use your index
finger to lift up the hinge cover attached to the LCD screen.
2. Bend your LCD screen into 90 degree angle then carefully lift up the
hinge cover.
3. Remove the screen that is attached to the keyboard in order to
remove the heatsink on top of the CPU.
58