Self timer exposure – AGFA ePhoto CL30 User Manual
Page 22
ePhoto CL30 User’s Guide
23
Changing Advanced Settings
Self Timer
The self timer delays the shutter after you press the shutter button
(for example, so you can set the camera and join the picture).
To turn on the self timer:
1. Select Self timer in the ADVANCED menu. The SELF TIMER
menu appears.
2. Select On or Off and then exit the ADVANCED
menu.
3. Frame the picture and press the shutter button. The red light
stays on for 5 seconds, blinks for 5 seconds and then the cam-
era takes a picture.
The self timer applies only to the next picture. Set the self
timer for each picture individually.
Exposure
Use this option to manually adjust the lightness or darkness of an
image.
To set the exposure manually:
1. Select Exposure in the ADVANCED menu. The EXPOSURE
screen appears with a vertical scale. The settings on the scale
are automatic or manual, in 0.5 f-stops that range from +4 to -4.
2. Scroll the EasyPilot button up (+) to increase the exposure or
down (–) to decrease it.
3. Press the EasyPilot button to set the exposure you want to use
and then exit the ADVANCED
menu.
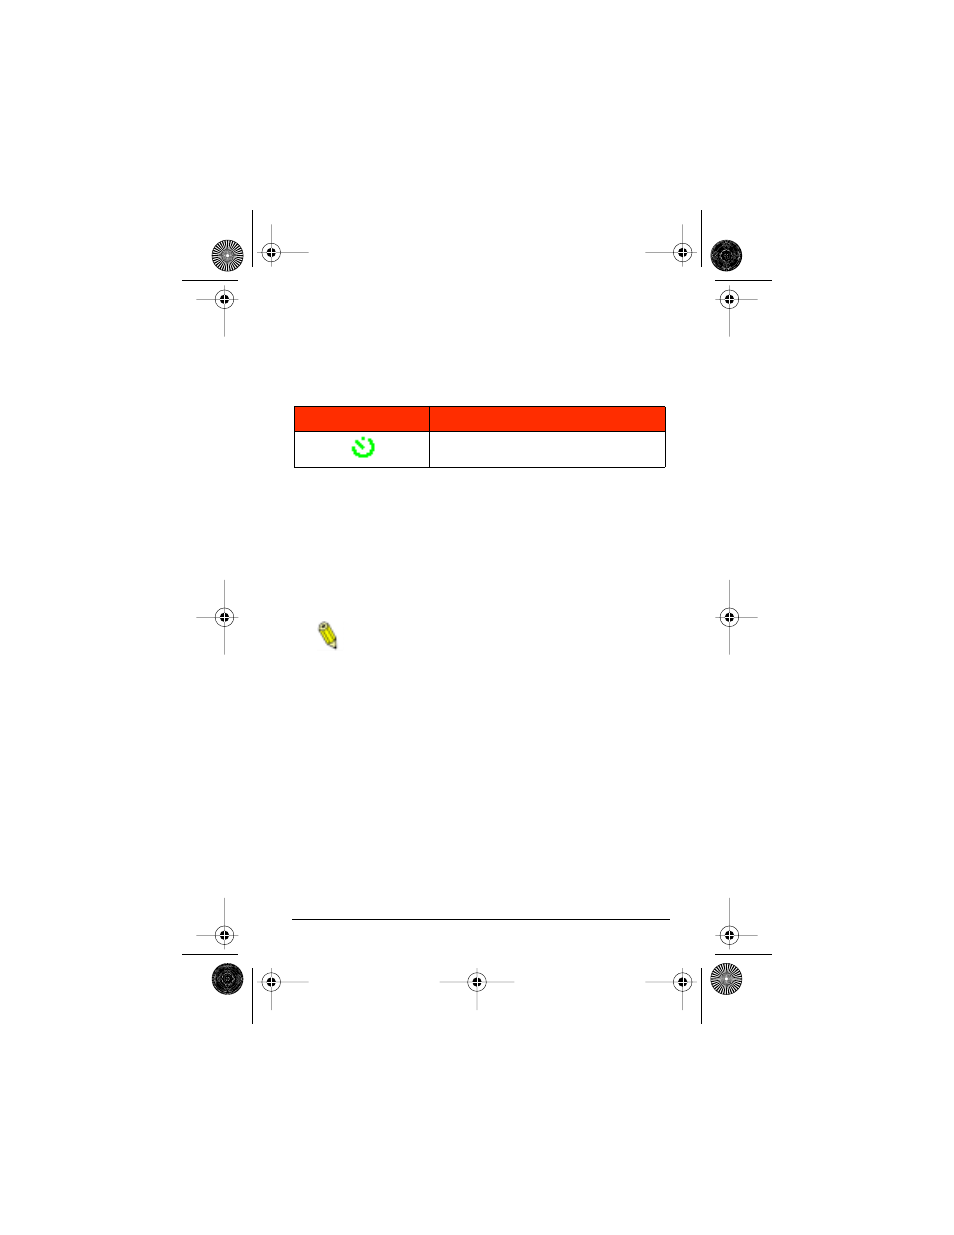
Icon
Setting Selected
Delays the shutter for 10 seconds after
you press the shutter button
CL30Int/Win/Mac Page 23 Tuesday, March 2, 1999 9:15 AM