Installation and use – Qualcraft Permanent Adjustable Standing Seam Roof Anchor User Manual
Page 14
Installation and Use
G
ua
rd
ia
n
Fa
ll
Pr
ot
ec
tio
n
6
30
5
S.
2
31
st
S
t.
, K
en
t,
W
A
9
80
32
p
ho
ne
: (
80
0)
4
66
-6
38
5
f
ax
: (
80
0)
6
70
-7
89
2
w
w
w
.g
ua
rd
ia
nf
al
l.c
om
12
A Qualified Person is responsible for the installation of the Permanent Adjustable
Standing Seam Roof Anchor, and must verify both standing seam and existing structure
meet all compatibility and minimum strength requirements as specified by this
instruction manual. Anchor is intended for permanent installations, but may be used in
multiple installations. Always use new nylock nuts for each installation application.
Prior to installation:
1. Ensure make, model, and material of selected roof seam are compatible with the Permanent
Adjustable Standing Seam Roof Anchor (refer to pg. 8). Measure intended installation location of
Permanent Adjustable Standing Seam Roof Anchor. Contact Guardian Fall Protection with any
questions regarding compatibility.
2. All PFAS equipment must be selected and deemed compatible with the Permanent Adjustable
Standing Seam Roof Anchor by a Competent Person.
3. Work surface must be free of any and all deficiencies, including, but not limited to, corrosion,
rust, deformation, cracking, debris, and loose materials that may infringe upon the stability of
the Permanent Adjustable Standing Seam Roof Anchor.
4. Consider and minimize all existing and potential swing fall hazards.
5. When used in Fall Arrest applications, harness dorsal D-ring must ALWAYS remain level with or
below Permanent Adjustable Standing Seam Roof Anchor.
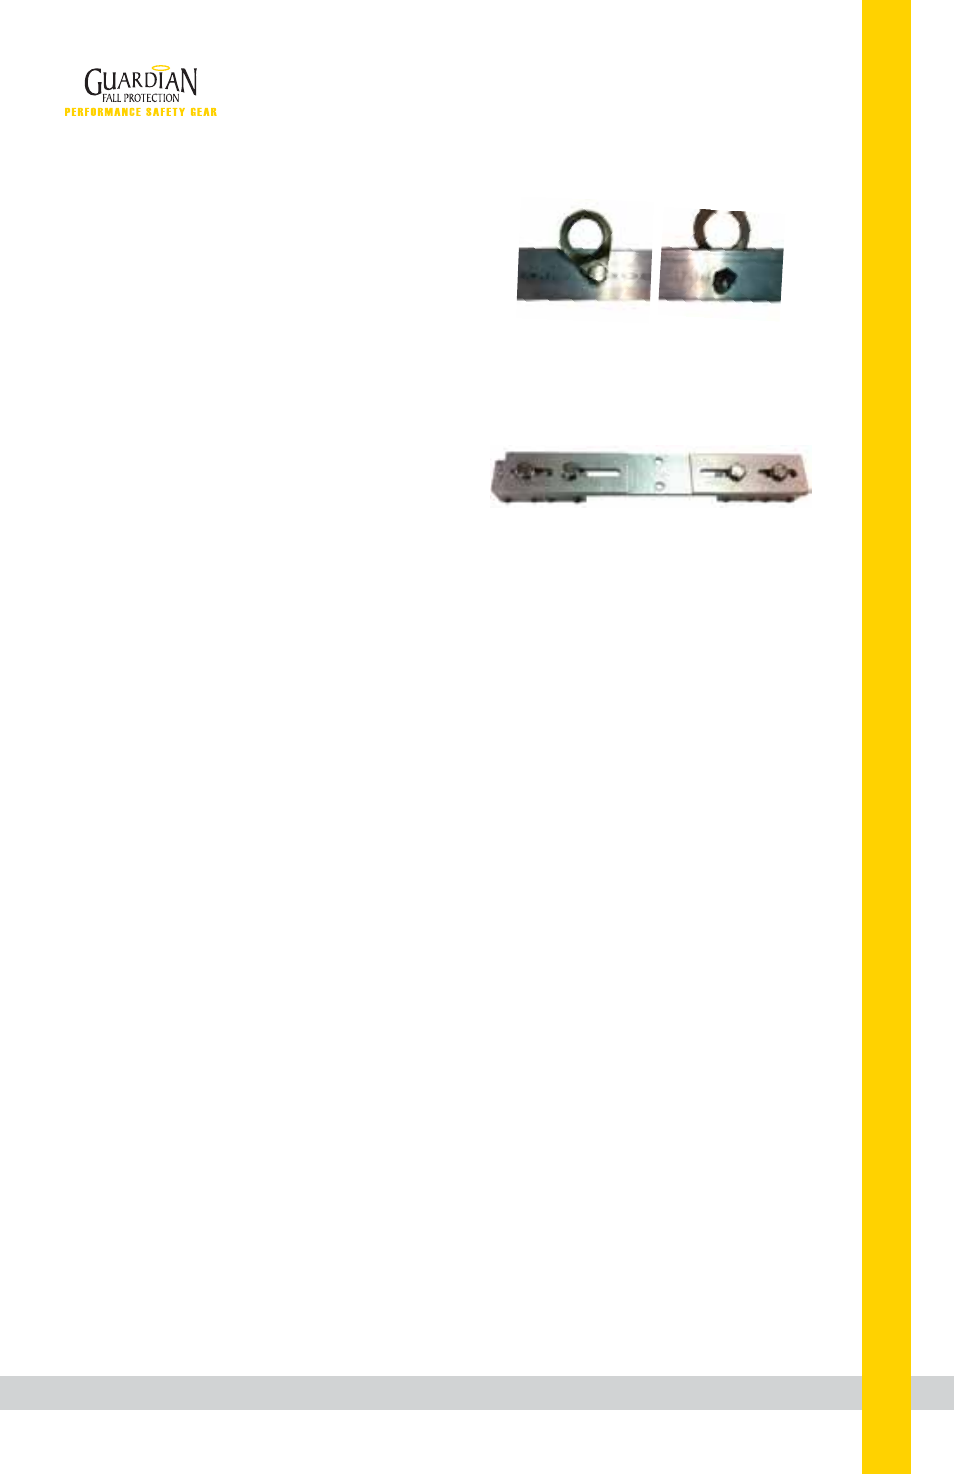
For all fasteners, torque to 25-30
foot-pounds and ensure that MINIMUM
1 complete bolt thread is visible.
1. Install Tie-Off Tab to Tie-Off Bar. Insert 2”
long, 5/8”-18 Bolt through Tie-Off Tab bolt
hole, through washer, through Tie-Off Bar,
and secure with lock nut. Tighten lock nut
against underside of Tie-Off Bar. Tie-Off Tab
must swivel freely a full 360°.
2. Install all (8) S-5 Clamps (4 per Seam Bar) onto
Seam Bars prior to installation of Seam Bars onto
Tie-Off Bar. Insert bolt through washer, through
Seam Bar, and through one of top two S-5 Clamp
holes. One bolt and one washer per S-5 Clamp.
Top View
Bottom View