Plunger pumps, Rmv series pumps, North america – Vortexx RMV Series User Manual
Page 8
First Choice When Quality Matters
NORTH
AMERICA
Plunger Pumps
Operating Instructions and Parts Manual
RMV Series Pumps
Figure 15
Service Pumps (Continued)
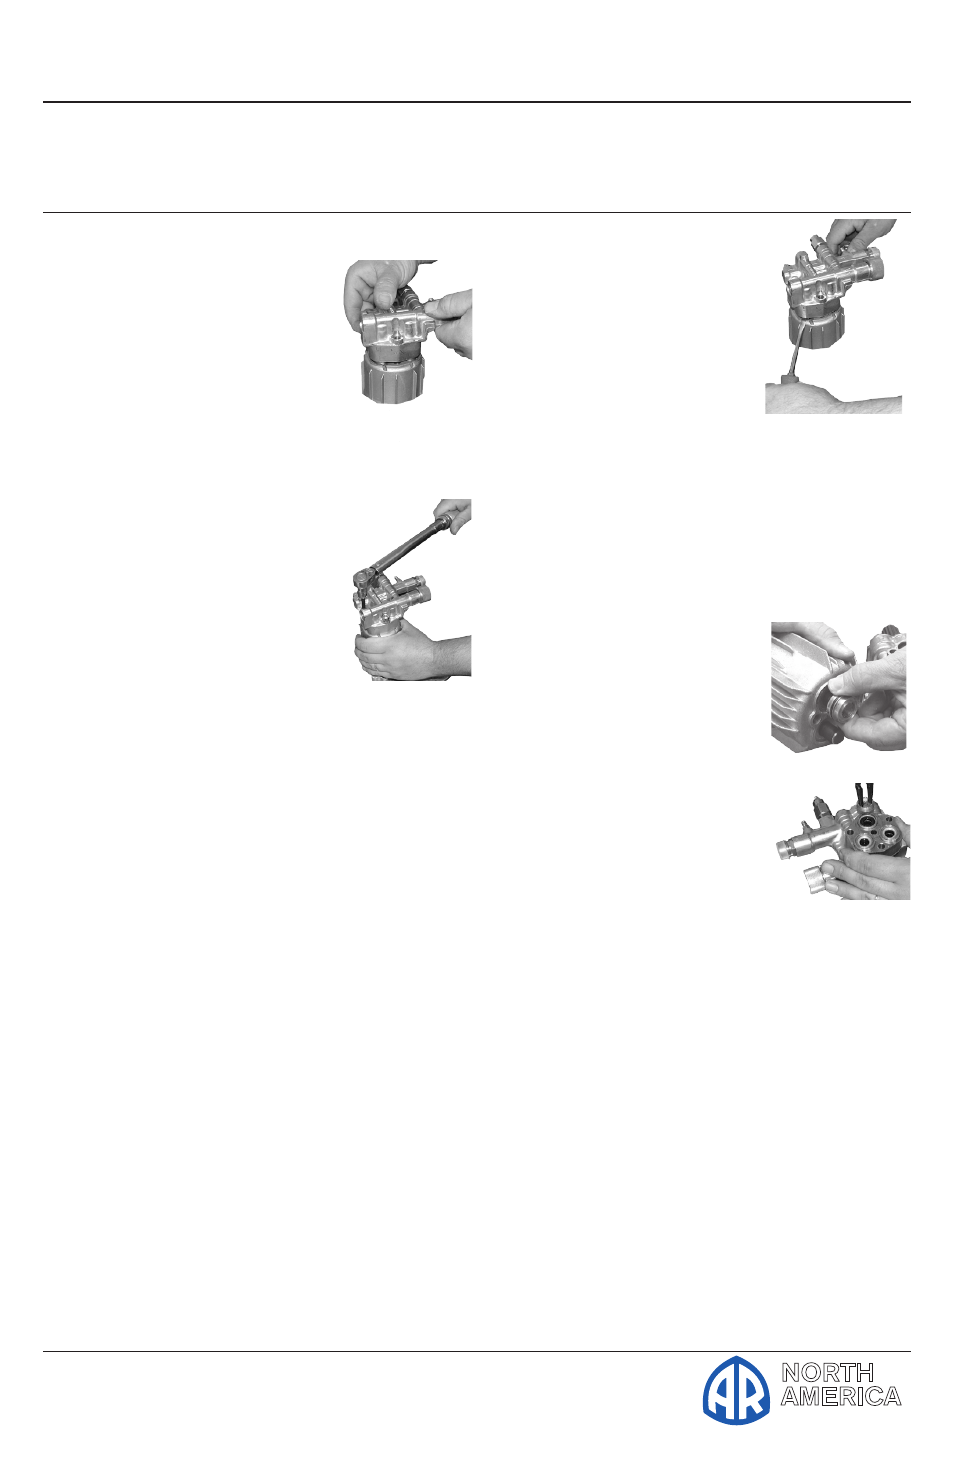
7. Put a thin coat of oil
on the plungers and
packings. (See figure
15)
8. Carefully install the
manifold and torque
the bolt to the proper
specifications. (See figure
16) (See Table C or parts
breakdown)
Valve life is dependant
on many variables. Hard
water, cavitation, corrosion,
chemicals and equipment
care. The valves are a wear item
and need periodic replacement.
Worn O-rings or damaged valves will
cause pressure loss and pulsations.
Servicing the Packings/Seals
Packings:
Disassembly:
To access the water seals for inspection or
replacement, you will first need to remove
the head of the pump.
NOTE: It is important to make note of
the order in which the components of the
packing stack are arranged and facing
during disassembly.
1. Remove the head bolts.
2. Insert small pry bars between the
head and body at opposite corners
and apply pressure down on one pry
bar and up on the
other pry bar. (See
figure 17)
3. Lift the head up and
away from the body.
NOTE: The packing
stacks will not always
stay in the head of the pump
when it is removed. Sometimes
one or more components of the
packing stack will come out of the
head and stay on the plunger.
4. To remove any
components that
stay on the plungers
simply twist back and
forth while pulling up.
(See figure 18)
5. Remove low pressure
seals insert screwdriver
under seal lip and lift
up. (See Figure 19)
6. Remove the piston guides
from the head by using a reverse
plier (preferably rubber coated)
inserted into the center of the
piston guide.
7. Use a back and forth twisting
motion while pulling up
(clockwise and counterclockwise).
8. Another method is to use a two-
prong slide hammer puller. Insert
the prongs into the piston guide
allowing the prongs to grab under
the support ring then use the
Figure 17
Figure 19
Figure 18
Figure 16