Assembly instructions, Warning, Tools required – King Kooker 1203 Southwestern Sizzler User Manual
Page 9
9
sectIon I
Assembly InstructIons
the use And cAre mAnuAl must be reAd And understood
beFore usIng the ApplIAnce
(Throughout this manual the words appliance, cooker, fryer/boiler, burner and stove will be
used interchangeably to refer to the King Kooker
®
Outdoor Cooker.)
WARNING
CARBON MONOXIDE HAZARD
Burning charcoal inside can
kill you. It gives off carbon
monoxide, which has no odor.
NEVER burn charcoal inside
homes, vehicles or tents.
IMPORTANT: Read your cooker Instruction Manual before using�
this thermometer. The Red Zone is Danger. Never allow tem-�
perature of oil to exceed 350ûF. NEVER LEAVE COOKER
UNATTENDED. Failure to follow these instruc-�
tions could cause a grease fire / explosion result-
�
ing in personal injury, death, or property damage.
DEEP FRY THERMOMETER
�
�
WARNING
tools reQuIred:
torQue wrench or AdjustAble wrench, screwdrIVer, leAK testIng solutIon
1. Before assembling, check that all cooker components are included in the shipping carton. Identify
these cooker parts from the assembly drawing. Accessories such as pots may vary according to model.
Check the list of accessories on your cooker box. The following parts are considered essential and
should be included in your package regardless of model number.
required parts lists:
cooker stand, burner, lp hose and regulator, thermometer
If any of the above parts are missing, contact Metal Fusion, Inc. at 1-800-783-3885 between the hours
of 7:30 a.m. and 3:30 p.m. CST Monday through Friday for replacements.
2. Read assembly instructions, and understand sequence of assembly, before commencing to assemble
your cooker.
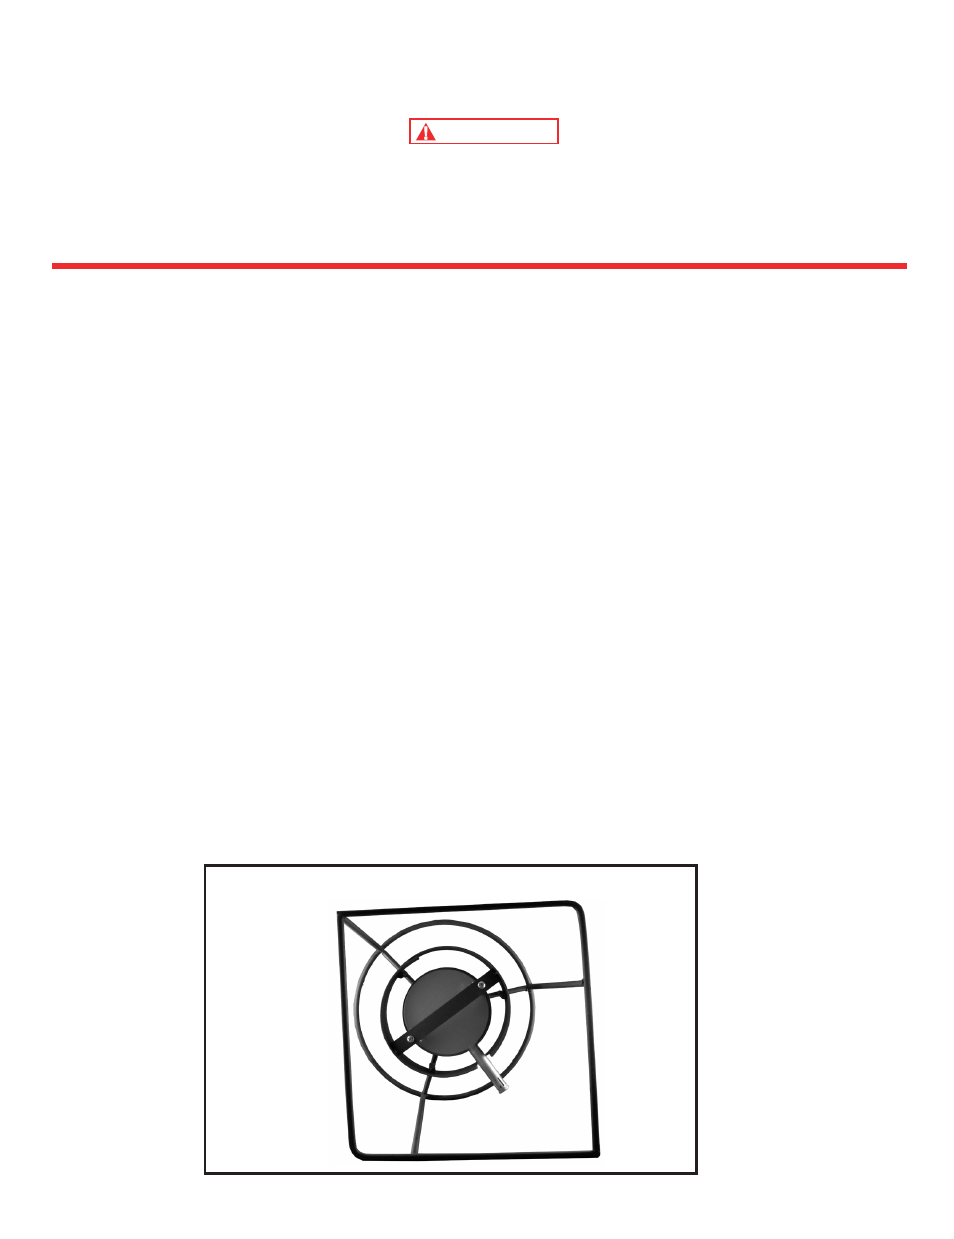
3. Install the burner into the cooker stand as per directions below.
A. Remove the two screws from the burner’s receiving brackets located on the bottom of
the burner using a screwdriver.
B. Flip cooker stand upside down as pictured in
Figure 1.
C. Align the two holes on flat bar of cooker stand to the two holes on the receiving brackets
located on the bottom of the burner. The venturi tube of the burner should stick through
the shroud opening.
D. Insert screws through flat bar and into receiving brackets of the burner. Tighten with
screwdriver. Reference
Figure 1 below for properly installed burner.
E. Flip cooker stand right side up. Check to see if the burner is level and sturdy.
Figure 1
bottom View for Assembly