Instructions, Safety information – Farm Star MCB-6 User Manual
Page 5
3
4
S A F E T Y S I G N S
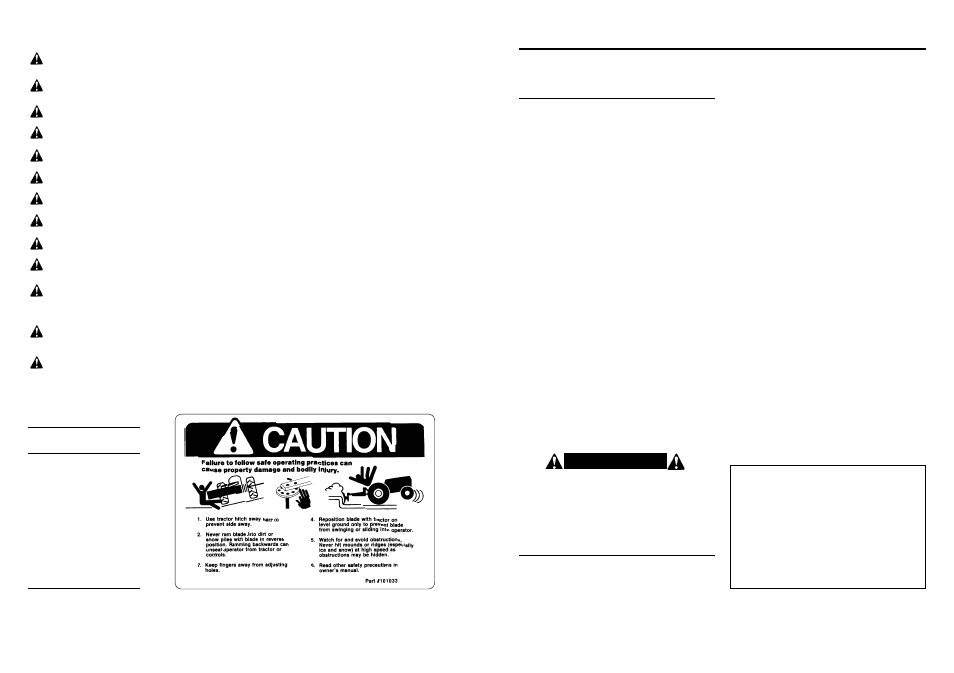
This SAFETY SIGN is
located on the frame of
your rear blade.
Obey ALL Safety
Warnings.
NOTE:
If Safety Sign is missing
or damaged, replace
immediately.
Safety Information
Keep alert and watch the front as well as the rear when working with the implement.
When maneuvering close to buildings or passing through narrow areas, be sure to allow sufficient clearance
for the implement.
Do not operate close to ditches or creeks. Slow down when operating over rough ground.
Always be sure the implement is in the fully raised position when in transport.
When adjusting the angle of the moldboard assembly, be sure that your feet are never under the rear blade.
Use extreme caution when backfilling deep holes or trenches.
Be careful to avoid catching the rear blade on stumps or other immovable objects.
Use care when working on slopes.
Avoid excessive speed during operation.
Make adjustments only when the implement is attached to the tractor.
When using the rear blade in a reverse position, use extra care. Do not ram rear blade into piles of dirt.
Tractor lift arms and the rear blade are not built to take high impact loads in this position. Ramming backwards
can also dislodge operator from seat and/or tractor controls, resulting in possible serious injury or death.
Always ease the tractor into the load. It may be necessary to reposition and take less “bite” on the material to
move it safely.
Watch for and avoid hidden obstructions, i.e., buried pipes, rocks, concrete piers, uneven concrete slabs,
stumps, etc., when operating.
Please work, drive, play,
and live each day
with care and concern
for your safety
and that of your family
and fellow citizens.
T R A C T O R R E Q U I R E M E N T S
A N D P R E PA R AT I O N
INSTRUCTIONS
A S S E M B LY A N D M O U N T I N G
The Model MCB-6 Rear Blade will fit most Category I
tractors equipped with a standard 3-point hitch. The rear
blade will fit Category 0 3-point hitch tractors when
equipped with Category 0/I pull pins.
The pins need to be installed to the inside of the 3-point
frame for use with Category 0 tractors.
The model MCB-6 Rear Blade is an economy blade for
use on Category I tractors up to 30 horsepower in size.
For use on larger tractors, extra care is required and it is
strongly suggested that purchasing a heavier rear blade
be considered.
Check the tractor’s 3-point hydraulic lift system. It
should operate up and down smoothly and hold its
position when set. Refer to your tractor owner’s manual
or dealer for any adjustments necessary to put the 3-
point hydraulic lift system in good working order. (I&T
shop manuals will list most specifications and adjustment
instructions – available from most farm equipment
dealers.)
Tractor should be equipped with stabilizer bars,
adjustable sway chains, or sway blocks to keep the
implement from swinging side to side.
Smaller size tractors may need front counter weights to
counter-balance the weight of the implement.
It is recommended that the tractor be equipped with a
Rollover Protection System (ROPS) and a seat belt that
is used.
Be sure your tractor is in good condition. Read all
the safety precautions and make sure all tractor oper-
ators are familiar with the safety rules of operation.
C A U T I O N !
A-frame top link and lower hitch holes in order to allow
your hitch pins to pass through them. A-frame should
be positioned square to the frame when tightening
hardware.
2. Attach rear blade hitch frame to tractor 3-point hitch
using a
3
/
4
inch (Cat I) top link pin and linch pins
furnished by customer.
3. The moldboard, cutting edge, and moldboard frame
are a one piece weldment. Remove the hex nylock
locknut and flat washer from the one inch diameter
spindle bolt. Insert the bolt through the large hole at
the rear of the 3 pt. hitch frame. Slide the flat washer
on the spindle bolt and then re-install the one inch
hex nylock locknut. Only tighten until lightly snug (the
moldboard should be able to rotate by hand but have
little to no vertical movement).
NOTE: If the moldboard to hitch frame connection
becomes loose after blade use, this looseness can be
removed by tightening the one inch locknut.
Once the moldboard assembly is mounted to the 3 pt.
hitch frame, turn the moldboard assembly to your desired
operating angle and insert the angle adjustment shift pin.
NOTE: Always use the tractor anti-sway bars, blocks, or
chains to prevent blade side-sway. This is a must when
using the blade in a reverse position.
Your Rear Mounted Blade is now assembled and
mounted on your tractor. It is ready to go to work for
you.
1. Attach the upper 3-point A-frame members, to the 3-
point hitch lugs as shown on page 7, with hardware
as indicated. DO NOT tighten hardware. Align the