Nova-Tech 4211 TRACEABLE BIG-DIGIT REFRIGERATOR THERMOMETER User Manual
Nova-Tech Equipment
◄
SpecificationS
Range:
-3.8 to 199.9°F / -19.9 to 110.0°C
Resolution: 0.1°
Accuracy:
±1°C (0 to 25°C);
otherwise ±1.5°C (standard model)
±0.5° C at tested points;
otherwise ±1.5°C (Ultra™ model)
Update Rate: ~30 seconds
ULtRa™ tHeRMoMeteR accURacY
Ultra™ thermometers are tested at selected test
points to be within tighter than normal tolerances
to assist in providing improved accuracy. Other
points will not necessarily fall within the same
accuracy as those found at the selected test
points, but will be within an accuracy of ±1.5° C.
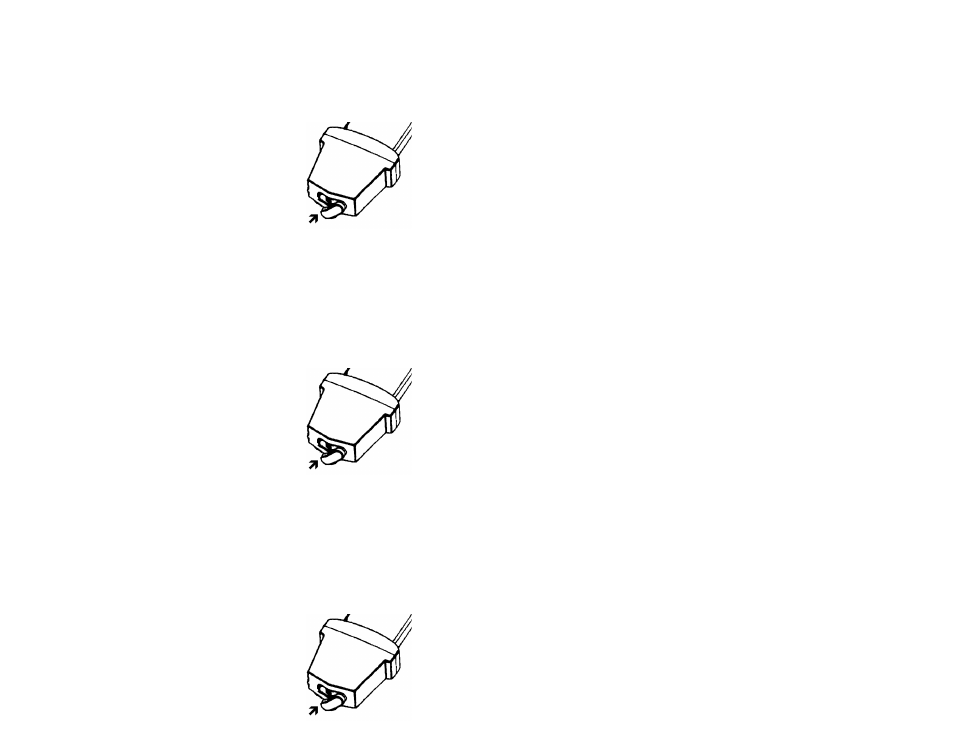
DiSpLaYinG °f oR °c
1. Remove the clear rubber cap from the bottom of
the unit to expose the °F/°C button.
2. Each press of the °F/°C button toggles the
display between °F and °C.
3. With the desired unit of measure appearing on
the display, replace the rubber cap to insure the
thermometer remains water resistant.
aLL opeRationaL DifficULtieS
If this thermometer does not function properly for
any reason, replace the battery with a new high-
quality battery (see the “Battery Replacement” sec-
tion). Low battery power can occasionally cause
any number of “apparent” operational difficulties.
Replacing the battery with a new fresh battery will
solve most difficulties.
If the unit is exposed to rapid changes in tem-
perature, moisture may condense on the internal
electronic components or on the display causing
erratic, incorrect, or no readings on the display. To
dry out the unit, open the unit by following steps
1 through 3 in the “Battery Replacement” section.
Allow the unit to dry at room temperature for 24
hours. Close the unit by following steps 6 through
8 in the “Battery Replacement” section.
MoUntinG tHe Unit
Most refrigerators have varying internal air tem-
peratures, the unit should be placed as close as
possible to the materials being observed.
Suction cup– Wet the suction cup with warm water.
Apply to any clean smooth surface. If the surface
does not allow for the suction cup to hold, use
the supplied Velcro
®
to mount the unit.
Velcro
®
– Remove the backing from one piece of
Velcro
®
. Press the Velcro
®
firmly onto the suction
cup (the suction cup may flatten). Remove the
backing from the second piece of Velcro
®
. Press
the Velcro
®
firmly onto the selected surface for
mounting. Press the unit firmly into place.
SpecificationS
Range:
-3.8 to 199.9°F / -19.9 to 110.0°C
Resolution: 0.1°
Accuracy:
±1°C (0 to 25°C);
otherwise ±1.5°C (standard model)
±0.5° C at tested points;
otherwise ±1.5°C (Ultra™ model)
Update Rate: ~30 seconds
ULtRa™ tHeRMoMeteR accURacY
Ultra™ thermometers are tested at selected test
points to be within tighter than normal tolerances
to assist in providing improved accuracy. Other
points will not necessarily fall within the same
accuracy as those found at the selected test
points, but will be within an accuracy of ±1.5° C.
DiSpLaYinG °f oR °c
1. Remove the clear rubber cap from the bottom of
the unit to expose the °F/°C button.
2. Each press of the °F/°C button toggles the
display between °F and °C.
3. With the desired unit of measure appearing on
the display, replace the rubber cap to insure the
thermometer remains water resistant.
aLL opeRationaL DifficULtieS
If this thermometer does not function properly for
any reason, replace the battery with a new high-
quality battery (see the “Battery Replacement” sec-
tion). Low battery power can occasionally cause
any number of “apparent” operational difficulties.
Replacing the battery with a new fresh battery will
solve most difficulties.
If the unit is exposed to rapid changes in tem-
perature, moisture may condense on the internal
electronic components or on the display causing
erratic, incorrect, or no readings on the display. To
dry out the unit, open the unit by following steps
1 through 3 in the “Battery Replacement” section.
Allow the unit to dry at room temperature for 24
hours. Close the unit by following steps 6 through
8 in the “Battery Replacement” section.
MoUntinG tHe Unit
Most refrigerators have varying internal air tem-
peratures, the unit should be placed as close as
possible to the materials being observed.
Suction cup– Wet the suction cup with warm water.
Apply to any clean smooth surface. If the surface
does not allow for the suction cup to hold, use
the supplied Velcro
®
to mount the unit.
Velcro
®
– Remove the backing from one piece of
Velcro
®
. Press the Velcro
®
firmly onto the suction
cup (the suction cup may flatten). Remove the
backing from the second piece of Velcro
®
. Press
the Velcro
®
firmly onto the selected surface for
mounting. Press the unit firmly into place.