Scene × save #01, Saving now, Input1 × not used input1 × scene input1 × chaser – Lightronics RD82 User Manual
Page 6
Page
6
of
14
RD - 82 RACK MOUNT DIMMER
Version 1.2
OWNERS MANUAL
02/28/2005
www.lightronics.com
Lightronics Inc.
509 Central Drive, Virginia Beach, VA 23454
(757) 486-3588
NORMAL OPERATION
As you operate faders on your console the associated channel levels are indicated on the RD-82 display. The
display will also indicate any abnormal conditions such as over temperature or over voltage. The fan will run at full
speed whenever there is a control signal present and one or more faders are at full on. The fan will drop to half
speed a few minutes after all faders are lowered to full off and will stop shortly after the control signal is removed.
INTERNAL SCENE OPERATION
The RD-82 has the ability to internally save a single scene which may be activated remotely. The scene remains
in the unit’s memory when it is shut off and will be available the next time the unit is powered on. A saved scene
is not lost when the unit is reset.
TO SAVE A SCENE:
1.
Create the scene from a control console or from the front panel of the dimmer itself by activating the
applicable
channels.
2.
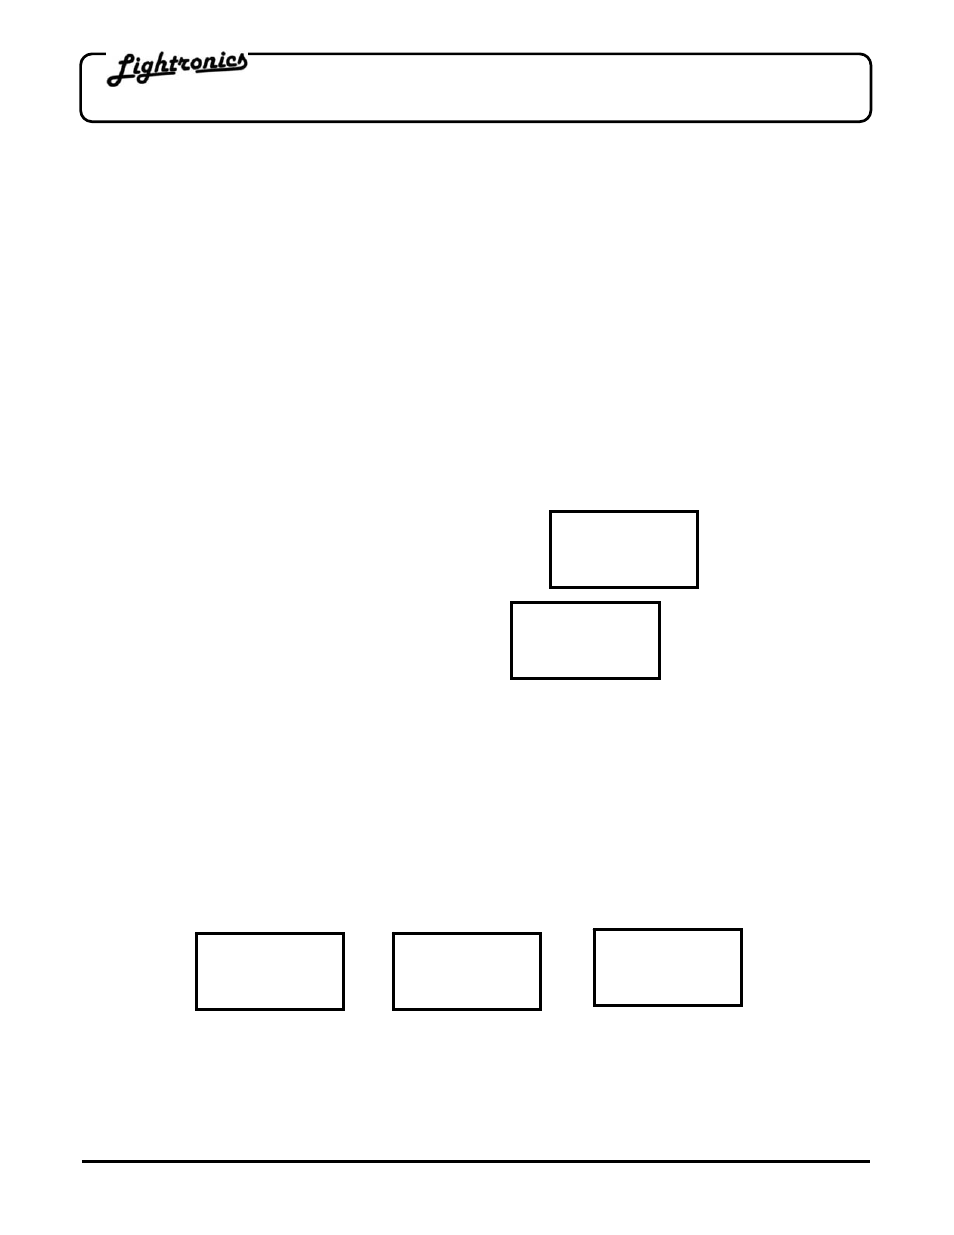
Press and hold the front panel SELECT button until the front panel display appears as shown below:
Scene ×
Save #01
You will have to hold the button down for about 6 seconds.
3. Push
SELECT. The display will show the message:
SAVING
NOW !
4.
The scene has been recorded when the LCD reverts to its normal display.
TO ACTIVATE A STORED SCENE:
A scene previously stored in the RD-82 is activated by connecting together pins 5 and 9 of either DB9 connector.
The DB9 connectors are on the rear of the dimmer. This may be done via a remotely located switch. The
activated scene will remain active as long as pins 5 and 9 on the DB9 connectors remain connected together.
In addition to activating a scene, the RD-82 can be set to ignore the remote switch or activate chaser functions. In
order to use the remote switch for internal scene activation you must enable that function as follows:
1. Push
MENU 3 times. The display will show the message "MENU" on the bottom row.
2. Push
SELECT. The LCD will display one of messages shown below.
Input1 ×
Not Used
Input1 ×
Scene
Input1 ×
Chaser
3.
If "Not Used" or "Chaser" appears on the bottom row, push the UP or DOWN arrow buttons until "Scene"
appears.
4. Push
SELECT to return the unit to normal operation.
The front panel display shows an "S" on the bottom row as an indication that an internal scene is active.