Installation instructions, Unpacking, Location and mounting – Hydra-Flex Aqua-Lab MD Installation Manual User Manual
Page 8
Installation Manual
© Hydra-Flex Inc 2011
- 6 -
Installation Instructions
General Skill Level
• Mechanical: Basic - mounting equipment
• Electrical: Advanced - three phase power and controls knowledge
(local codes knowledge required)
• Plumbing: Moderate – principal supply line required
• Pneumatic: Basic- pneumatic utility connection required
• Chemical Knowledge: Moderate : Advanced - chemical titrations required
Tools and Equipment Needed
• Drill with Phillips head
• Concrete drill bit 3/8”
• Concrete drill bit 5/32”
• Hammer
• Tape measure
• Level
• Utility knife
• Wire stripper
• Socket set
• Adjustable wrench
• Screw driver set
• Teflon tape
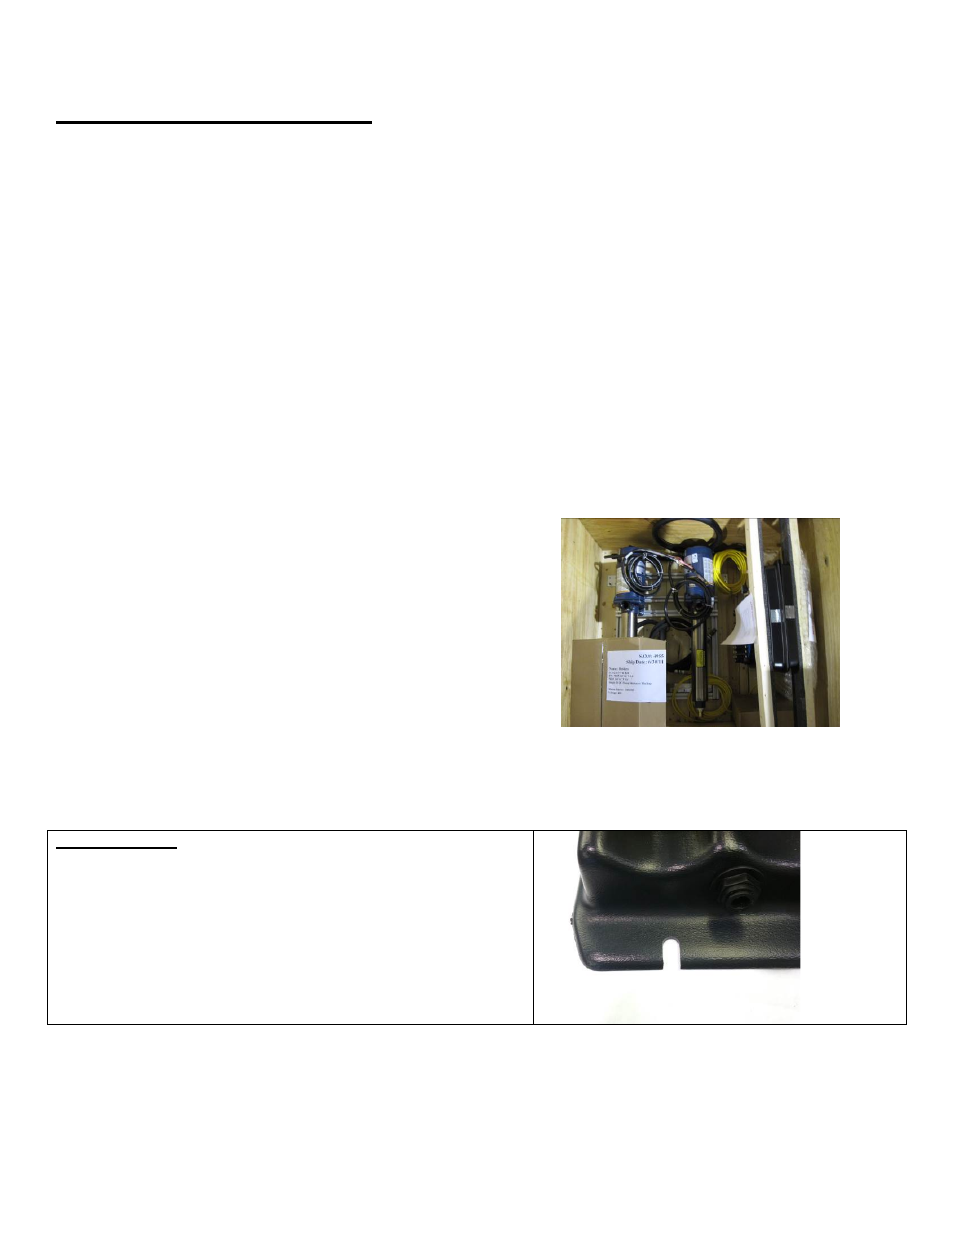
Unpacking
The AQUA-LAB is shipped in a wooden crate for protection.
1. Cut straps holding crate together, lift off top and sides
2. Un-bolt the Pump Stand from the pallet.
3. Lift the Pump Stand from the pallet. Use assistance if
necessary.
4. ***Be sure not to discard of the manuals and accessories
box.
Location and Mounting
**If location was not identified during the Pre-Installation Process,
make
sure to consider the proximity to feed water, power supply, and the control cabinet as well as space near the system to
store chemical containers.
***See drawing in appendix for general layout
AQUA-LAB MD5
1. Drill 4
5/32”
holes on the wall. 16
3/8”
wide, 27
5/8
” tall
2. Press MD5 board tight against the wall.
3. Screw in 3/16” concrete screws with a washer provided.