Hellwig Sway Bar 55732 User Manual
Page 2
559-734-7451 800-367-5480 FAX 559-734-7460
( R-55731 ) 4/2/2012
1. Remove the factory front sway bar, unbolting the end link at the sway bar end and leave the factory end
links in place. Retain all hardware since it will be reused in the install.
2. Lubricate the inside of the provided polyurethane bushings and place them on the Hellwig sway bar in
the stock locations.
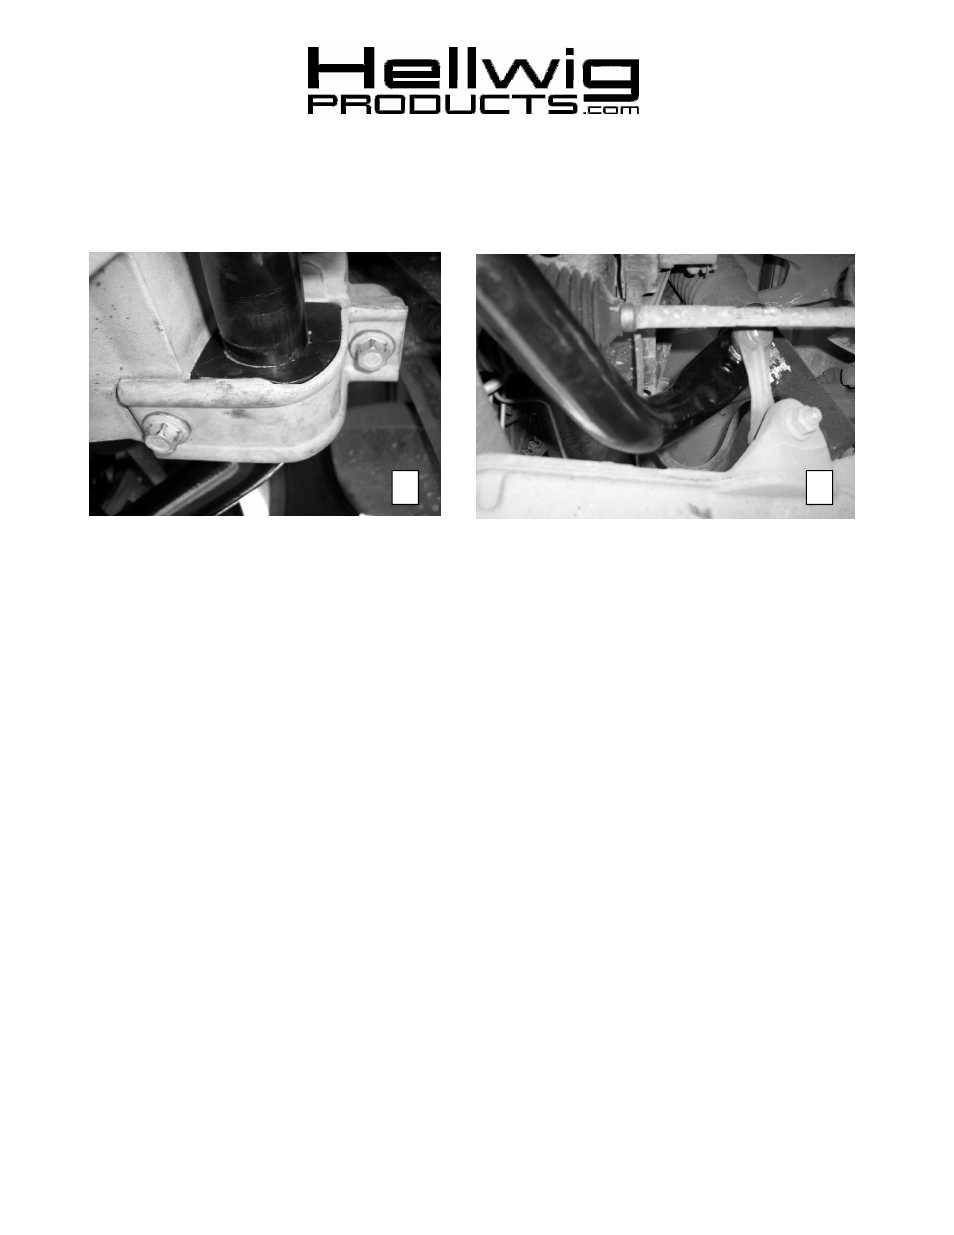
3. Place the sway bar in the stock location and, using the factory bolts and bracket, bolt to the frame as
shown in Photo 2. Torque bolts to factory specifications.
4. Bolt the factory end link to the sway bar. The sway bar has two holes to allow adjustability in its stiff-
ness. The further out hole is the softer setting and we recommend starting in this position until you are
familiar with the vehicle’s new handling characteristics. Then you can move the inner hole if you want
the sway bar to be stiffer. Torque nut to manufacturer specifications. See Photo 3.
5. Bounce the front of the vehicle with the wheels straight and then turned full lock in both directions
checking for clearance on all undercarriage components. Be sure all nuts and bolts are securely fastened.
6. Drive the vehicle and recheck your installation, look for clearance between gas lines, exhaust pipes,
brake lines, wiring, etc. After one week of driving check your installation and periodically thereafter.
2
3