Hellwig Sway Bar 7719 User Manual
Page 2
559-734-7451 800-367-5480 FAX 559-734-7460
2
3
7719 (R-7719)
12/21/2011
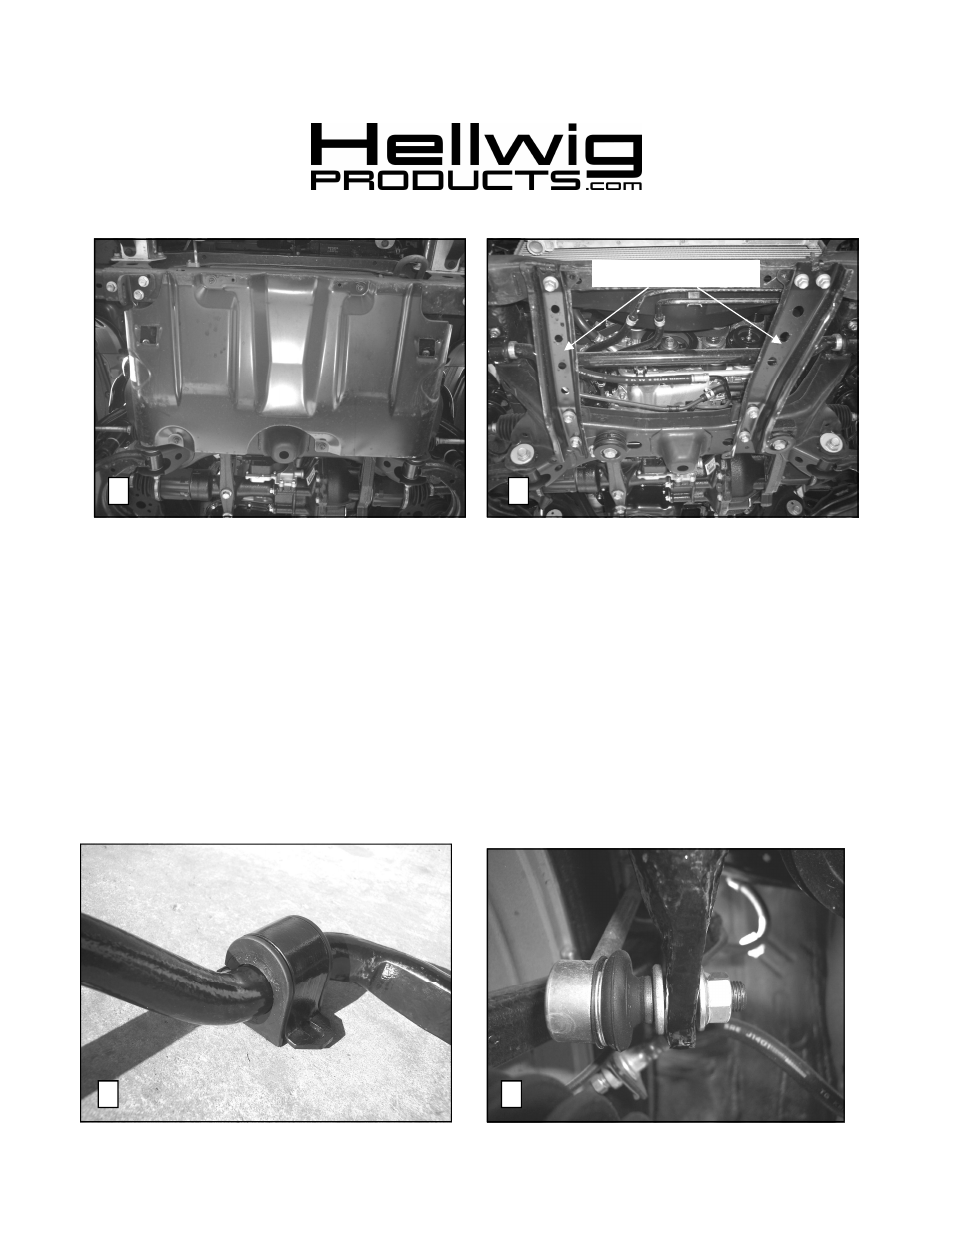
1. Unbolt and remove the factory splash guard shown in PHOTO 2, making sure to save all the components to
reinstall.
2. Unbolt and remove the two factory subframe supports shown in PHOTO 3, making sure to save all the com-
ponents to reinstall as well.
3. Unbolt the factory sway bar, leaving the end link on the vehicle. Once again, retain all the hardware for the
installation.
4. Lubricate the inside of the D-bushings and place them onto the shoulders of the Hellwig sway bar as shown
in PHOTO 4 and then place the provided U-plate over the bushing.
5. Attach the ends of the Hellwig bar to the factory end links and bolt in place using the factory nut as shown in
PHOTO 5.
6. Swing the sway bar up and, using the factory bolts, attach the U-plates to the frame in the stock location as
shown in PHOTO 6.
7. Check to make sure the sway bar is centered and then place the provided collar clamps on the insides of both
D-bushings to prevent the bar from shifting as shown in PHOTO 6.
Subframe Supports
4
5