Hellwig Sway Bar 7718 User Manual
Installation instructions, Front stabilizer bar 7718
INSTALLATION INSTRUCTIONS
Front Stabilizer Bar 7718
Thank you for purchasing a quality Hellwig Product.
PLEASE READ THIS INSTRUCTION SHEET COMPLETELY BEFORE STARTING YOUR
559-734-7451 800-367-5480 FAX 559-734-7460
1
SAFETY
: BEFORE BEGINNING INSTALLATION BE SURE TO SET THE PARKING BRAKE AND CHOCK
THE WHEELS.
NOTE:
TO EASE INSTALLATION AND PROPERLY ADJUST THE BAR, THE WEIGHT OF THE VEHICLE
MUST BE ON THE SUSPENSION AS IF DRIVING DOWN THE ROAD. DO NOT RAISE THE VEHICLE BY THE
FRAME
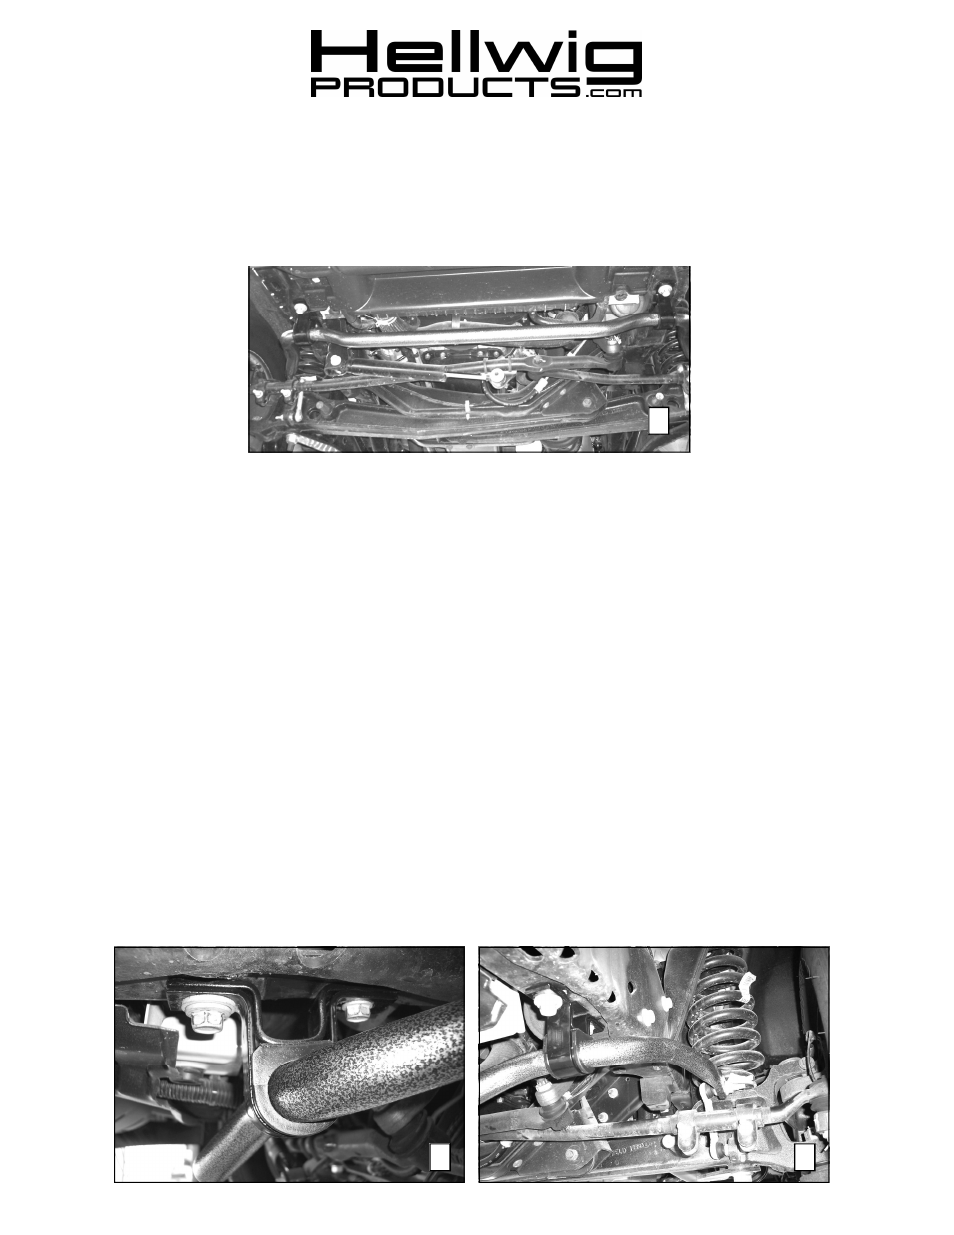
1. Remove the factory front sway bar keeping the original bolts and nuts to be reused.
2. Use the included grease to lubricate the inside of the D-bushings and place them on the shoulders of the bar
on either side of the hump.
3. Slide the larger U-plate over the D-bushings and then slide the smaller U-plate behind it to hold it in place
as shown in Picture 2. Make sure both of the larger holes in the U-plates are facing away from the arms
when the hump is hanging down.
4. Using the factory bolts, loosely attach the sway bar to the frame in the stock location.
5. Rotate the arms up and attach them to the factory end link using the nuts from the original bar as shown in
Picture 3.
6. Make sure the bar has clearance between the ends and the coil and then torque all the bolts and nuts to fac-
tory spec.
5.
Bounce the vehicle with wheels straight and turned to full lock in both directions checking for clear-
ance on all under carriage components: fuel tank, shocks, differential, brake and fuel lines, etc. Test
drive the vehicle and recheck all clearances and the installation alignment. Adjust as needed. Re-check your
installation after one week of driving and periodically on a regular basis.
ATTENTION INSTALLER: BE SURE THAT THE CUSTOMER RECEIVES THIS INSTRUCTION
SHEET, ALL IMORTANT NOTE CARDS AND THE WARRANTY FORM
3
2