Programming troubleshooting, Factory reset, Lock out function – Flowline LC52 DataPoint User Manual
Page 6: Re-span the lc52, Offset, Span, Rly1, rly2a, rly2b, Setting values, Easycal calibration, Step eight step nine
Step Eight
Step Nine
PROGRAMMING
TROUBLESHOOTING
Factory Reset:
Returns the LC52 to its original factory set points,
including setting the OFFSET to 4 mA and the SPAN
to 20 mA. Hold both the 4/UP and 20/DWN buttons
when adding power to the LC52.
Factory Settings for the LC52 Controller
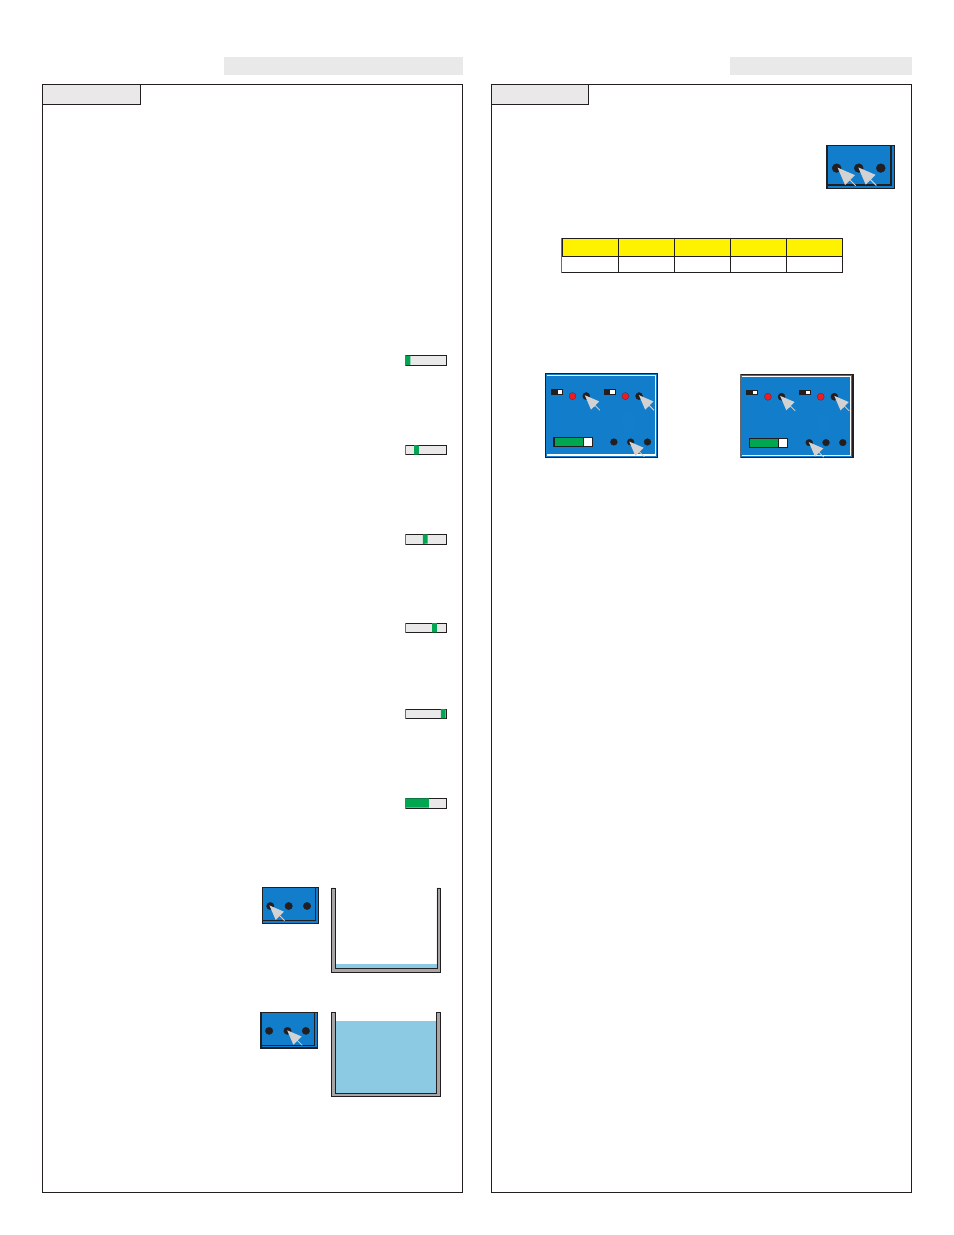
Lock Out Function:
Press both delay buttons and the DWN button to lock out all push
button functions on the LC52. Press both delay buttons and the UP
button to unlock all push button functions on the LC52.
Lock Out ON
Lock Out OFF
Re-Span the LC52:
Do a factory reset of the LC52 (holding the [4] and [20] buttons while
adding power to the unit). Next set the level transmitter to send a 20
mA current. On the LU30-5003, set the EC20 to the level the LU30 is
currently reading. While a 20 mA current is being sent to the LC52,
adjust the R23 potentiometer until the display reads 20.0. Once com-
pleted, repackage and program the LC52 and return the EC20 value
on the LU30 back to its correct setting. Note: the R23 Potentiometer
can be reached by removing the front label of the LC52 and using a
long jewelers screwdriver to reach it. R23 is located underneath the
red LED on the LED bar graph approximately halfway down the
PCB. Use extreme caution when adjusting R23.
OFFSET:
Equivalent to the 4 mA set point on the transmitter. Enter the value
you would like to see when the LC52 receives 4 mA.
SPAN:
Equivalent to the 20 mA set point on the transmitter. Enter the value
you would like to see when the LC52 receives 20 mA.
RLY1, RLY2A, RLY2B:
Set points for Relays. Values must be between OFFSET and SPAN.
Setting values:
With the Latch Off, ignore steps 9 and 10. RLY2B will not show dur-
ing the programming section with Latch Off.
1. Press the SET button once. Immediately, the LED bar
graph will begin to flash one Green bar next to
OFFSET.
2. Use UP / DWN buttons to change display to the desired
OFFSET value.
3. Press the SET button again. Immediately, the LED bar
graph will jump one Green bar to the right next to
SPAN.
4. Use UP / DWN buttons to change display to the desired
SPAN value.
5. Press the SET button again. Immediately, the LED bar
graph will jump one Green bar to the right next to
RLY1.
6. Use UP / DWN buttons to change display to the desired
RLY1 value.
7. Press the SET button again. Immediately, the LED bar
graph will jump one Green bar to the right next to
RLY2A.
8. Use UP / DWN buttons to change display to the desired
RLY2A value.
9. Press the SET button again. Immediately, the LED bar
graph will jump one Green bar to the right next to
RLY2B.
10. Use UP / DWN buttons to change display to the desired
RLY2B value.
11. Press the SET button again. Immediately, the LED bar
graph will return back to it normal operation of solid
bars.
EasyCal Calibration:
The Offset and Span points may be programmed directly to a specific
level in the tank. These are the EasyCal 4 (EC4) and EasyCal 20
(EC20) values. Note: the level of
the tank must physically be at its
desired level when using EasyCal.
If not, the EasyCal will accept the
level and the values on the display
will be incorrect. Use the factory
reset to start over if this occurs.
To calibrate EC4, set the tank to the
new Offset level. Press [4] button
once and [E] will appear in the
display. Press [4] button again and
[C] will appear in the display and
EC4 is set.
To calibrate EC20, set the tank to the new Span level. Press [20] but-
ton once and [E] will appear in the display. Press [20] button again
and [C] will appear in the display and EC20 is set.
O
FF
S
E
T
S
PA
N
R
LY
1
R
LY
2A
R
LY
2B
O
FF
S
E
T
S
PA
N
R
LY
1
R
LY
2A
R
LY
2B
O
FF
S
E
T
S
PA
N
R
LY
1
R
LY
2A
R
LY
2B
O
FF
S
E
T
S
PA
N
R
LY
1
R
LY
2A
R
LY
2B
O
FF
S
E
T
S
PA
N
R
LY
1
R
LY
2A
R
LY
2B
O
FF
S
E
T
S
PA
N
R
LY
1
R
LY
2A
R
LY
2B
O
FF
S
E
T
S
PA
N
R
LY
1
R
LY
2A
R
LY
2B
O
FF
S
E
T
S
PA
N
R
LY
1
R
LY
2A
R
LY
2B
O
FF
S
E
T
S
PA
N
R
LY
1
R
LY
2A
R
LY
2B
O
FF
S
E
T
S
PA
N
R
LY
1
R
LY
2A
R
LY
2B
O
FF
S
E
T
S
PA
N
R
LY
1
R
LY
2A
R
LY
2B
O
FF
S
E
T
S
PA
N
R
LY
1
R
LY
2A
R
LY
2B
O
FF
S
E
T
S
PA
N
R
LY
1
R
LY
2A
R
LY
2B
O
FF
S
E
T
S
PA
N
R
LY
1
R
LY
2A
R
LY
2B
O
FF
S
E
T
S
PA
N
R
LY
1
R
LY
2A
R
LY
2B
O
FF
S
E
T
S
PA
N
R
LY
1
R
LY
2A
R
LY
2B
O
FF
S
E
T
S
PA
N
R
LY
1
R
LY
2A
R
LY
2B
O
FF
S
E
T
S
PA
N
R
LY
1
R
LY
2A
R
LY
2B
O
FF
S
E
T
S
PA
N
R
LY
1
R
LY
2A
R
LY
2B
O
FF
S
E
T
S
PA
N
R
LY
1
R
LY
2A
R
LY
2B
O
FF
S
E
T
S
PA
N
R
LY
1
R
LY
2A
R
LY
2B
O
FF
S
E
T
S
PA
N
R
LY
1
R
LY
2A
R
LY
2B
O
FF
S
E
T
S
PA
N
R
LY
1
R
LY
2A
R
LY
2B
O
FF
S
E
T
S
PA
N
R
LY
1
R
LY
2A
R
LY
2B
O
FF
S
E
T
S
PA
N
R
LY
1
R
LY
2A
R
LY
2B
O
FF
S
E
T
S
PA
N
R
LY
1
R
LY
2A
R
LY
2B
O
FF
S
E
T
S
PA
N
R
LY
1
R
LY
2A
R
LY
2B
O
FF
S
E
T
S
PA
N
R
LY
1
R
LY
2A
R
LY
2B
O
FF
S
E
T
S
PA
N
R
LY
1
R
LY
2A
R
LY
2B
O
FF
S
E
T
S
PA
N
R
LY
1
R
LY
2A
R
LY
2B
O
FF
S
E
T
S
PA
N
R
LY
1
R
LY
2A
R
LY
2B
O
FF
S
E
T
S
PA
N
R
LY
1
R
LY
2A
R
LY
2B
O
FF
S
E
T
S
PA
N
R
LY
1
R
LY
2A
R
LY
2B
O
FF
S
E
T
S
PA
N
R
LY
1
R
LY
2A
R
LY
2B
O
FF
S
E
T
S
PA
N
R
LY
1
R
LY
2A
R
LY
2B
O
FF
S
E
T
S
PA
N
R
LY
1
R
LY
2A
R
LY
2B
EASY CAL
UP
DOWN
SET
4
20
OP
EC4 Level
EC20 Level
EASY CAL
UP
DOWN
SET
4
20
OP
EASY CAL
UP
DOWN
SET
4
20
OP
EC4 Level
EC20 Level
EASY CAL
UP
DOWN
SET
4
20
OP
EASY CAL
UP
DOWN
SET
4
20
OP
OFFSET
4.0
SPAN
20.0
RLY 1
6.0
RLY 2A
18.0
RLY 2B
8.0
RELAY 1
RELAY 2
EASY CAL
INVERT
DELAY
INVERT
DELAY
UP
DOWN
SET
4
20
OP
INPUT
0%
100%
O
FF
S
ET
SP
AN
R
LY
1
R
LY
2A
R
LY
2B
Y
Y
RELAY 1
RELAY 2
EASY CAL
INVERT
DELAY
INVERT
DELAY
UP
DOWN
SET
4
20
OP
INPUT
0%
100%
O
FF
S
ET
SP
AN
R
LY
1
R
LY
2A
R
LY
2B
Y
Y