Assembly prior to reassembly – DE-STA-CO 662RA User Manual
Page 6
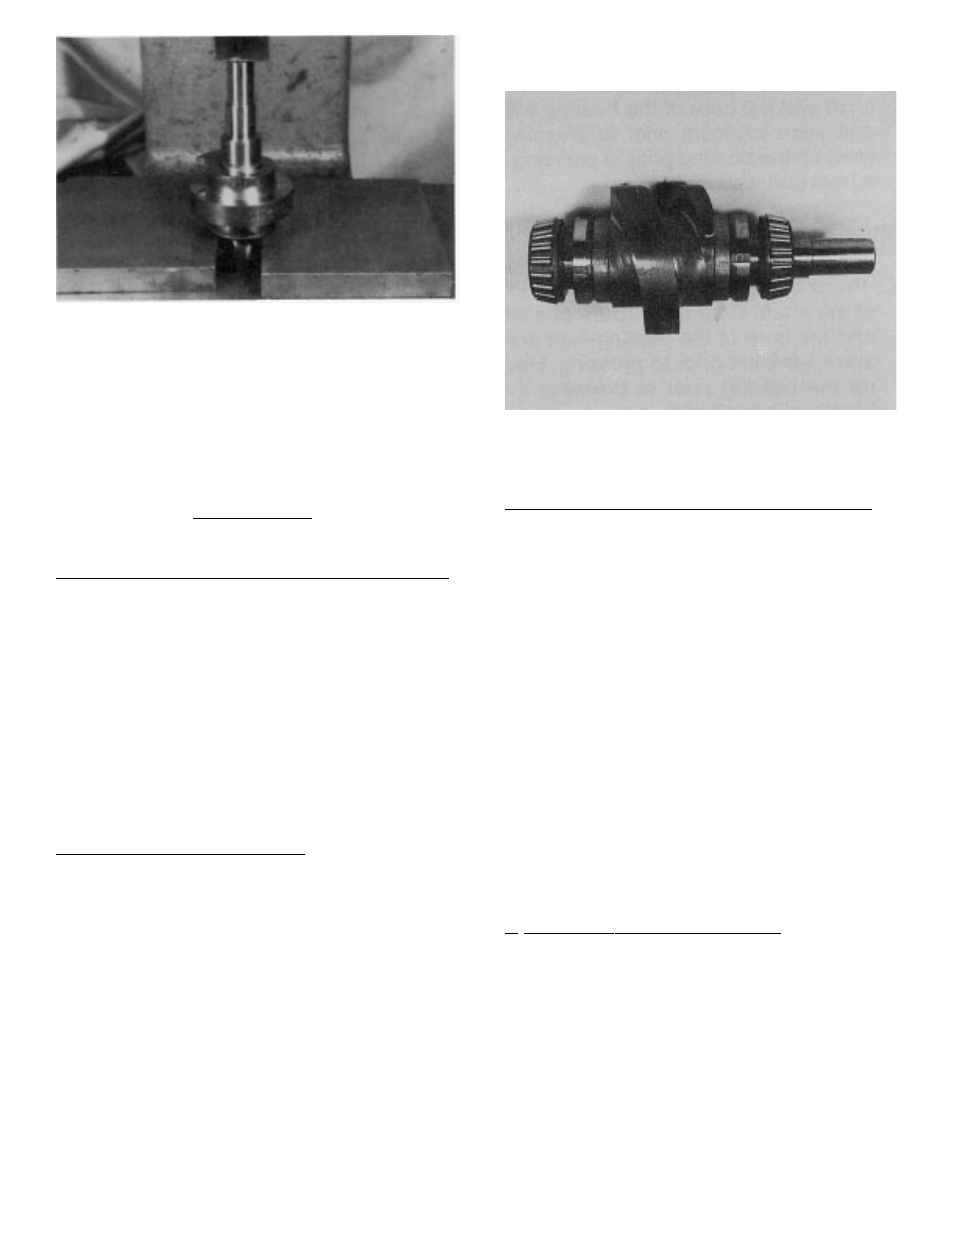
Fig. 6. Pressing out camshaft.
14. Remove the input bearing cups from the
cartridges with a pulley puller, by prying or by
drilling and tapping for jack screws.
ASSEMBLY
PRIOR TO REASSEMBLY.
Clean and deburr all parts before reassembling.
Follow tightening torque and Loctite™
recommendations as outlined in the “General
Service Manual”.
1. Use an arbor to press the bearing cups into the
cartridges. Coat the outside of the cup and the
bore of the cartridge with an anti-seize lubricant
prior to pressing. Fill cavity of cartridge with
bearing grease recommended in the “General
Service Manual”.
2. ASSEMBLING INPUT SHAFT.
A. Use an arbor to press the cam into shaft.
Be sure key is installed into shaft first.
Apply anti-sieze lubricant to shaft and bore
prior to pressing.
B. Install spacers on both sides of the cam as
removed in disassembly Step 13C.
C. Use a spanner wrench to install the cam
locknuts. Adjust nut to center cam on shaft.
D. Use arbor to press bearing cones onto
shaft. Coat shaft and bearing bore with anti-
sieze lubricant prior to pressing. The bore
of the bearing should be heated prior to
pressing if a heat gun is available.
Fig. 7. Assembled camshaft.
3. INSTALLING INPUT SHAFT INTO HOUSING.
(On the 662RA the prior assembly steps were
done inside the housing).
A. Slip the input/cam shaft assembly through
the large cartridge opening.
B. Install the input cartridges. Be sure to install
the same exact shims or equivalent height
as was removed in disassembly Step 12C.
C. Tighten cartridge mounting screws.
D. If endplay exists remove an equal amount of
shims from each side until there is a small
amount of drag from the bearings. In rare
instances it may be necessary to remachine
the cartridges if all shims have been
removed and endplay still exists.
H. Loosen input cartridge screws and rotate
the cartridge top to the most rearward
position attainable within the slots provided
in the cartridge.
4. ASSEMBLY OF OUTPUT SHAFT.
A. Press bearing cups into cover. Coat the
outside of the cup and the bore in the cover
with an anti-sieze lubricant prior to pressing.
B. Press bearing cone on the output end of the
shaft. Coat the outside of the shaft and the
bore of the bearing with anti-sieze lubricant
prior to pressing. Heat up the bearing prior
to pressing if a heat gun is available.
5