BatteryMINDer SCC015 User Manual
Page 4
Rev. B-062811
- 4 -
P/N VDC SCC005-015-MNL
BatteryMINDer
®
SCC005 & 015
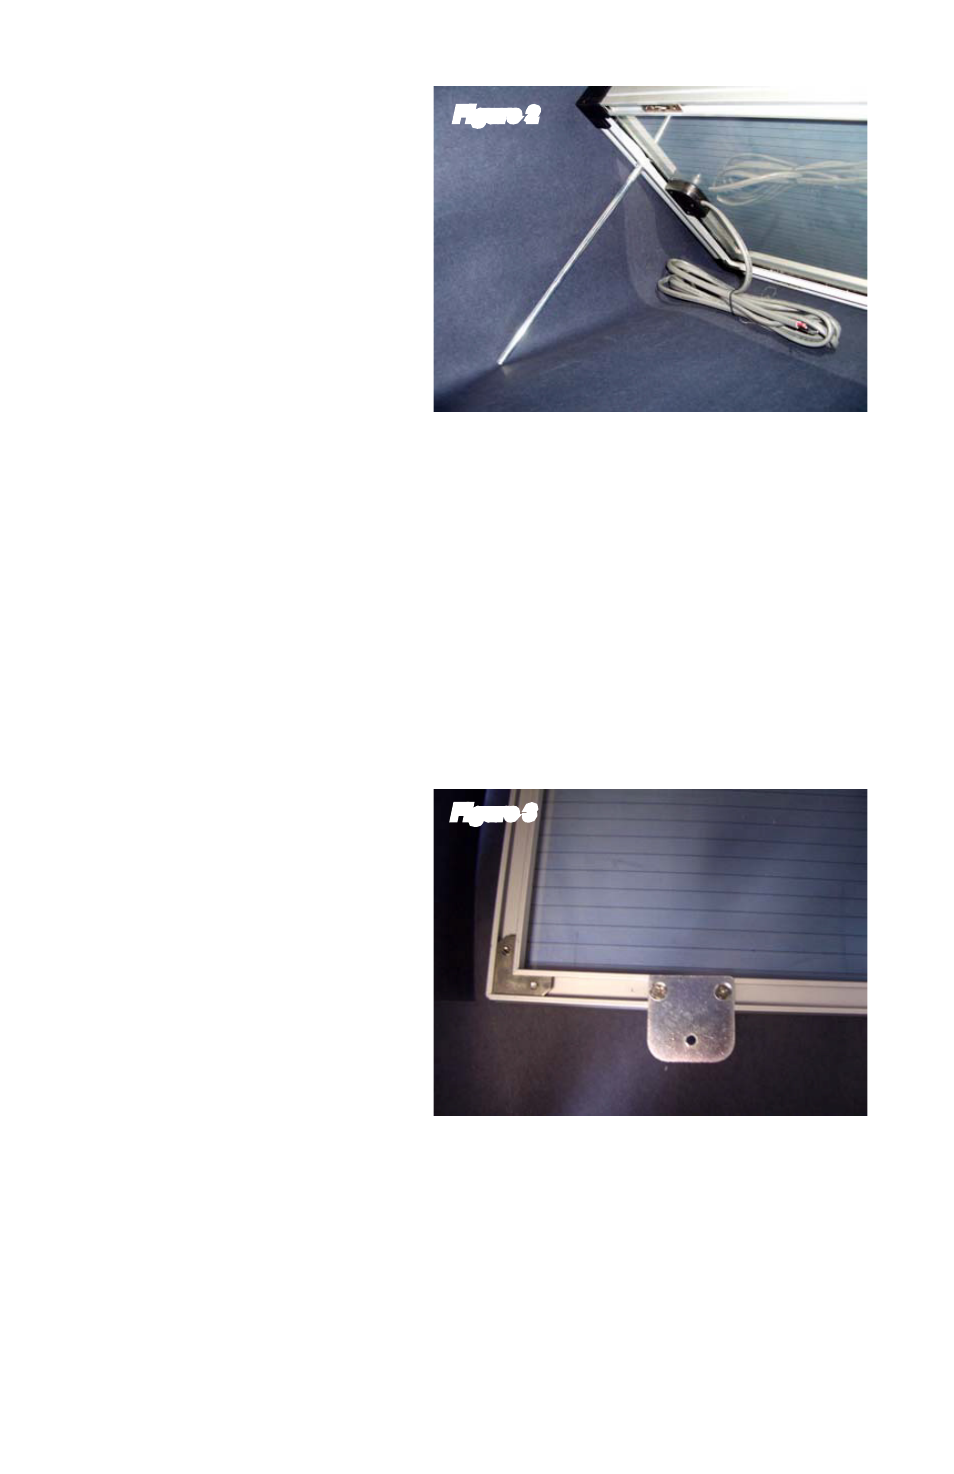
Temporary Installation with
Arms
See Figure 2.
Use the arms to angle the
panel for optimal sun exposure.
The panel has two nuts in the
groove at each short end of
the panel. You may place the
panel temporarily, for example,
on the ground or on top of the
vehicle.
Screw the arms provided
in the kit in the nuts that
are in the groove at each short end of the panel.
Let the panel rest on a flat surface.
Make sure that you place the panel in a location where it is not going
to fall down and where you are going to get maximum sunlight.
Permanent Installation with Brackets
See Figure 3.
Use the brackets provided in the kit to install the panel permanently to a
surface. You could attach the panel, for example, to a wall, on the roof,
etc. Leave about 1” between the surface and the panel for airflow. The
manufacturer is not responsible for any damage to the panel caused by
incorrect installation.
Unscrew the flat head
screws from the brackets
in the groove at both ends
of the long side of the
panel.
Use the Phillips head
machine screws provided
in the kit to screw each
bracket on the panel.
Use the Phillips head sheet
metal screws provided in
the kit to attach the panel
to the surface. If you need
longer screws, buy them
from the hardware store.
Leave about 1” between the surface and the panel for airflow. Insert,
for example, piece of wood between the bracket and the surface to
create the space.
Make sure that you install the panel securely. The manufacturer is
not responsible for any damage to the panel caused by incorrect
installation.
1.
2.
3.
1.
2.
3.
4.
5.
Figure 2
Figure 3