BatteryMINDer SCC015 User Manual
Page 2
Rev. B-062811
- 2 -
P/N VDC SCC005-015-MNL
BatteryMINDer
®
SCC005 & 015
Please read these simple instructions before making any attempt to
permanently or temporarily installing your BatteryMINDer SCC005/
SCC015 controller and panel.
OVERVIEW
Note: Your battery(s) need to be
in “good” condition to gain the full
benefits from your BatteryMINDer
Solar
maintenance
charger
– desulfator system. By “good”
we mean no shorted cells, and a
“rested” voltage of each battery =
12.2 volts*. When able to test your
batteries with a hydrometer, do so
only after fully charging them and
waiting at least overnight before
testing for specific gravity level. If
your readings indicate battery is
holding a charge equal to only 1125 (1.125 s.g.) or only 2 balls floating
(in a 4 ball type hydrometer) or just 12.25 volts (when tested with a digital
voltmeter), your batteries should first be desulfated with a 120 Vac input
type charger-desulfator. Once your batteries are properly desulphated
your solar charging system will be able to keep them desulfated and fully
charged for years to come.
* “RESTED”: see Page 5
Solar panel must be mounted black glass side up (silver side down). It
must be orientated in a direction that will ensure maximum exposure to
the sun. It MUST be mounted on a flat surface only using the brackets
enclosed in the foam package and installed on the panel’s frame. Panels
are made of tempered glass, able to withstand nature’s elements, including
hale stones as large as 1-1/2” diameter at 60 miles per hour. However, it
cannot stand up to a person’s weight, so do not mount anywhere a person
could accidentally step on it. Try to locate within area that does not require
you to extend the cord. If this is not possible, cord may be extended by
an additional 5’, using same gauge / type cord. Always leave at least 3/4”
space between panel and mounting surface.
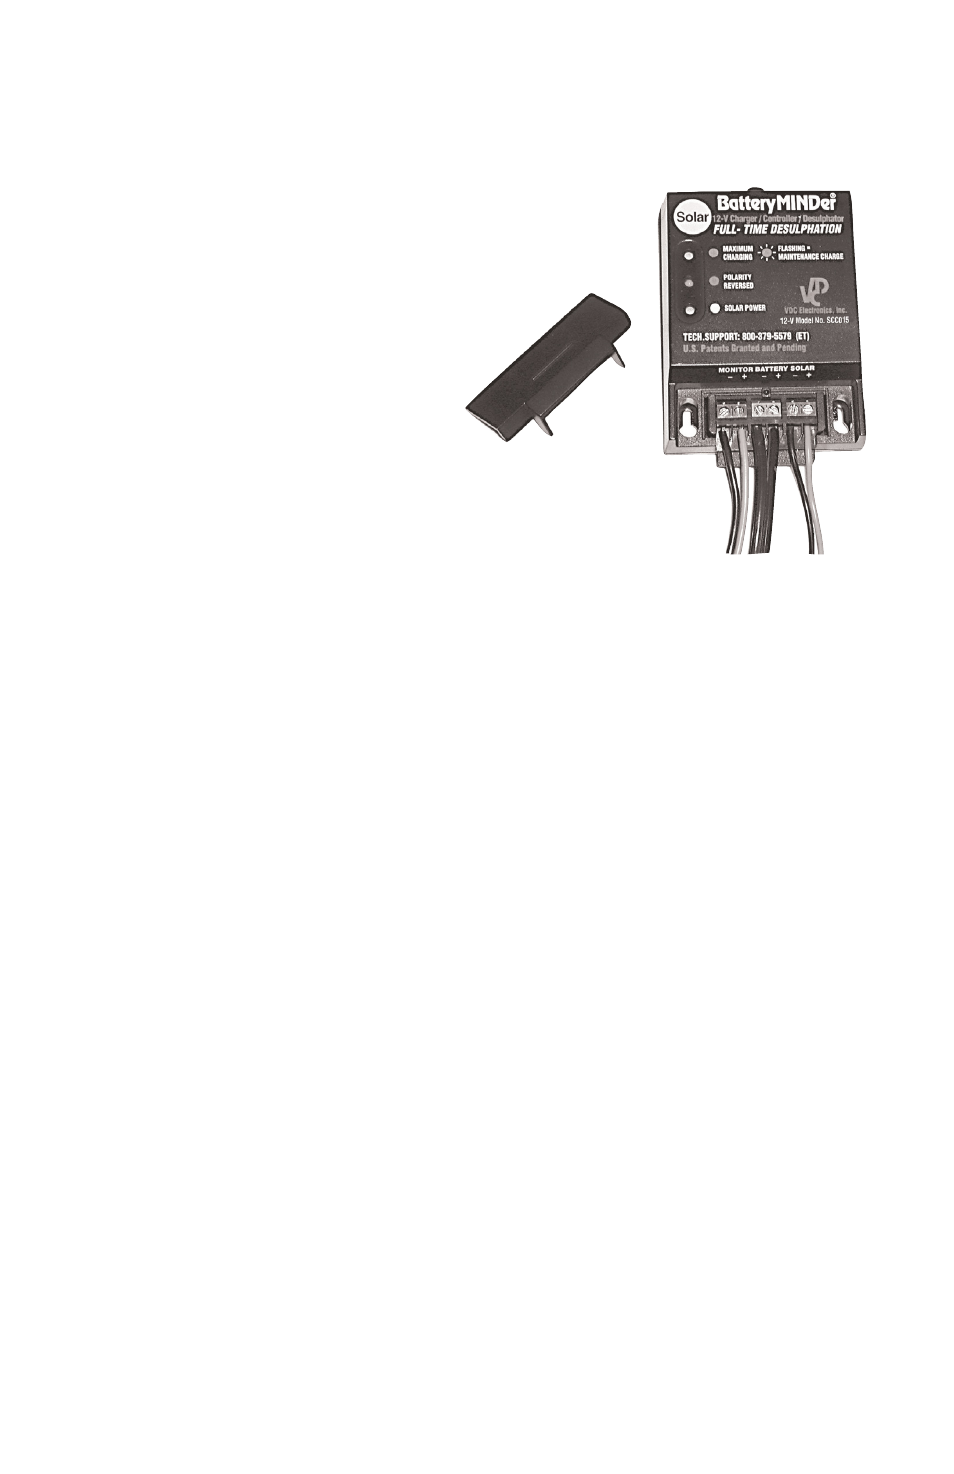
Solar Controller Must be mounted in an area where it can be easily seen,
protected from the elements (direct rainfall), and bright sunlight (where
it would be difficult to see the 3 LED status indicators). Do not attempt
to extend or replace (substitute) the quick connect-disconnect battery
cables supplied with your system, as it is important the controller be in the
same general temperature environment as the battery(s). Use the already
attached Velcro adhesive pad to either temporally or permanently mount
the controller. This will allow you to change its location, should you ever