Warning – BatteryMINDer 12151 User Manual
Page 6
Rev. A-072610
Page 6
P/N VDC 12151-MNL
BatteryMINDer
®
Model 12151
CHARGER FOR CONTINUOUS USE). Connect Positive (
RED
) clip to
vehicle chassis or engine block away from battery. Do not connect lug to
carburetor, fuel lines or sheet metal body parts. Make the connection to a
heavy gauge metal part of the frame or engine block.
If problems arise while trying to connect the output leads, solicit the aid of
your local auto supply store to find a suitable connection device for your
application.
OPERATING INSTRUCTIONS
This charger uses a voltage regulating control circuit that continually
monitors the battery voltage and automatically turns the output on and off,
safeguarding against overcharge. This battery charger is designed to remain
connected to the battery. However, if it becomes necessary to disconnect
the charger, disconnect AC line cord first, remove lug from vehicle chassis
(ground) and then remove the lug from battery terminal.
• To reduce risk of a spark near battery, position AC and DC line cords to
reduce the risk of damage by hood, door or moving engine part.
• Stay clear of fan blades, belts, pulleys and other parts that can cause
personal injury.
1. Connect the battery charger ac line cord (through a UL approved
extension cord) to a 120 Volt AC power outlet. Make sure the extension
cord is in good condition and the wire size is large enough for the for the ac
ampere rating of the charger (see RECOMMENDED MINIMUM AWG WIRE
SIZE FOR EXTENSION CORDS FOR THIS BATTERY CHARGER).
2. Once the battery charger has been properly connected to the battery and
the ac outlet, the GREEN LED will illuminate continuously indicating the
battery is being charged. Depending on the state of charge at the time the
charger is connected to the ac outlet, after a certain amount of time you will
notice that the LED is flashing, indicating that the battery is fully charged and
in maintenance mode.
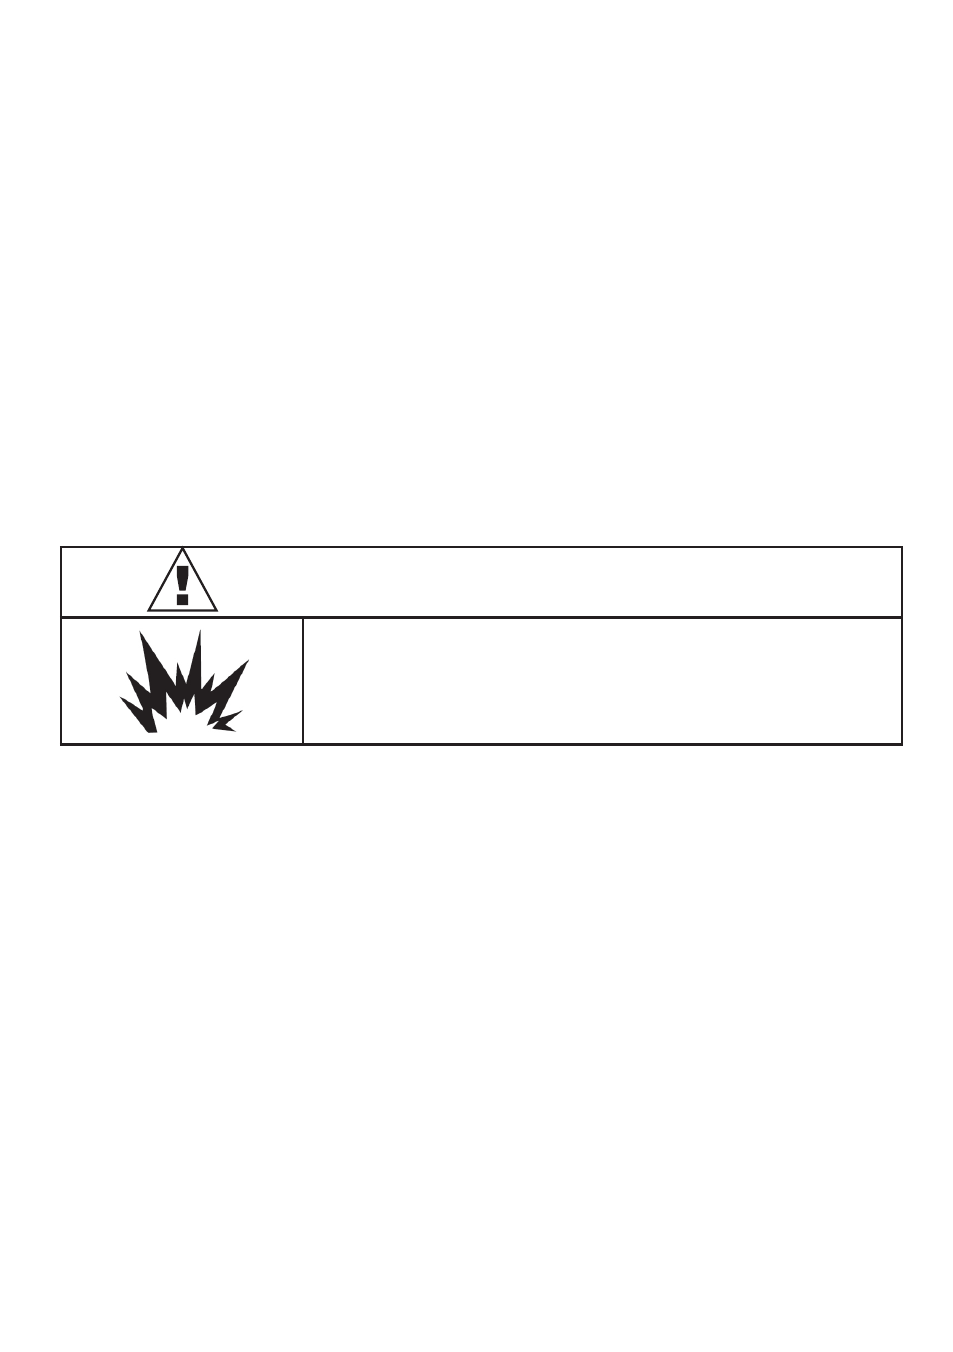
WARNING
A spark near the battery may cause the battery to
explode.