American Expedition Vehicles Preparation of the Jeep body tub User Manual
Page 9
Page 9 of 15
7. You’ll be removing the J-Rails (what the soft top slides under) and re-using them later. The
other areas that spot welds need to be removed are: A,B,C,D,E. Practice using the bit on a
scrap part of the tub. Once you get the hang of it, you can cut through the outer layer
without damaging the inner minus a small pilot hole. The cleaner you can perform this task,
the easier the install will be in following steps. The J-Rails are a good place to practice.
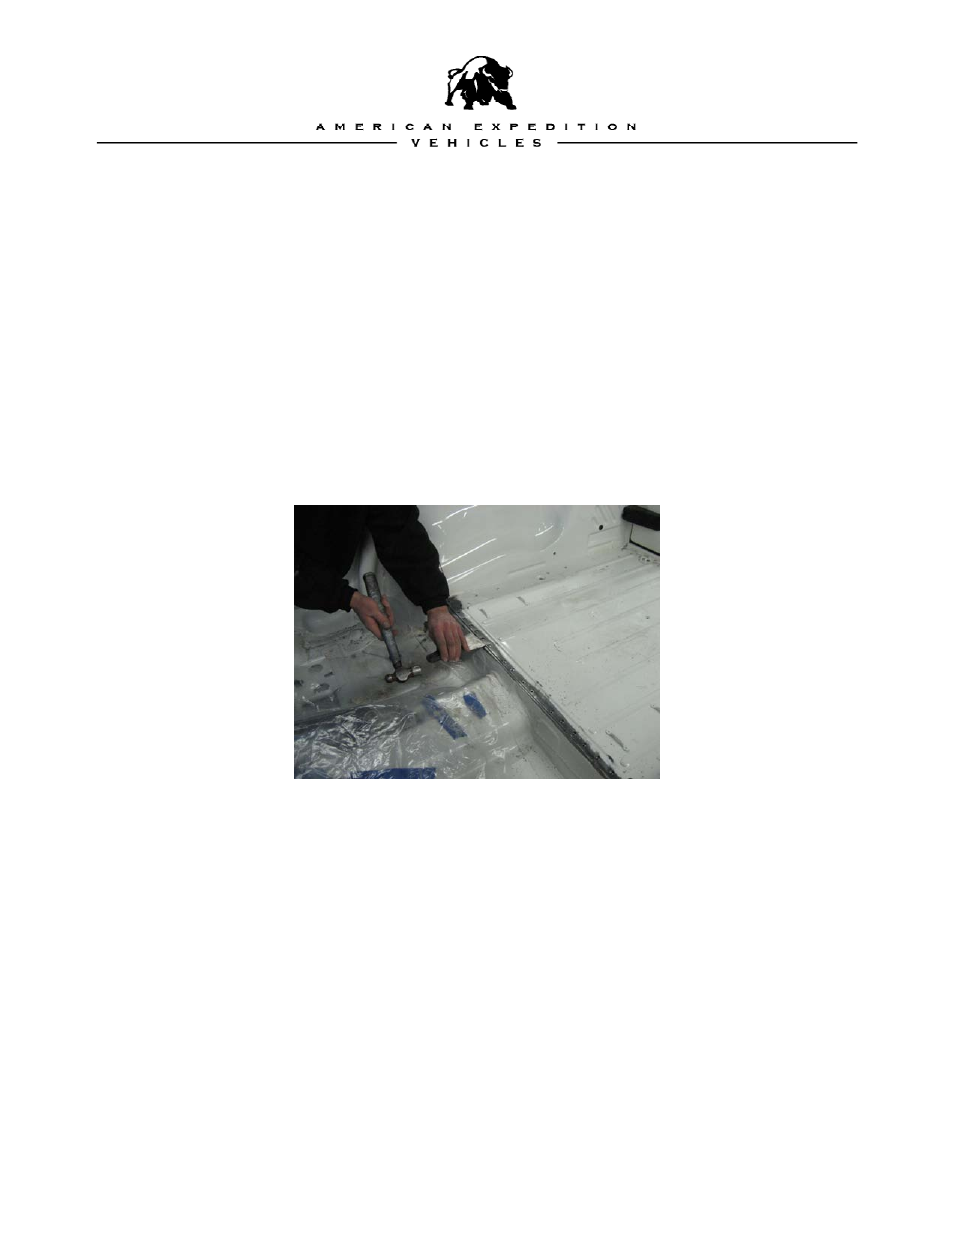
Once all the spot welds have been drilled out, gently use the putty knife to pry the J-rails off
(they have a small amount of seam sealer under them that acts a bit like glue) If you are
using more that vary moderate pressure on the putty knife or are bending the parts you are
trying to remove, you need to re-examine your spot weld cutting. Remove the rest of the
spot welds in areas B,C,D,E. You won’t be able to separate these just yet, but know is the
time to use the putty knife and a small hammer to separate the seam sealer between the
rear floor and the waterfall.
8. Remove the rear half of the tub using the Sawzall. You will only need to cut the tub in one
area under the door with the Sawzall (step 9), however, most builders find it helpful to use
the Sawzall on the rear wheel houses as well in order to access the spot welds on the
pinchweld located where the wheelhouse meets the floorplan. Using this technique, pick
some point on the bodyside and make a cut down to the intersection of the waterfall, rear
floor and wheel house. If you did a good job in step 7, you’ll now be able to remove the rear
half of the tub. Once the rear half is out of the way, you can use the Sawzall to remove
what’s left of the wheel houses and drill the spot welds out so that you are left with what’s
shown below.