American Expedition Vehicles AEV-Nth JK Suspension Systems User Manual
Page 7
IJKS0100R (JK RHD Suspensions).doc
Released: 12-Jan-10
page 7 of 14
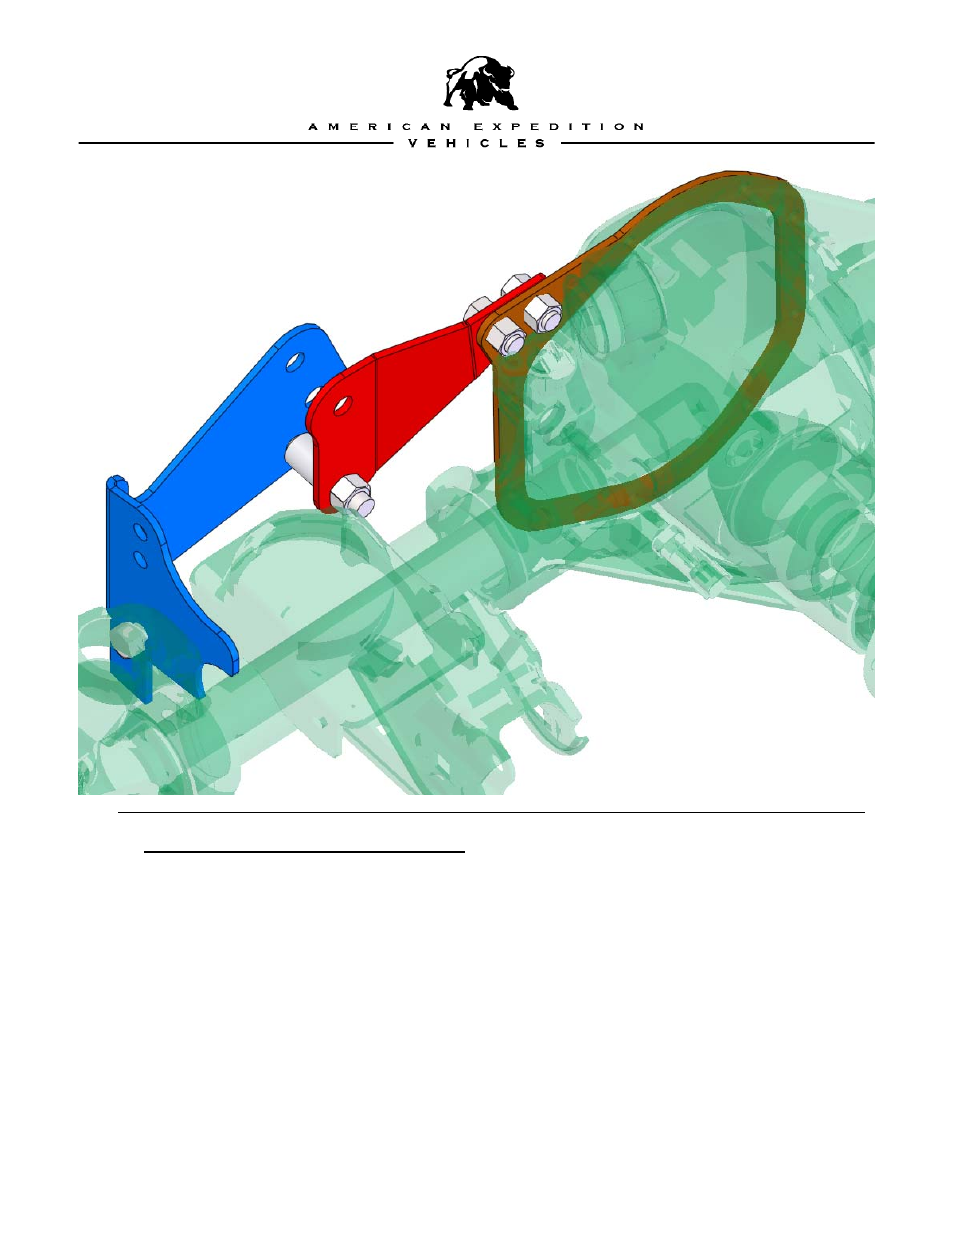
8-4: JK RHD Front Trackbar brackets viewed approximately from location of left outside rearview mirror
Step 9: Install Front Lower Control Arm Cam Bolts. The factory LCA brackets on the axle are designed
to be able to use cam bolts to adjust caster – which is necessary with this suspension system. The
existing hole is square, and will need to be extended toward the back of the axle (away from the axle
tube) as shown in figure 9-1. There is a partially punched metal tabs along both the forward and
rearward sides of the square hole – you only need to remove the rearward ones. Usually you will not be
able to simply hammer or pry out the pieces as you would an electrical box ‘knockout’. There are several
methods that can work including a narrow sawzall blade to cut the upper/lower edges – then bend/break
out the tab with pliers, or use a router bit and/or a plasma cutter to cut them out (be careful not to cut too
much with these methods!) This removal must be performed on both the inner and outer flanges of both
LCA brackets for a total of four times.
Once the holes have been extended, replace the original LCA bolts with the supplied cam bolts,
washers, and nuts and adjust them to maximize caster (i.e. bolt biased to the rear of the extended holes)
as shown in figure 9-2. Final caster can be set on an alignment rack but generally you will want all the
caster that the cam bolts can provide, so set them here for now.