Aeromotive 13107 - GM LT-1 REGULATOR User Manual
Page 3
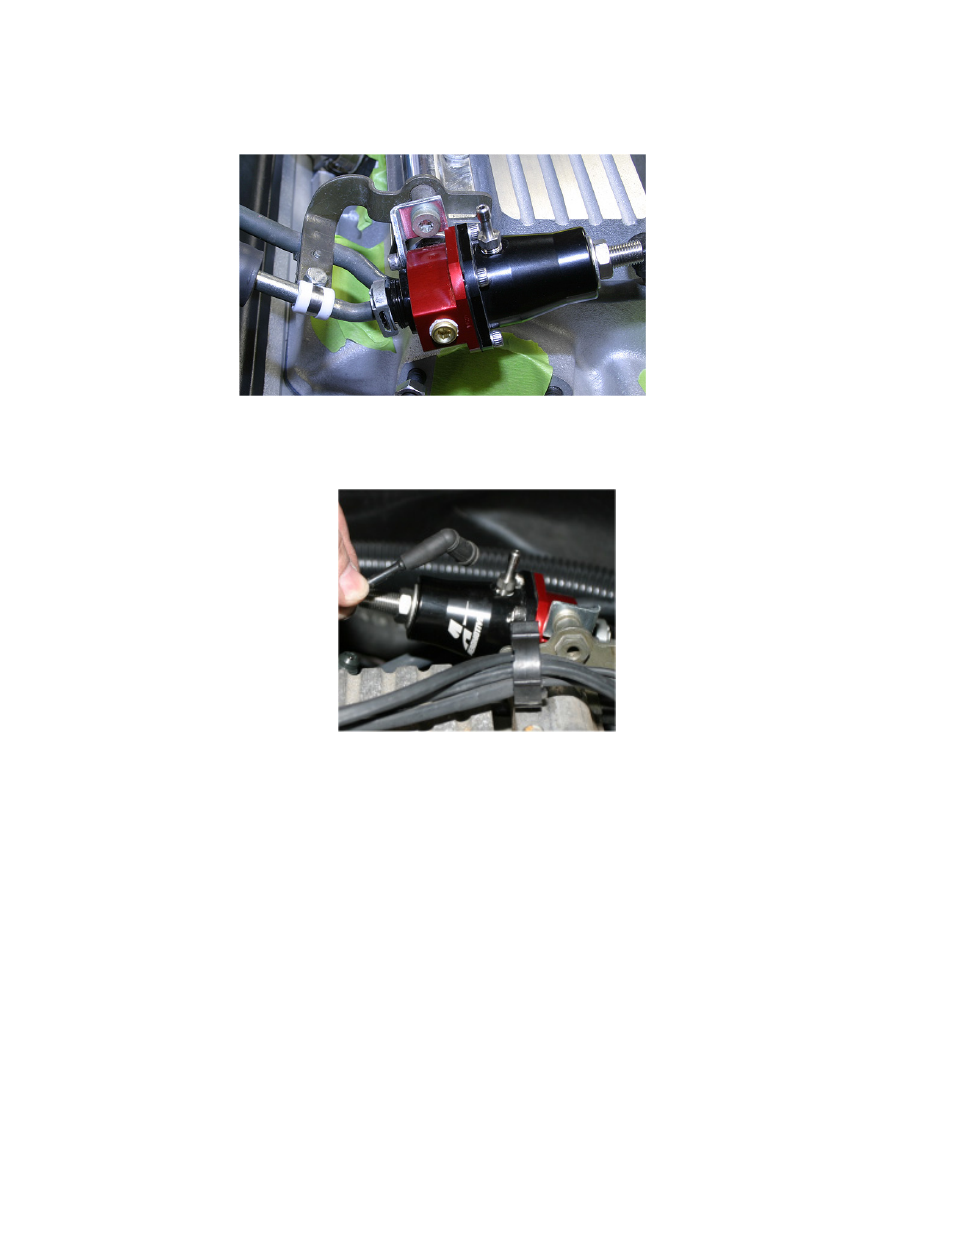
10. Using the enclosed self-threading screw and cushioned line clamp mount the OEM return line in its
new location
11. It also may be necessary to extend the OEM vacuum/ boost reference line using the enclosed barb
union and section of vacuum hose to achieve the desired line routing.
12. Once the regulator is installed, attach a suitable fuel pressure gauge to either the fuel system
schrader valve or the 1/8-NPT gauge port.
13. Ensure that any spilled gasoline and any gasoline soaked shop towels are cleaned up and
removed from the vicinity of the vehicle!
14. Reconnect the battery and turn the ignition to the ON position WITHOUT starting the car. After
several seconds, check the fuel pressure. If there is no fuel pressure, turn the ignition key to the OFF
position, wait one minute, return the ignition to the ON position, and recheck the fuel pressure.
Repeat this ignition OFF and ON procedure until the fuel pressure gauge registers fuel pressure.
15. With the fuel pressure gauge registering fuel system pressure, check for fuel leaks from and
around the Aeromotive regulator and all fuel lines and connections near the regulator! If any
fuel leaks are found, turn the ignition key to the OFF position, remove any spilled fuel and
repair the leak before proceeding!