Aeromotive 17141 - 96-04 4.6L SOHC GT A1000 FUEL SYSTEM User Manual
Page 5
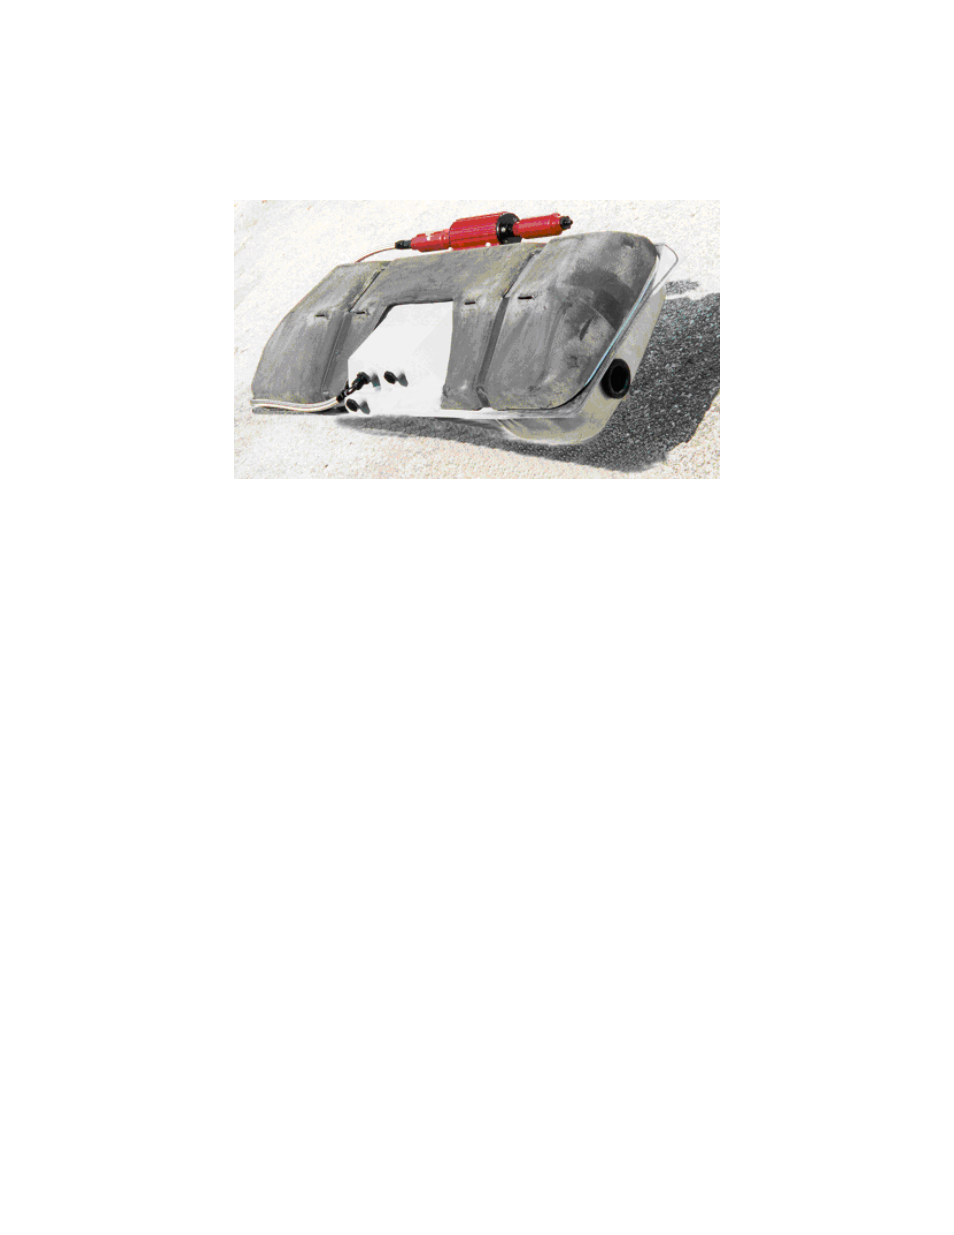
1-17. Using the above steel braided hose assembly, connect one end to the outlet of the fuel tank sump and the other
end to the fuel pump / filter assembly inlet and tighten.
Note: It is recommended that a fuel shut off valve be installed between the fuel tank outlet and the fuel pump /
filter assembly inlet, these valves are available from most popular racing fitting manufactures; Aeroquip,
Earl’s, Goodridge, Russell, etc.
1-18. Using any type of household tape, secure the plastic fuel tank shield to the Aeromotive fuel tank along each of the
fuel tank strap indentations.
1-19. Carefully flip the fuel tank / plastic fuel tank shield assembly over.
1-20. Position the fuel tank under the vehicle. Apply a light weight oil to the filler neck grommet to ease installation.
1-21. In vehicles engine compartment, locate a suitable mounting location for the supplied fuel pressure regulator
1-22. Starting from the decided regulator mounting location in the engine compartment, plan a route to run an AN-06
return line back to your fuel tank / fuel cell AN-06 return port and measure the required length. Cut the return line to
the determined length and install one AN-06 90-degree hose end and one AN-06 straight hose end, as detailed in
Section 4.
Note: Be sure to route all fuel lines clear of any moving suspension or drivetrain components and any exhaust
components! Protect fuel lines from abrasion and road obstructions or debris.
1-23. Thread the 90-degree hose end side of the AN-06 return line onto the AN-06 return port fitting located on your
sumped fuel tank / fuel cell, and tighten.
1-24. As your fuel tank is lifted into position reattach the vent line to the top of the fuel tank and work the filler neck in to
the grommet on the side of the fuel tank. Once your fuel tank is in position, align tank straps, ensure that there are not
any hoses or wiring pinched and tighten the strap bolts.
1-25. Make any line or electrical adjustments necessary to clear the vehicles exhaust, suspension, and drivetrain
components.