Xylem IM248R01 High Temp Sump Pump User Manual
Page 5
5
wastewater pumps contain on-winding overloads, unless
noted on the pump nameplate. See Figure 1.
SINGLE PHASE CONTROL PANELS:
Control panels are available as Simplex (controls 1 pump)
or Duplex (controls 2 pumps). Our standard SES Series
Panels are available with many standard features and can
be built with our most popular options. We also custom
build panels which offer many more design options than
the SES panels. Custom control panels are available in many
different configurations. Custom panel quote requests may
be forwarded to Customer Service through any authorized
distributor.
Our “SES” Duplex panels feature a solid-state printed
circuit board design with standard high level alarm circuits.
Other standard features are: an auxiliary dry alarm con-
tact for signaling a remote alarm and float switch position
indicator lights.
INSTALLATION
Connect the pump(s) to the guide rail pump adapters or to
the discharge piping. Slide rail bases should be anchored to
the wetwell floor.
Complete all wiring per the control panel wiring diagrams
and NEC, Canadian, state, provincial and/or local codes.
This a good time to check for proper rotation of the mo-
tors/impellers.
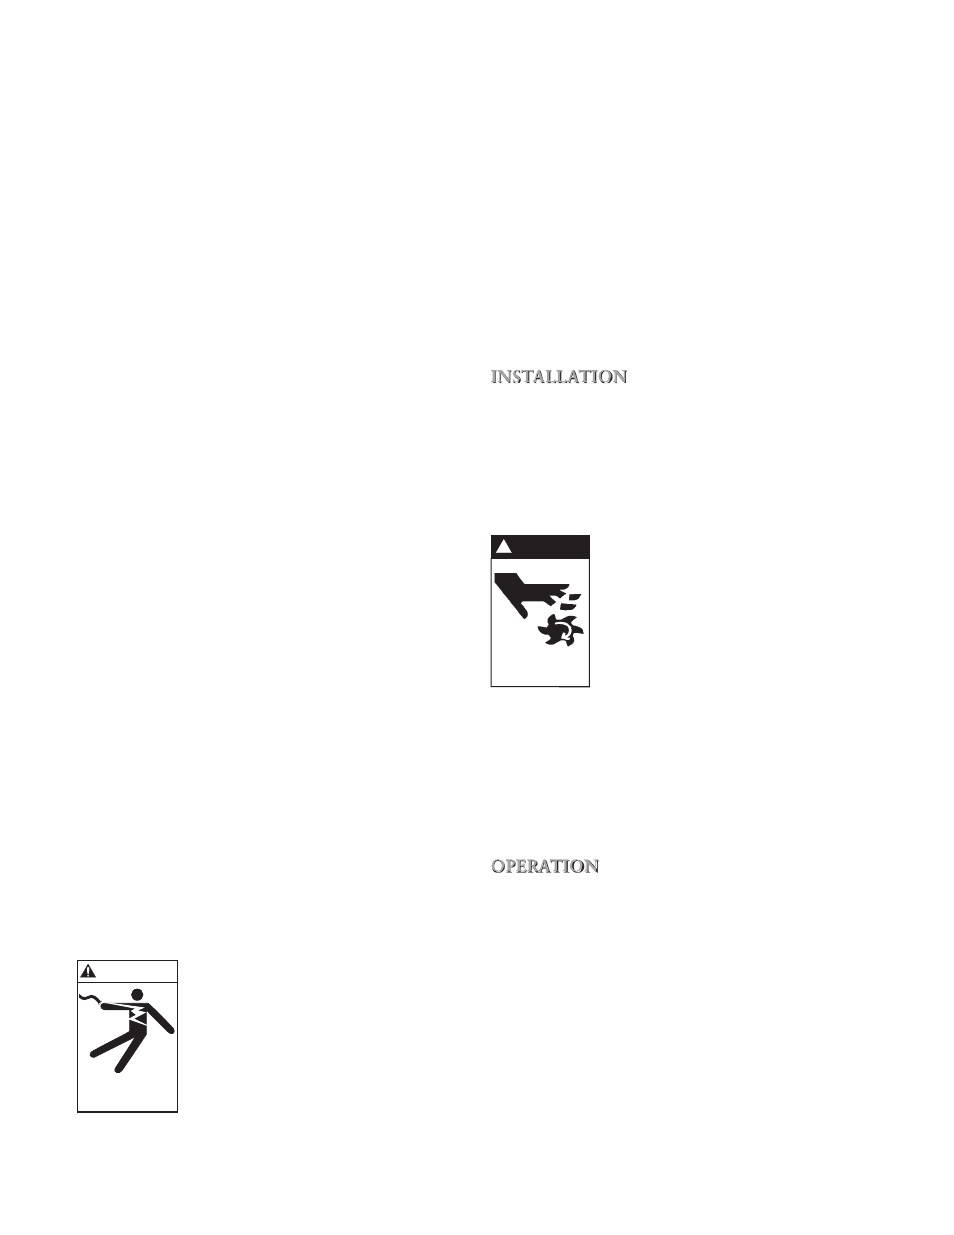
DO NOT PLACE HANDS IN PUMP
SUCTION WHILE CHECKING
MOTOR ROTATION. TO DO SO
WILL CAUSE SEVERE PERSONAL
INJURY.
Always verify correct rotation. Correct
rotation is indicated on the pump casing.
Three phase motors are reversible. It is
allowable to bump or jog the motor for a
few seconds to check impeller rotation. It
is easier to check rotation before installing
the pump. Switch any two power leads to
reverse rotation.
Lower the pump(s) into the wetwell.
Check to insure that the floats will operate freely and not
contact the piping.
OPERATION
Once the piping connections are made and checked you can
run the pumps.
Piggyback Switch Operation – Plug the piggyback switch
into a dedicated grounded outlet and then plug the pump
into the switch. Test the pump by filling the wetwell until
the pump goes On. If the pumps run but fail to pump, they
are probably air locked, drill the relief holes per the instruc-
tions in the Piping Section.
Check the operating range to insure a minimum one minute
run time and that the pump goes Off in the correct position.
Control Panel Operation – Fill the wetwell with clear water.
Use the pump H-O-A (Hand-Off-Automatic) switches in
Hand to test the pumps. If they operate well in Hand pro-
ceed to test Automatic operation. If the pumps run but fail
to pump, they are probably air locked, drill the relief holes
per the instructions in the Piping Section.
These wide-angle, pump down switches may be used as
direct connected pump switches or as control switches.
SETTING THE FLOAT SWITCHES
There are no absolute rules for where to set the float
switches, it varies from job to job.
Suggested Rules to Follow:
All floats should be set below the Inlet pipe!
Off Float: Best: set so the water level is always above the
top of the pump (motor dome). Next Best: set so the wa-
ter level is not more than 6" below the top of the pump.
On Float: set so the volume of water between the On and
Off floats allows pumps of 1½ HP and under to operate
for 1 minute minimum. Two (2) HP and larger pumps
should run a minimum of 2 minutes. Basin literature
states the gallons of storage per inch of basin height.
Lag/Alarm Float(s): should be staggered above the Off
and On floats. Try to use most of the available storage
provided by the basin, save some space for reserve stor-
age capacity. See Diagrams and Charts in Float Switch
Chart Section.
PANEL WIRING DIAGRAMS
Our control panels are shipped with instructions and wir-
ing diagrams. Use those instructions in conjunction with
this IOM. Electrical installation should be performed
only by qualified technicians. Any problem or questions
pertaining to another brand control must be referred
to that control supplier or manufacturer. Our technical
people have no technical schematics or trouble shooting
information for other companies' controls.
ALARMS
We recommend the installation of an alarm on all Waste-
water pump installations. Many standard control panels
come equipped with alarm circuits. If a control panel is
not used, a stand alone high liquid level alarm is avail-
able. The alarm alerts the owner of a high liquid level in
the system so they can contact the appropriate service
personnel to investigate the situation.
SINGLE PHASE PUMPS
Single phase (1Ø) pumps may be operated using a pig-
gyback or hard wired float switch, a contactor, or a Simplex
or Duplex control panel. See Figures 1 and 4.
All
1
/
3
and ½ HP, 115 or 230 volt pumps, and some ¾ and 1
HP pumps, are supplied with plug style power cords. They
may be plugged into piggyback float switches for simple
installations. It is allowable to remove the plugs in order
to hardwire or connect to a Simplex or Duplex controller.
Removing the plug neither voids the warranty nor violates
the agency Listings. See Figure 4.
PLUG-CONNECTED UNITS MUST
BE CONNECTED TO A PROPERLY
GROUNDED, GROUNDING TYPE
RECEPTACLE.
ON NON-PLUG UNITS, DO NOT
REMOVE CORD AND STRAIN RELIEF.
DO NOT CONNECT CONDUIT TO
PUMP.
Pumps with bare lead power cords can be hard-wired to a
float switch, wired to a 1Ø contactor, a Simplex controller
or a Duplex controller. Always verify that the float switch
is rated for the maximum run amperage, maximum starting
amperage, and the HP rating on the pump. Single-phase
WARNING
Hazardous voltage
can shock, burn or
cause death.
DANGER
Hazardous Machinery
!