2 asus ez flash 2 utility, Asus ez flash 2 utility -5, Asus.ez.flash.2.utility – Asus V7-P5G41E User Manual
Page 55
ASUS V-series P5G41E
4-5
To update the BIOS using EZ Flash 2:
1. Visit the ASUS website (www.asus.com) to download the latest BIOS file for
the motherboard.
2. Save the BIOS file to a USB flash disk, then restart the system.
3. You can launch the EZ Flash 2 by two methods.
4.1.2.
ASUS.EZ.Flash.2.utility
The ASUS EZ Flash 2 feature allows you to update the BIOS without having to go
through the long process of booting from a floppy disk and using a DOS-based
utility. The EZ Flash 2 utility is built-in the BIOS chip so it is accessible by pressing
(2) Enter BIOS setup program. Go to the Tools menu to select EZ.Flash2
and press
You can switch between drives by pressing
is found. Then press
4. When the correct BIOS file is found, EZ Flash 2 performs the BIOS update
process and automatically reboots the system when done.
(1) Insert the USB flash disk that contains the BIOS file to the the USB port.
Press
• This function can support devices such as USB flash disk with
FAT.32/16.
format and single partition only.
• Do not shut down or reset the system while updating the BIOS to prevent
system boot failure!
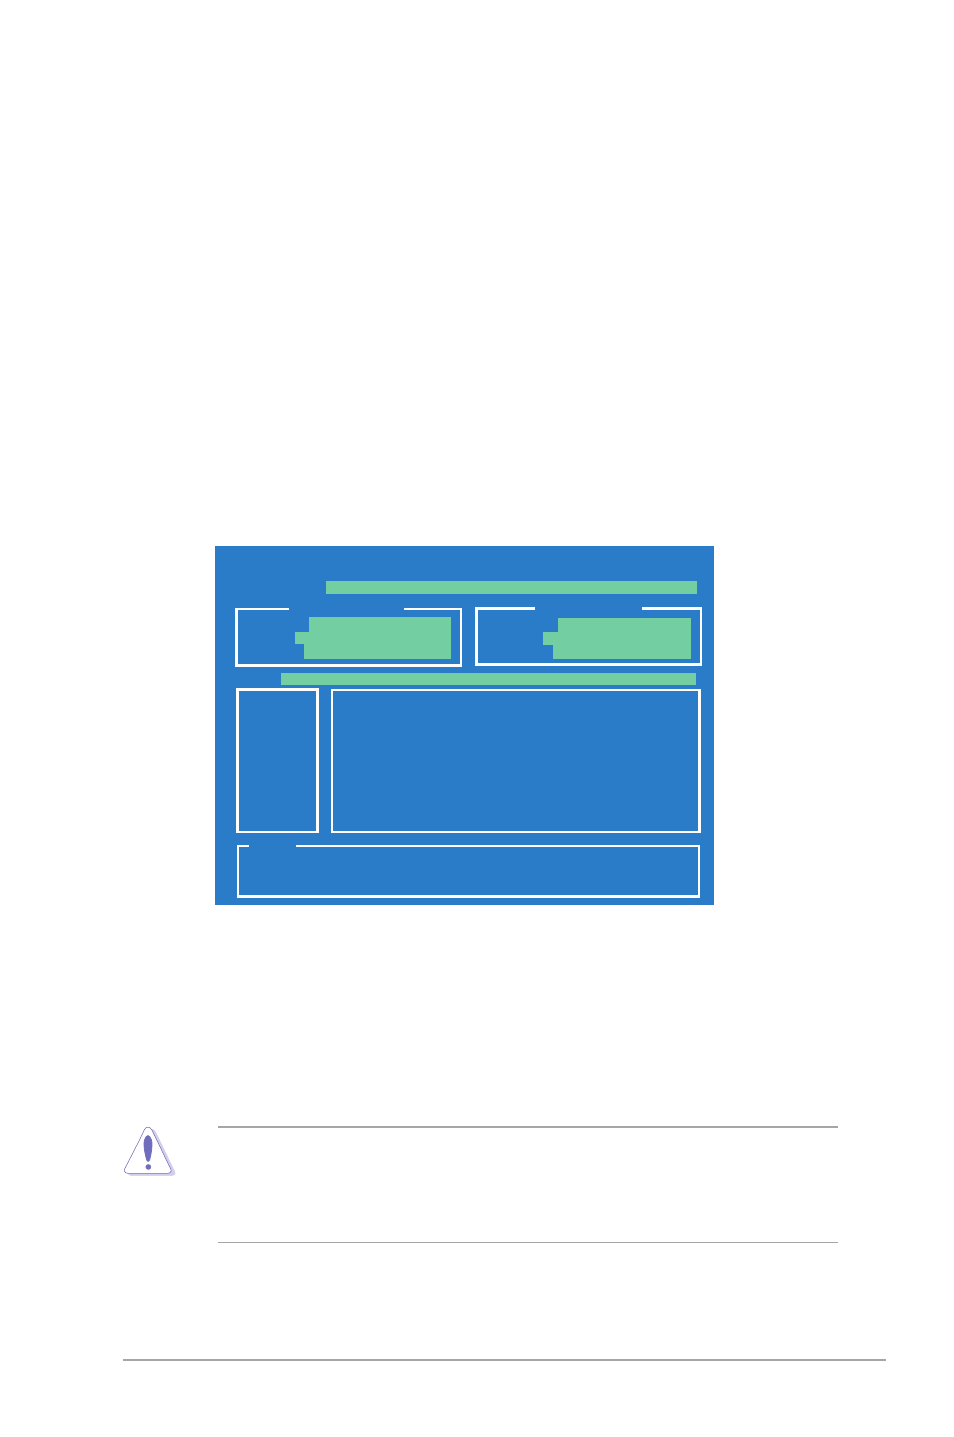
ASUSTek EZ Flash 2 BIOS ROM Utility V3.44
Current ROM
Update ROM
A:
Note
FLASH TYPE:
MXIC 25L8005
PATH:
A:\
BOARD:
P5G41E
VER:
0201
(H:00 B:00)
DATE:
12/03/2009
BOARD:
Unknown
VER:
Unknown
DATE:
Unknown
[Enter] Select or Load [Tab] Switch [V] Drive Info
[Up/Down/Home/End] Move [B] Backup [Esc] Exit