Asus PIKE 1078 User Manual
Page 48
2-34
Chapter 2: RAID configuration
Viewing and Changing Virtual Disk Properties
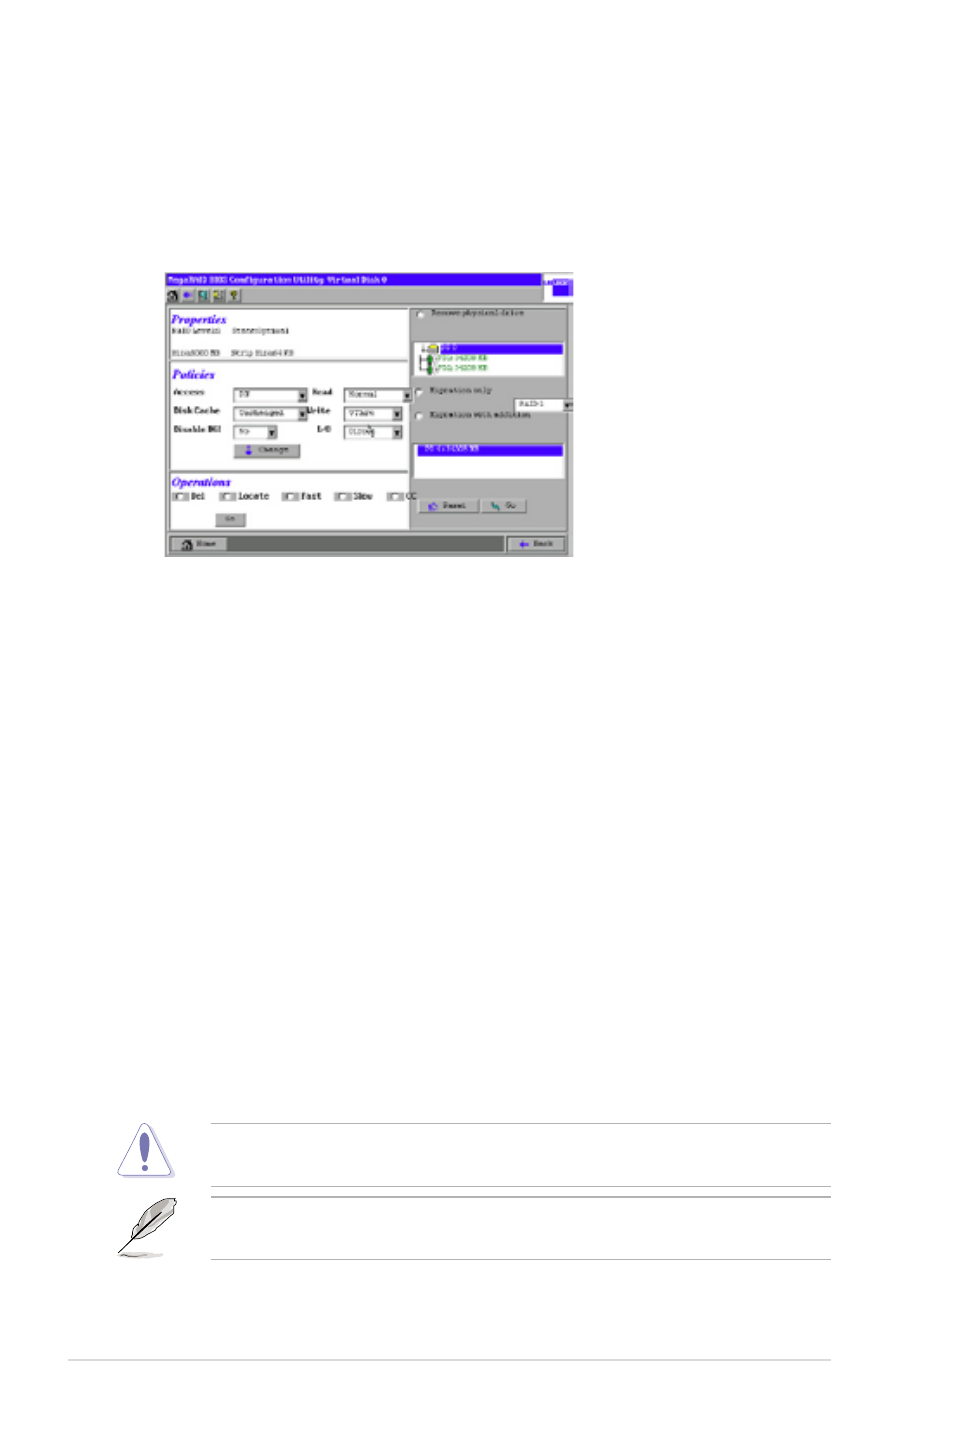
Access the Virtual Disk screen by selecting a virtual disk (virtual disk) from the
virtual disk list on the WebBIOS CU main screen and clicking Virtual Disk. The
following figure shows the Virtual Disk screen.
The Properties panel of this screen displays the virtual disk’s RAID level, state,
size, and strip size.
The Policies panel lists the virtual disk policies that were defined when the storage
configuration was created. To change any of these policies, make a selection from
the drop-down menu and click Change.
The Operations panel lists operations that can be performed on the virtual disk.
To perform an operation, select it and click Go. Then choose from the following
options:
• Select Del to delete this virtual disk.
• Select Locate to make the LEDs flash on the physical drives used by this
virtual disk. This works only if the drives are installed in a disk enclosure that
supports SAFTE.
• Select Fast or Slow to initialize this virtual disk. A fast initialization quickly
writes zeroes to the first and last 10 Mbyte regions of the new virtual disk
and then completes the initialization in the background. A slow initialization
is not complete until the entire virtual disk has been initialized with zeroes. It
is seldom necessary to use this option, because the virtual disk was already
initialized when you created it.
Before you run an initialization, back up any data on the virtual disk that you
want to save. All data on the virtual disk is lost when you initialize it.
In WebBIOS Version 1.1-33d-Rel, the initialization items will be Fast Init and
Slow Init.