1 installing friction rail kit items, 1 attaching the fixing latches to the server, Installing friction rail kit items -2 3.1.1 – Asus RS726Q-E7/RS12 User Manual
Page 48: Attaching the fixing latches to the server -2
Chapter 3: Installation options
3-2
3.1.1
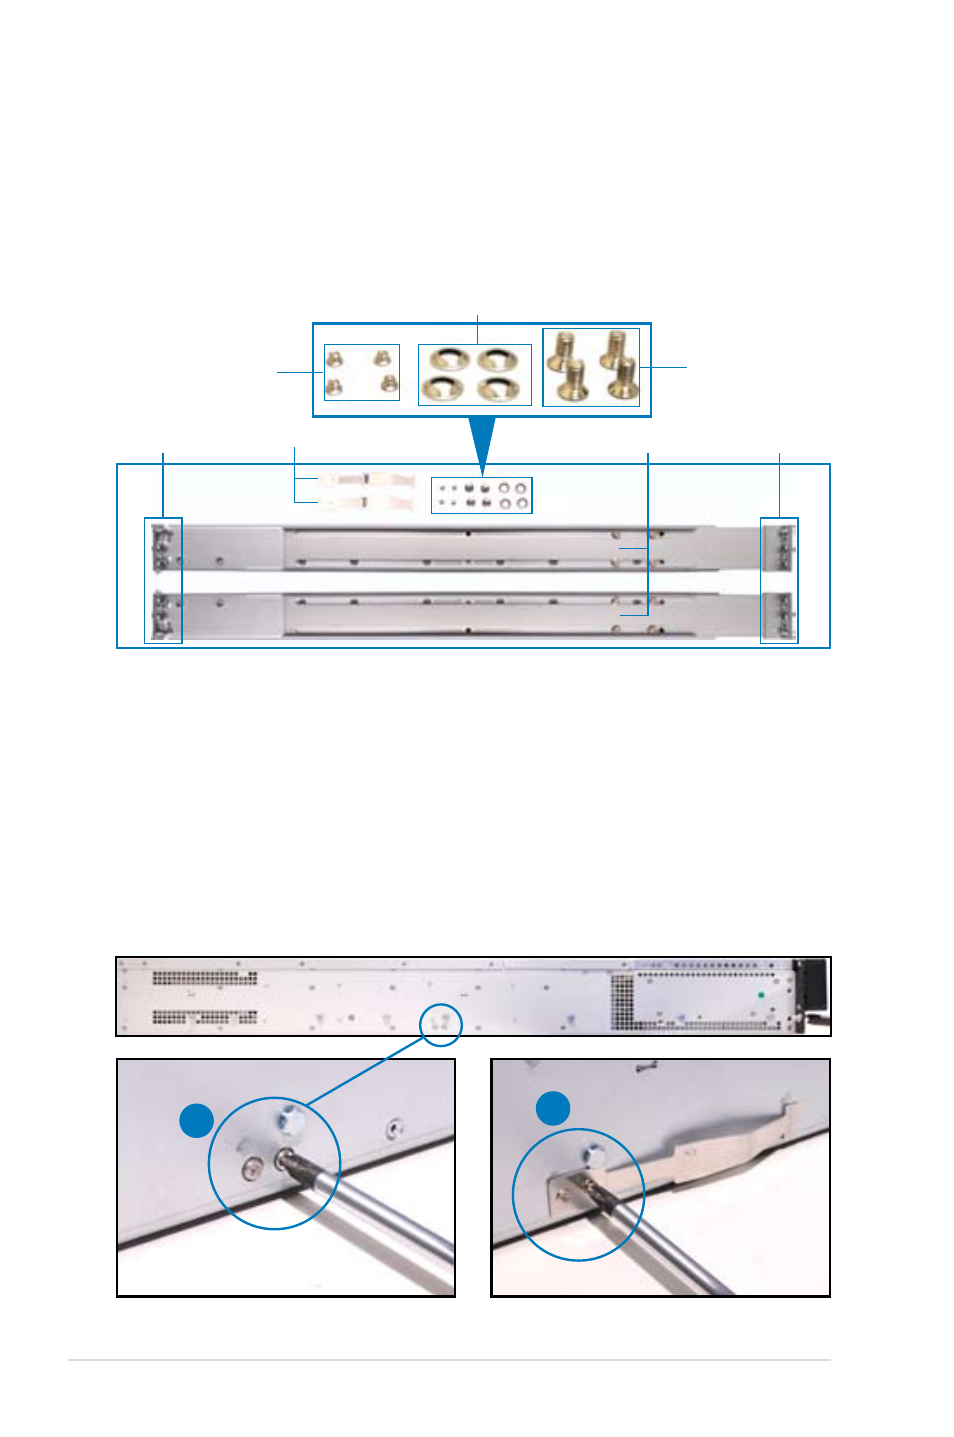
Attaching the fixing latches to the server
Refer to the figures below for the locations to attach the two fixing latches to the
two sides of the server with four screws.
1. Remove the two screws on the side of the server chassis.
2. Secure the fixing latch with the two screws you removed in step 1.
3. Repeat step 1 to 2 to secure another fixing latch to the other side of the
server.
2
1
3.1
Installing friction rail kit items
Your friction rail kit package contains:
•
One pair of rack rails
•
One pair of fixing latches
•
4 latch screws, 4 rail screws and 4 rail washers
Rack rails
Fixing latches
Front end
Rear end
Latch screws
Rail screws
Rail Washers
This manual is related to the following products: