Maintenance – Universal Audio SOLO 610 User Manual
Page 18
18
Maintenance
Hardware Variants
There are two different versions of the SOLO/610 hardware to
accommodate different AC input voltages worldwide. One is a voltage-
convertible version that can operate at 115VAC or 230VAC; the other is
a 100VAC version that cannot be converted. These two hardware
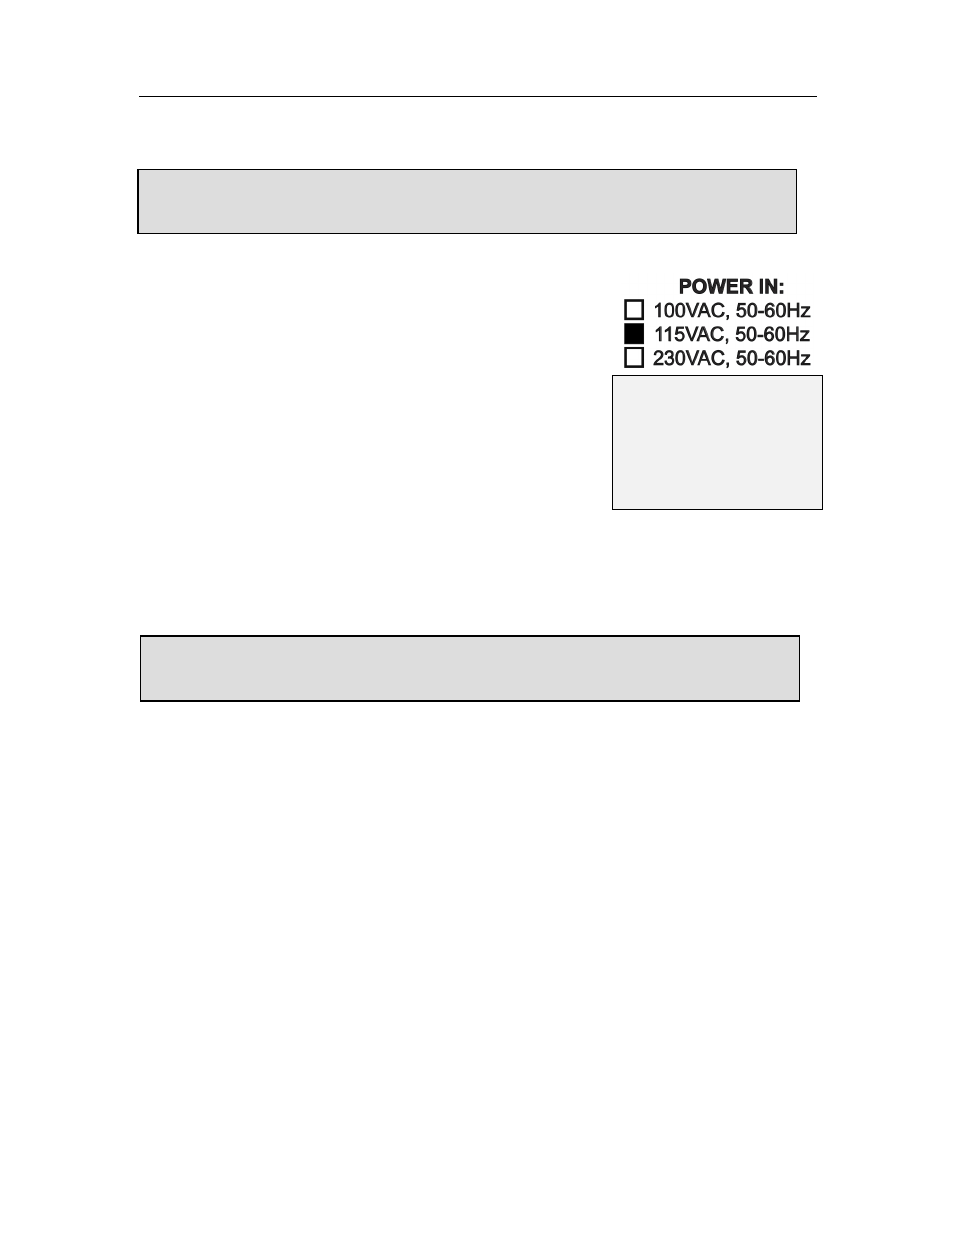
variants are differentiated by the “POWER IN” markings on the rear
panel (see example at right).
The unit ships from the UA factory preconfigured in one of the three
AC input voltage configurations. If the 115VAC or 230VAC box on the
rear panel is marked, the unit can be converted to the other AC input
voltage. If the 100VAC box is marked, the unit cannot be converted to
a different AC input voltage.
AC Input Voltage Conversion
To convert the AC input voltage on the 115VAC/230VAC unit, the internal voltage connector must be
moved, and the fuse must be changed to match the new voltage.
To change the internal voltage connector:
1. Turn off the rear panel POWER SWITCH, unplug the AC power cord from the rear chassis,
then wait five minutes to allow residual power to dissipate from the internal components.
2. Remove the five screws from both sides of the unit, and the four screws on top (14 screws
total). Then lift off the chassis cover to expose the internal circuit board.
3. Locate the voltage connector (see photo on next page). It is the removable RED female
connector at the end of four wires (black, blue, white, and orange) exiting the back of the
large power transformer at the rear of the unit. This connector is plugged into one of two four-
conductor WHITE male plug headers on the circuit board, behind the large power transformer.
These headers are labeled (on the circuit board silkscreen) “H5 120VAC,” which is further
from the edge of the circuit board, and “H6,” which is closer to the edge of the circuit board.
4. Move the red voltage connector to the white plug header for the desired AC input voltage. Plug
the connector into the header labeled “H5 120VAC” for 115VAC input, or header “H6” for
230VAC input (see photos on next page).
5. Replace the chassis cover and the 14 chassis cover screws.
6. When changing operating voltage, the fuse value must be changed as well. Replace the
fuse with the proper value to match the new AC input voltage per instructions on next page.
Maintenance and repair should only be performed by qualified service personnel. See
“Service & Support” on page 24 for more information.
Make sure the SOLO/610 is properly set for the voltage in your area before applying AC
power to the unit! Failure to do so could damage the unit.
The checkbox on the rear
panel indicates the AC input
voltage configuration as
originally shipped from the
factory. The example above
indicates a unit shipped for
115VAC input.