VEGA PLICSRADIO R61 Wireless indicating unit User Manual
Page 19
19
6 Setup with the integrated display and adjustment unit
PLICSRADIO D61 • Wireless indicating unit (single channel)
32626-EN-130228
– Edit parameter
– Save value
•
[->] key to select:
– Menu change
– Select list entry
– Select editing position
•
[+] key:
– Change value of the parameter
•
[ESC] key:
– interrupt input
– Jump to next higher menu
The sensor is adjusted via the four keys of the display and adjust-
ment module. The LC display indicates the individual menu items. The
functions of the individual keys are shown in the above illustration.
Approx. 10 minutes after the last pressing of a key, an automatic reset
to measured value indication is triggered. Any values not confirmed
with [OK] will not be saved.
6.4 Setup steps
Setup is comprised mainly of the radio connection adjustment (selec-
tion radio channel and safe operation). The selection of the requested
indication value, e.g. in percent, linearized percent or scaled are
further adjustment options (only when using VEGA sensors).
After being switched on, PLICSRADIO D61 first of all carries out a
short self-check. The following steps are carried out:
•
Internal check of the electronics
•
indication of the instrument type, firmware version as well as the
instrument TAG (instrument name)
•
Establishment of a radio connection
•
Indication of the selected measured value
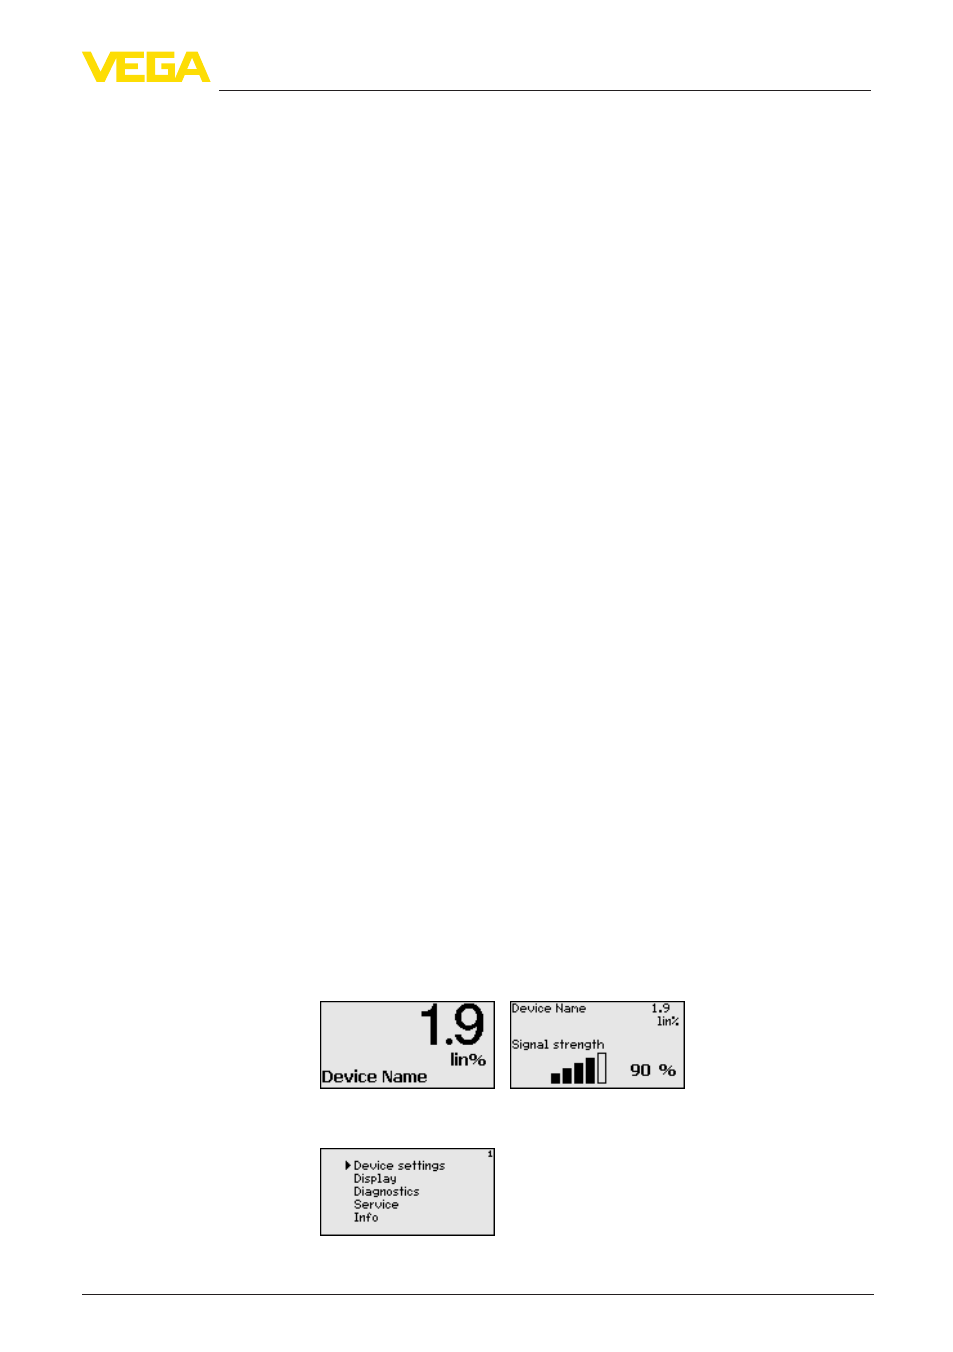
The measured value indication displays the digital indication value,
the measurement loop designation (measurement loop TAG) and the
unit. The actual signal strength can be also displayed. By pushing the
[>] key, you move between the individual indicating windows.
1. By pushing [OK] you move from the measured value indication to
the main menu.
Adjustment system
Setup
Switch-on phase
Measured value indica-
tion/Main menu