RIDGID SeeSnake DVDPak User Manual
Page 10
Ridge Tool Company
8
SeeSnake
®
DVDPak
Battery Power
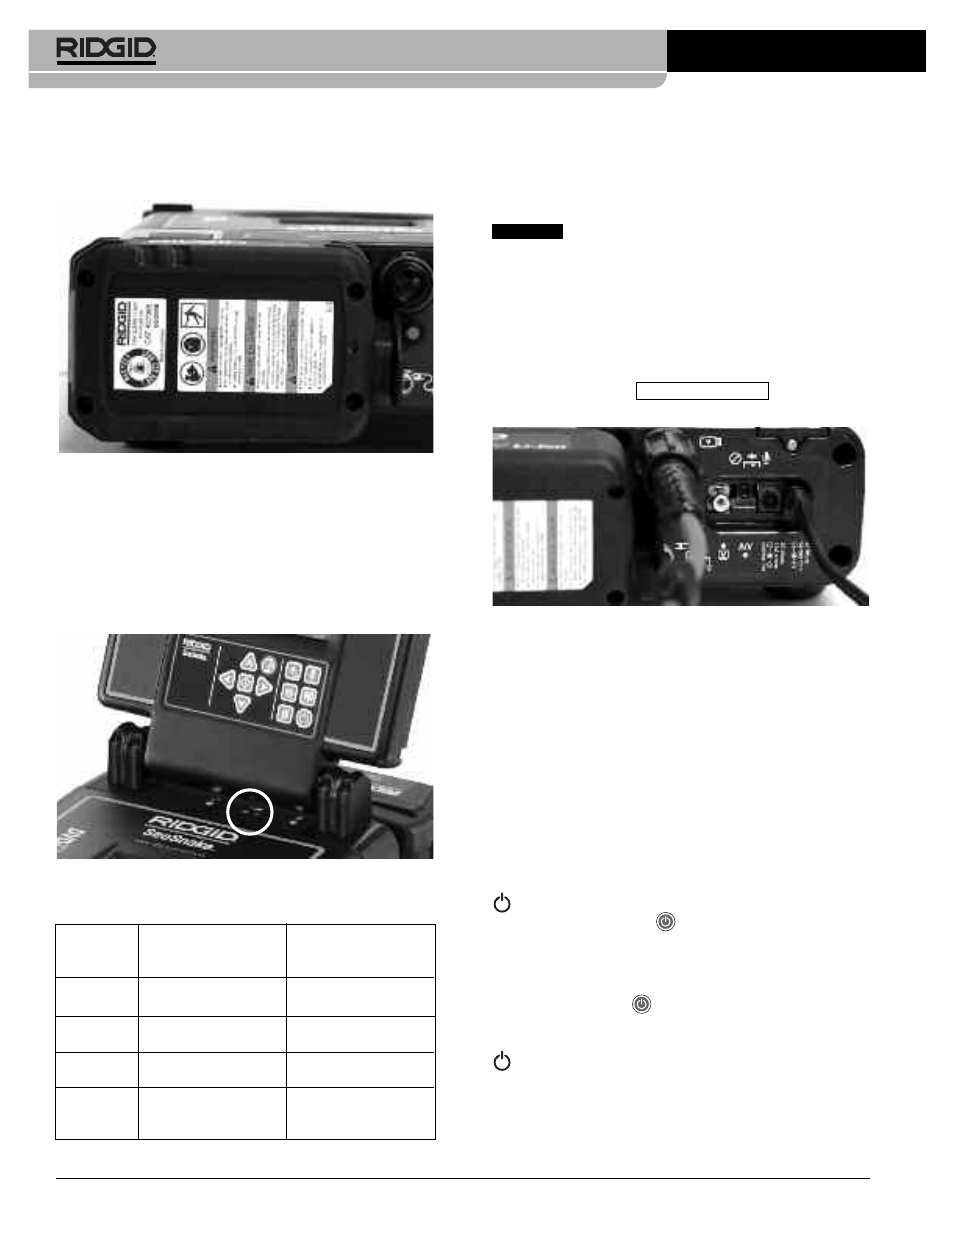
With dry hands, slide a fully charged battery onto the bat-
tery dock on the back of the DVD
Pak
.
Figure 6 – Battery Installed
Make sure that the battery locks onto the dock.
See the
Battery Charger operator’s manual for more information.
Batteries supplied for the DVD
Pak
are rated at 2.2 amp-
hours. When fully charged, depending on use (recording
time, etc.) the DVD
Pak
will run for approximately 2.5 to 3
hours. Battery Status LEDʼs indicate battery charge level
(Figure 7)
.
See Battery Status LEDs Chart.
Figure 7 – Battery Status LEDs
Battery Status LEDs Chart
Outlet Power
For plug in operation, a double insulated AC/DC power
supply is supplied to reduce wall outlet voltage to the cor-
rect voltage for the DVD
Pak
.
The external power supply is intended for in-
door use only.
To power the system up with the power cord, locate
the power supply. The power supply cord has two sec-
tions, one of which plugs into a standard 110-120V two-
bladed outlet (US) at one end and plugs into a power
supply at the other end. The second section runs from
the power supply to the back of the DVD
Pak
and plugs
into the jack marked 40 Watts—14-16V at the far right
side of the back of the unit
(Figure 8)
.
Figure 8 – Connected External Power Supply
With dry hands, connect the two sections together and in-
sert the jack plug into the jack on the back of the DVD
Pak
.
Route the cord along a clear path and with dry hands plug
the power supply into a matching outlet. If using an ex-
tension cord ensure it is of adequate wire gauge. For
cords of 25 feet, a minimum gauge of 18AWG is re-
quired. For cords greater than 25 feet, a minimum gauge
of 16 AWG is required.
Monitor And DVDR Power-up
Once connections are in place and batteries installed (if
used), you can power up the DVD Recorder and the
DVD
Pak
monitor with a single press of the Power Button
. You can also power the monitor independently by
pressing the Power Key
on the keypad. This lets you
use the monitor without powering up the recorder to con-
serve battery power.
If you power the monitor on separately using the
display Power Key
, remember to turn it off using
the display Power Key. If you power both monitor
and DVDR up by pressing only the Power Button
on the DVD
Pak
, they can both be turned off using
the same button.
Battery
External
External
Status
Power Not
Power
Connected
Connected
FULL
Solid green
Green blinking
(5 sec OFF 0.2 ON)
MED
Solid green and red
Green and red blinking
(5 sec OFF 0.2 ON)
LOW
Solid red, 4 beeps
Red blinking
(5 sec OFF 0.2 ON)
DEAD
Solid red for 5 sec,
5 sec long beep
and shutdown
NOTICE