Changing the test setup, Changing the test setup 9-6 – 3Com 3C319 User Manual
Page 84
9-6
C
HAPTER
9: T
ROUBLESHOOTING
NIC I
NSTALLATION
5 Press [Enter] to start the tests.
Each test runs once unless you specify otherwise. The test
results are displayed on the screen with “Passed” or
“Failed” in the Results column.
To run the tests continuously, select the Continuous
option in the Test Setup dialog box, as described in the
next section,
Changing the Test Setup
To change the test parameters, follow these steps:
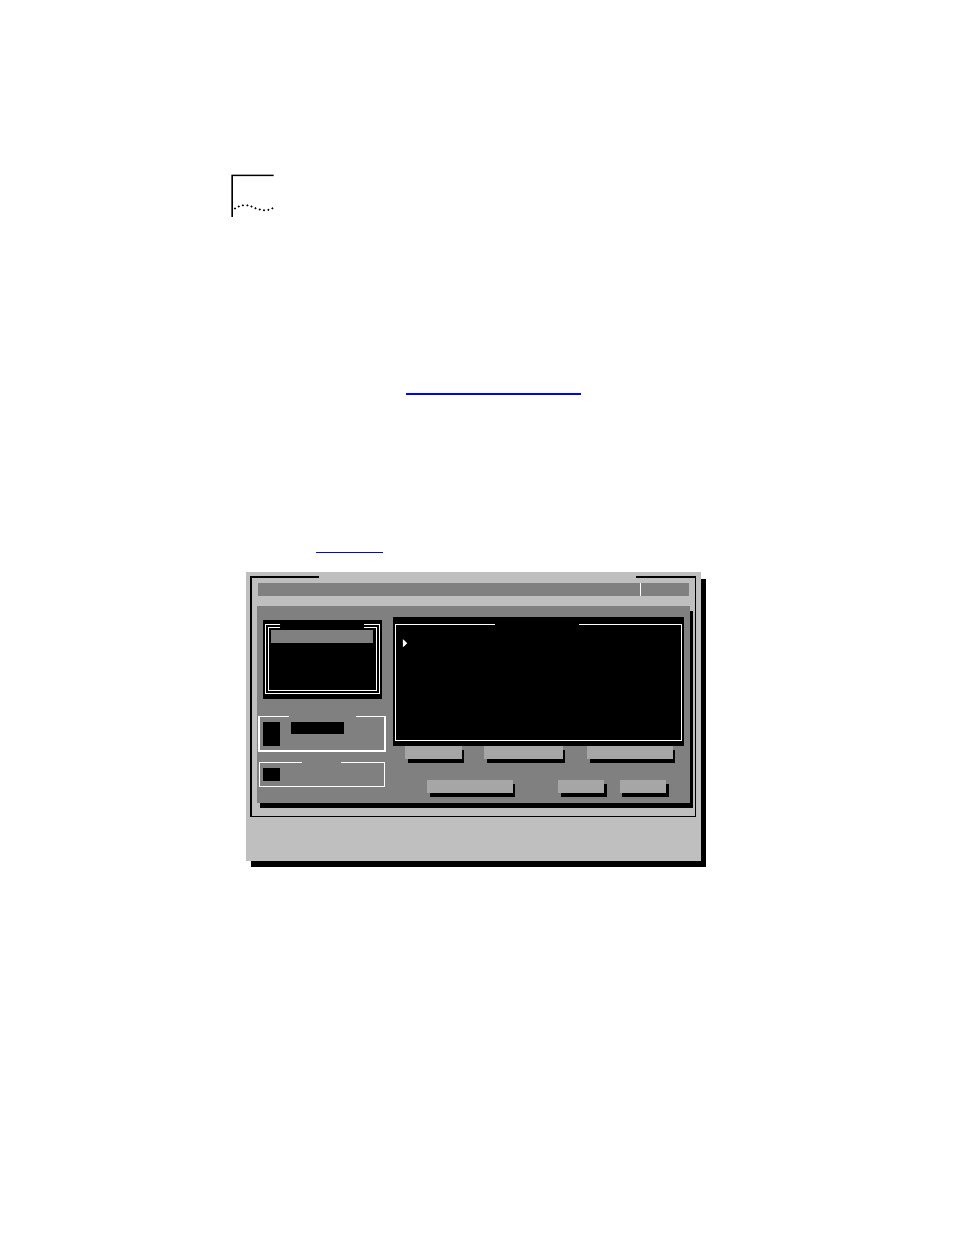
1 Select Test Setup in the Run Tests dialog box and
press [Enter].
The Test Setup dialog box appears, as shown in
Figure 9-4 Test Setup Dialog Box
2 Press [Tab] to move from field to field and select
any field within the Test Setup dialog box.
Within the Group Select area, use the arrow keys to
select Group 1 or Group 2. Use the Enable Group or
Disable Group options to enable or disable a group
of tests.
Diagnostic and Manual Configuration Program Version 2.0
Install
Quit
View
Select
Test Setup
F1=Help
[
↑↓
]=Select a Test Group to View
[Alt]+
[TAB]=Next Field [SHIFT+TAB]=Previous Field [F1]=Help [ESC]=
Test
D
efaults
F
ile Options...
O
K
C
ancel
E
n
able Group
D
i
sable Group
Group 1
Group 2
Group
S
elect
R
epetitions
(.) [1 ]Times
E
rrors
[X] Halt on Error
*Enabled
*Enabled
*Enabled
*Enabled
*Enabled
*Enabled
*Enabled
*Enabled
G
roup 1 Tests
Continuous
MMIO Register Write/Read Test
AIP Checksum Test
Shared RAM Boundary/Domain Test
Shared RAM Write/Read Test
Timer Test
Open NIC for Ring Operation Test
Ring Operations Test
Close NIC Test