Dubbing, E-29, Recording – Yamaha CC-5 User Manual
Page 31
E-29
To confirm tracks to be recorded and tracks which
can not be recorded
Before recording, press the TIME button. The following
information will appear on the display by turns whenever the
TIME button is pressed.
Tracks to be recorded on side A
↓
Tracks to be recorded on side B
↓
Tracks which can not be recorded on side A and side
B (When all tracks can be recorded, “00 0:00” is
displayed)
↓
Tracks which can be recorded on side A and side B
Note
Once CD playback starts, the display does not change.
Dubbing
•
During dubbing, adjusting the VOLUME, BALANCE,
TREBLE and BASS controls and selecting any sound
processor program have no effect on the recorded sound.
•
Try to use the same tape formula and length for the
recording tape as for the master tape.
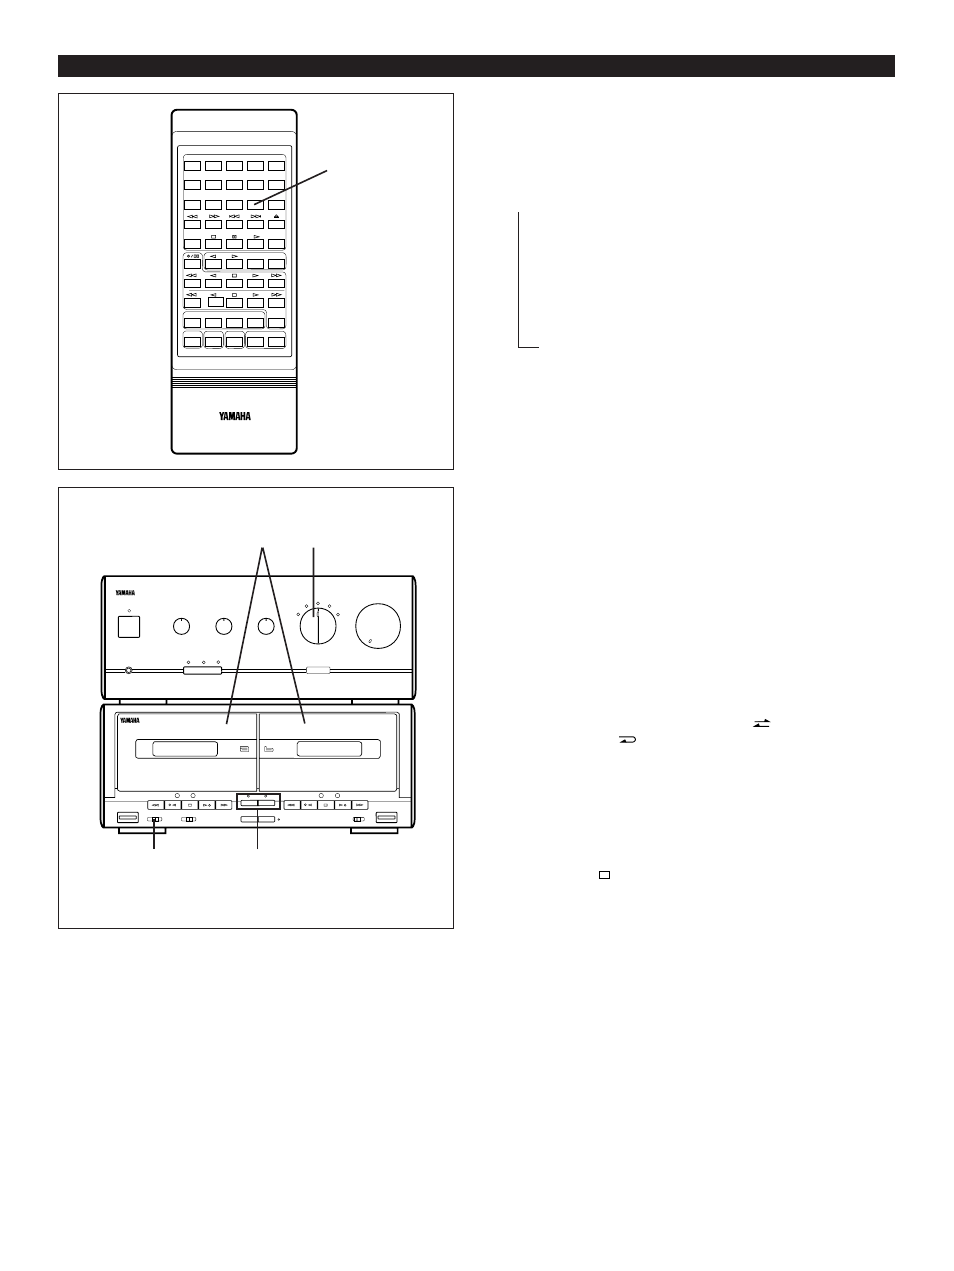
1
Select the TAPE position.
2
Load a prerecorded tape into the tape “a” cassette
compartment. Insert a blank tape into the tape “b”
cassette compartment.
3
Set the REVERSE MODE switch to to record on only
one side, or to for continuous recording on both sides.
4
Press the DUBBING button.
*
Press “NORMAL” to dub at normal speed, and “HIGH”
to dub at about twice the normal speed.
*
Dubbing will begin from side A.
To stop dubbing
Press the stop button for tape “a” or “b”.
*
Tape “a” and tape “b” will stop at the same time.
Note
Only tapes originally encoded with Dolby B or C NR will be
dubbed onto tapes with Dolby B or C NR encoding.
The DOLBY NR switch will have no effect on the recording of
tape “b” during dubbing.
However, the playback tonal quality of tape “a” will change
according to the DOLBY NR switch position.
RECORDING
→
3
4
2
1
1
2
3
4
5
6
7
8
9
0
CLEAR
CALL
+
TIME
PROG
REPEAT
CD
BAND
TUNER
HALL
JAZZ CLUB
ROCK CNCT
OFF
POWER
AUX
DAT
VOLUME
TAPE
-
b
a
10
+
TIME